Creating a Budget
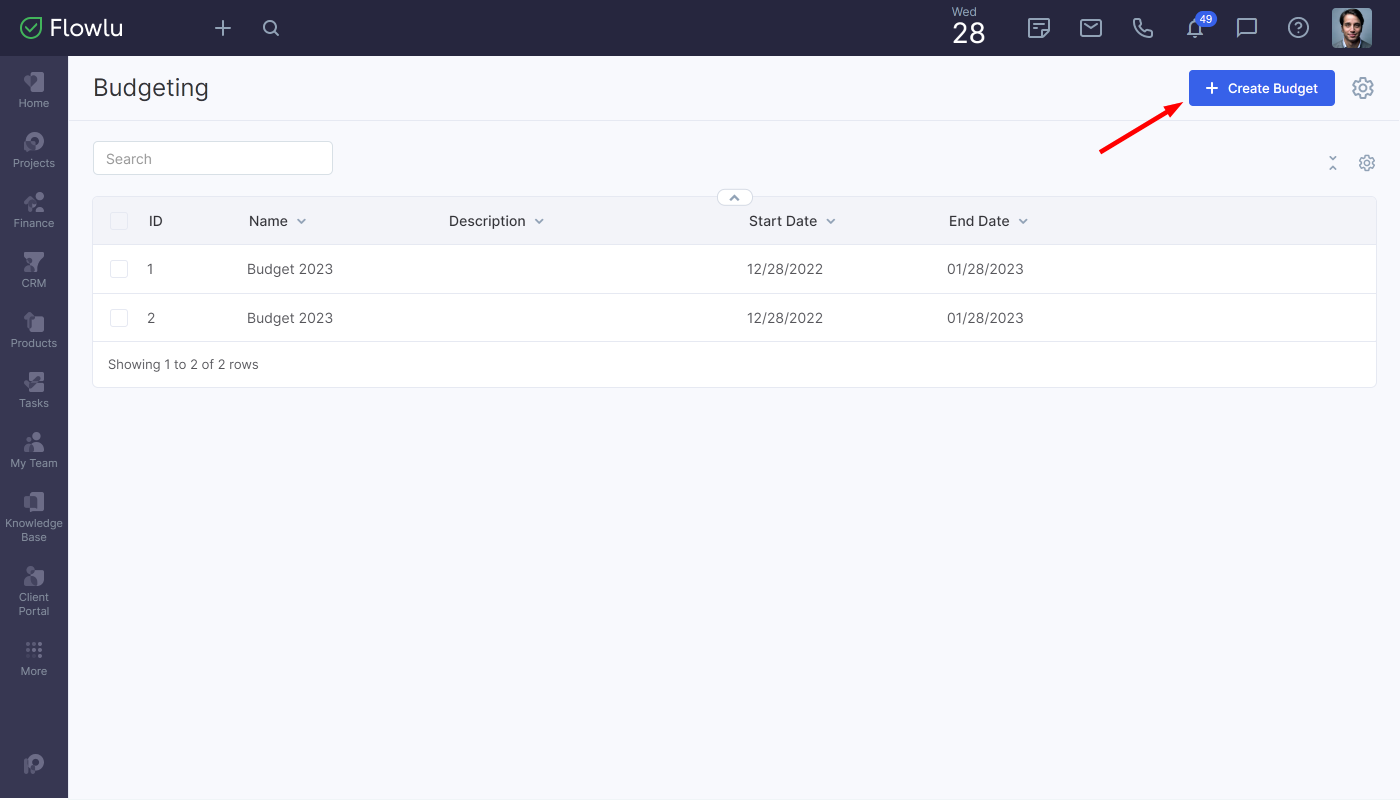
First, you have to install the budgeting module. Once it’s installed, go to the Finances module and click the “+” button. You can also click the Create Budget button right in the budgeting module to create a new budget.
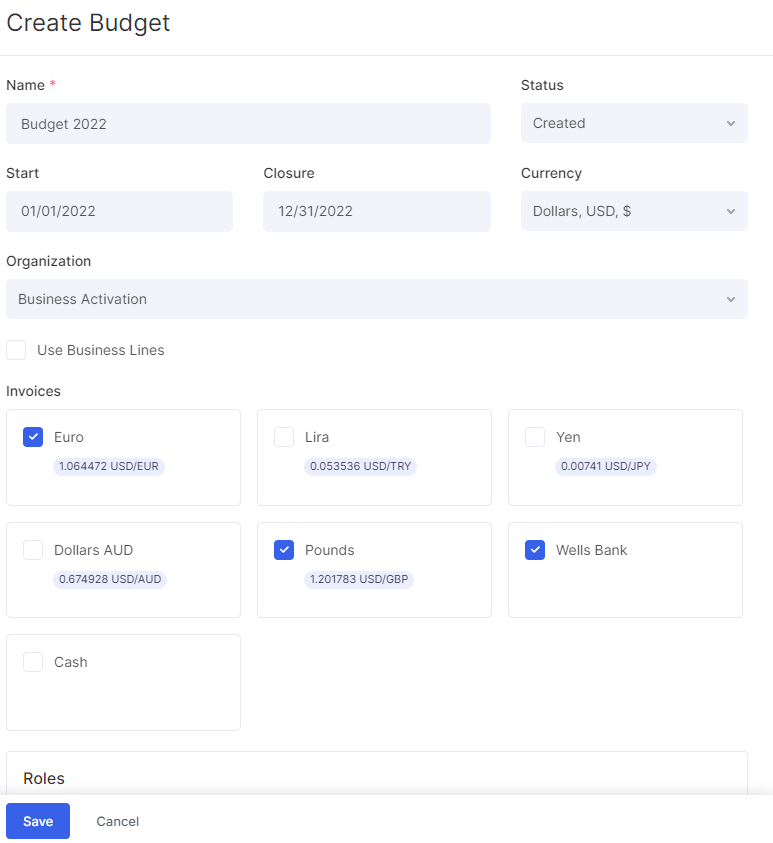
Name the budget. Each new budget has a “Created” status. Once the budget planning process is finished, you can change the status to “Signed”. If the budget is signed, no one can edit it. You can also create custom budget statuses. To learn how to create custom statuses, go to the Custom Budget Statuses article in our knowledge base.
Set up the start and the closure date, select an organization to link the budget.
If you need to manage business lines, click the Use Business Lines checkbox. If you've added at least one business line in Portal Settings, business lines will appear in the budget, so you can link them to the planned and actual financial operations.
Select accounts for a budget.
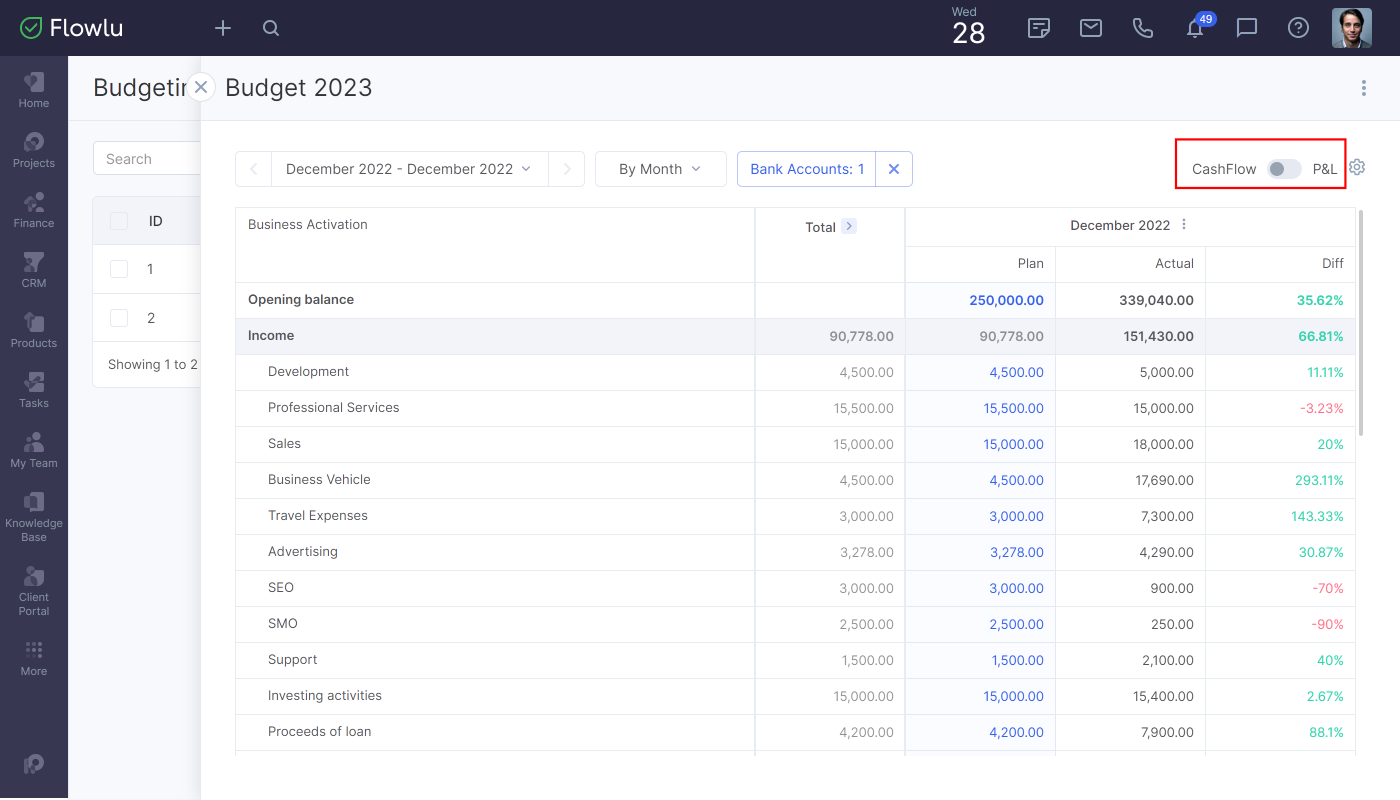
You can switch between the cash flow and P&L modes. To switch the mode, drag the slider.
You can plan budgets in two ways:
Simple method without multiple organizations and business lines. It’s a more simple and convenient way when you work with one single account and don’t split the budget into multiple business lines
Advanced method with business lines. In that case, you can manage multiple business lines, organizations, and transfers between different bank accounts and currencies
By using the first method, all you need is to manually fill in cells with planning incomes and expenses.
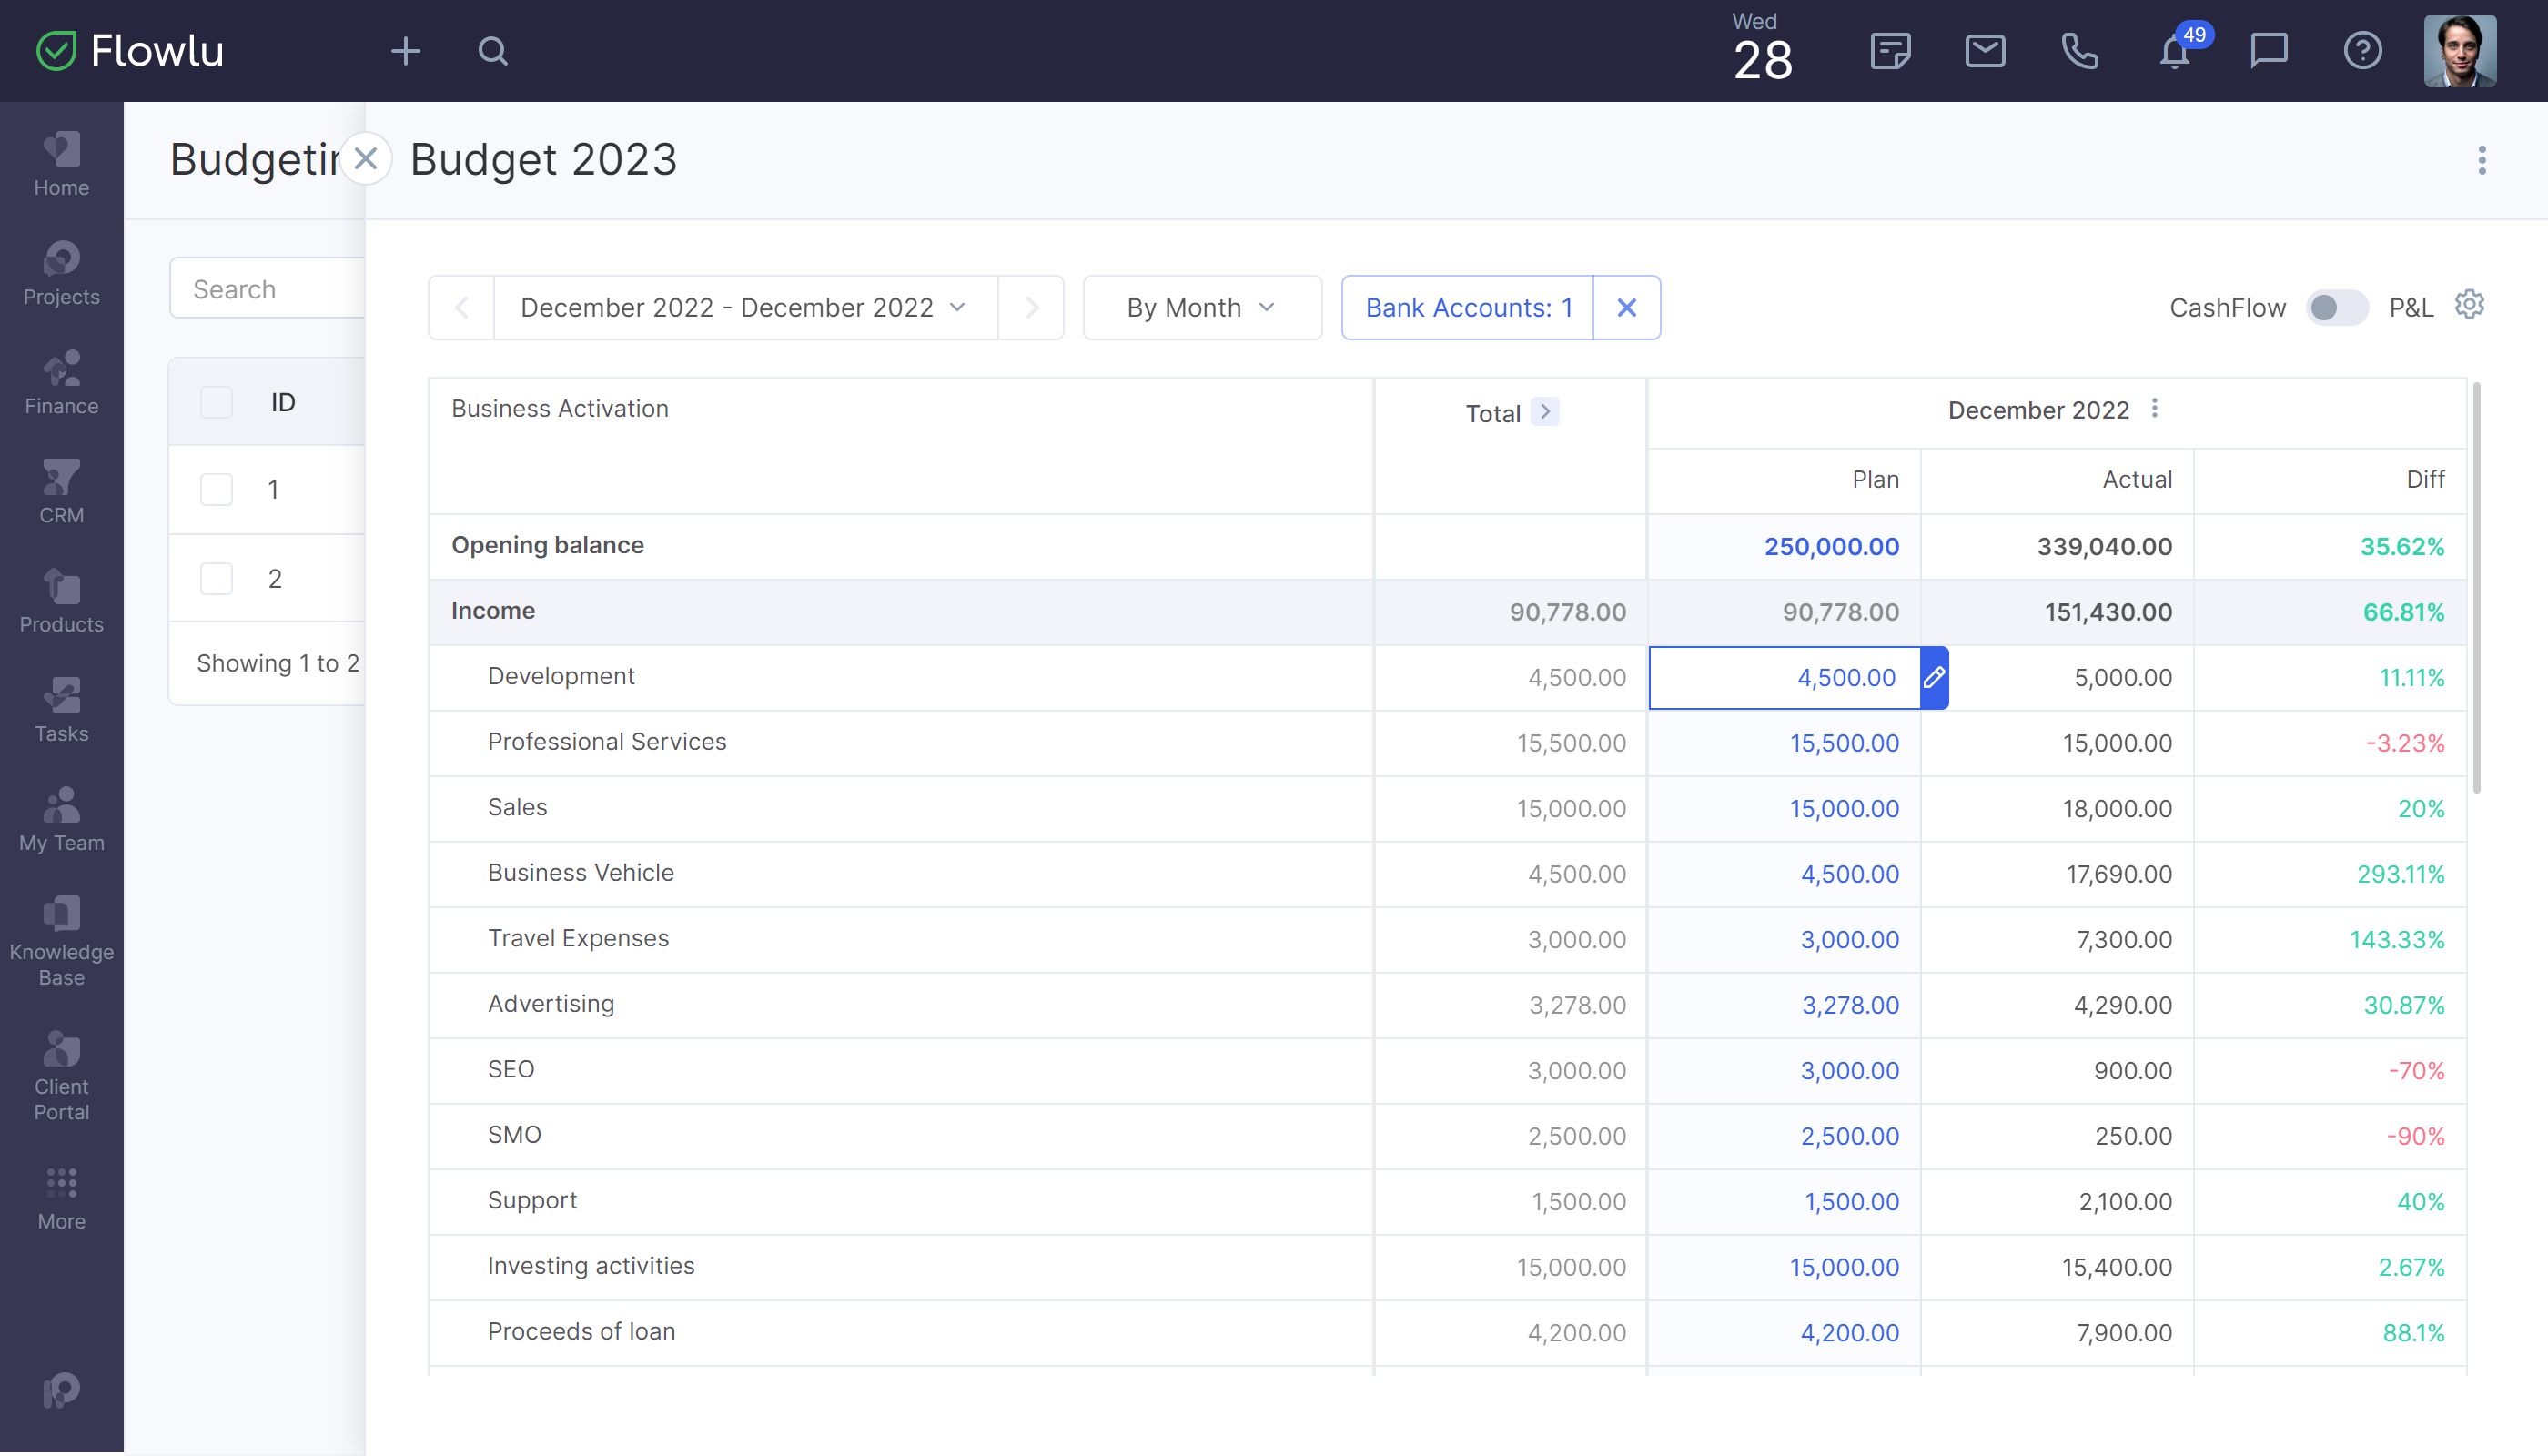
If you need to create more detailed budget plan, click the pen icon next to the cell. After that, you'll be able to create more detailed budget.

You can add actual finances to the plan automatically. To do that, click the gear icon in the top right corner and fill in the “Actual” checkbox. If you want to see differences, fill in the following checkmark as well.
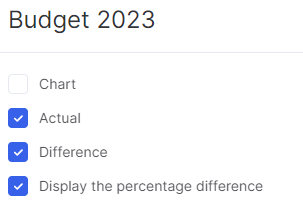
If you want to track the difference between planned and actual budget, you can enable chart view by clicking on its checkbox.
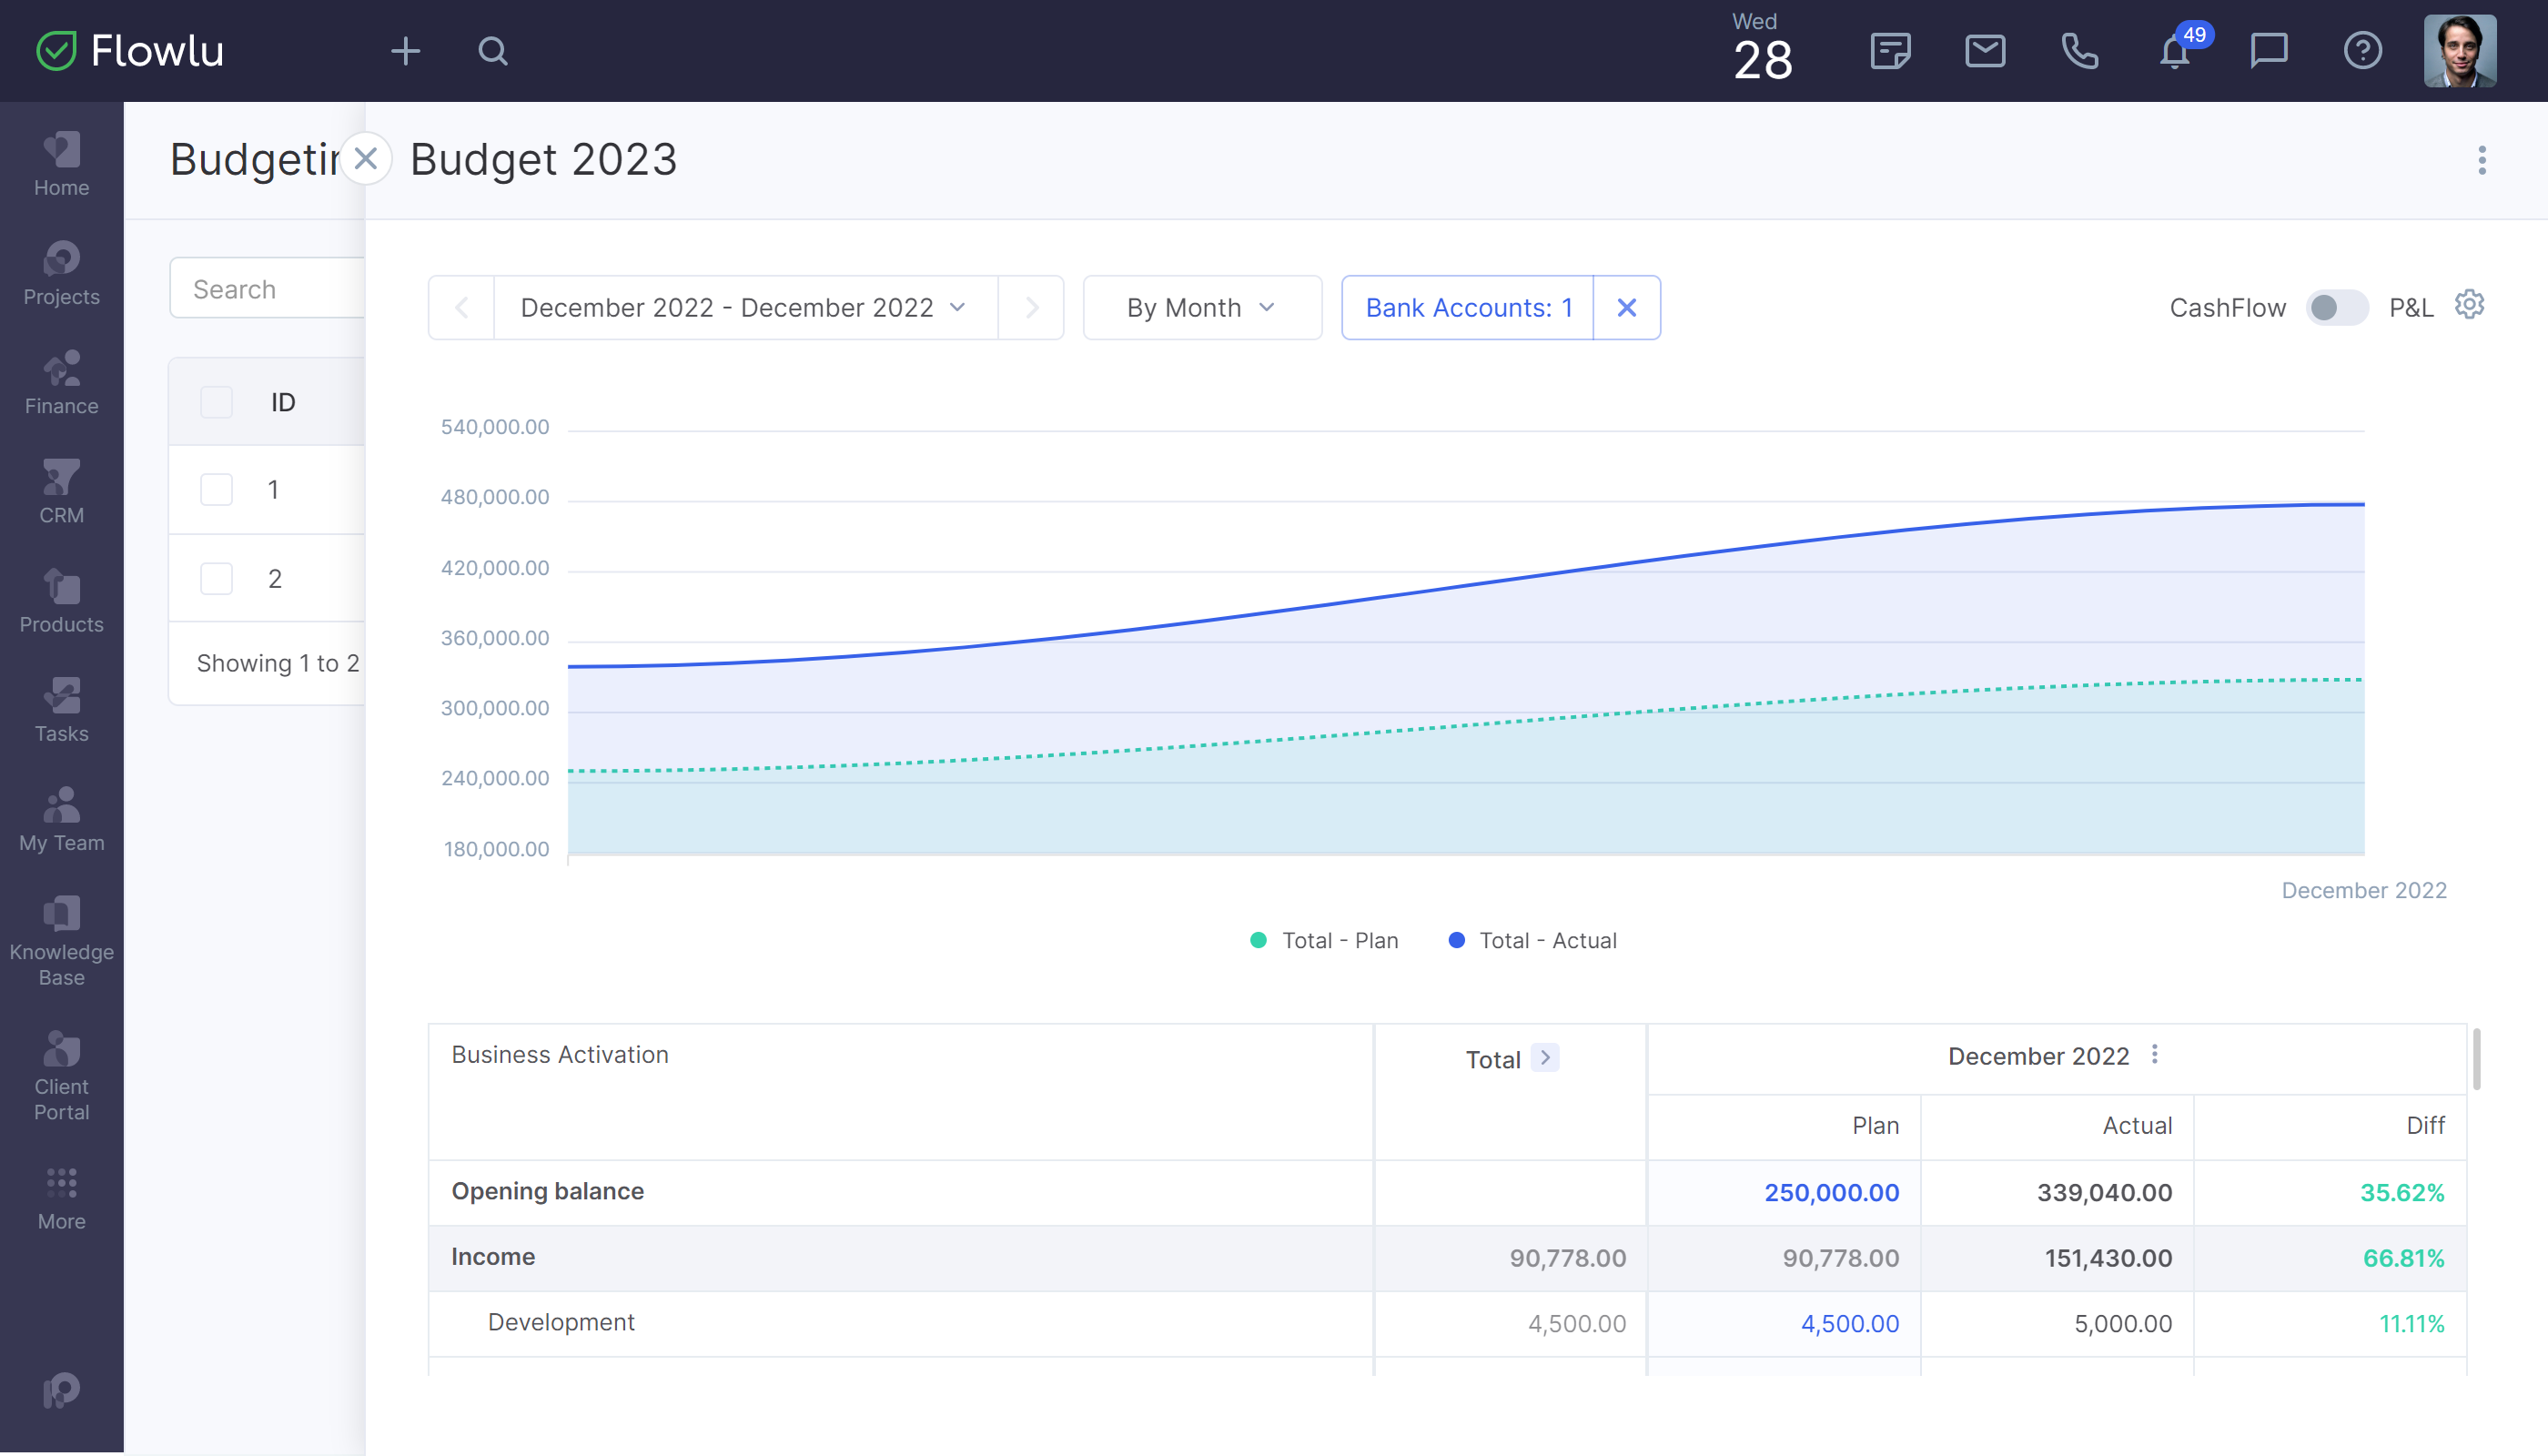
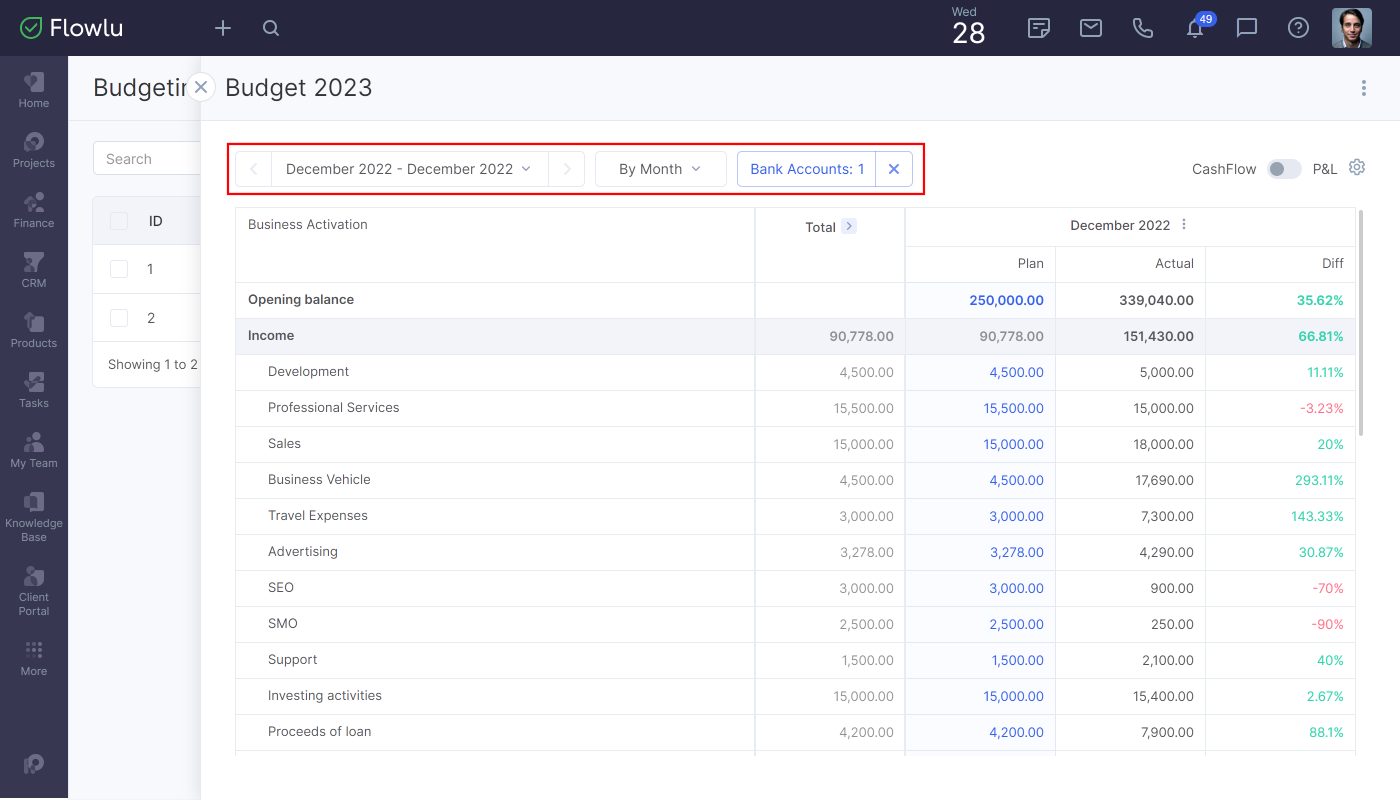
You can set up the view by period. For example, by a month, quarter or year (or by a day for the cash flow). Click the date fields on the top left and select the period.
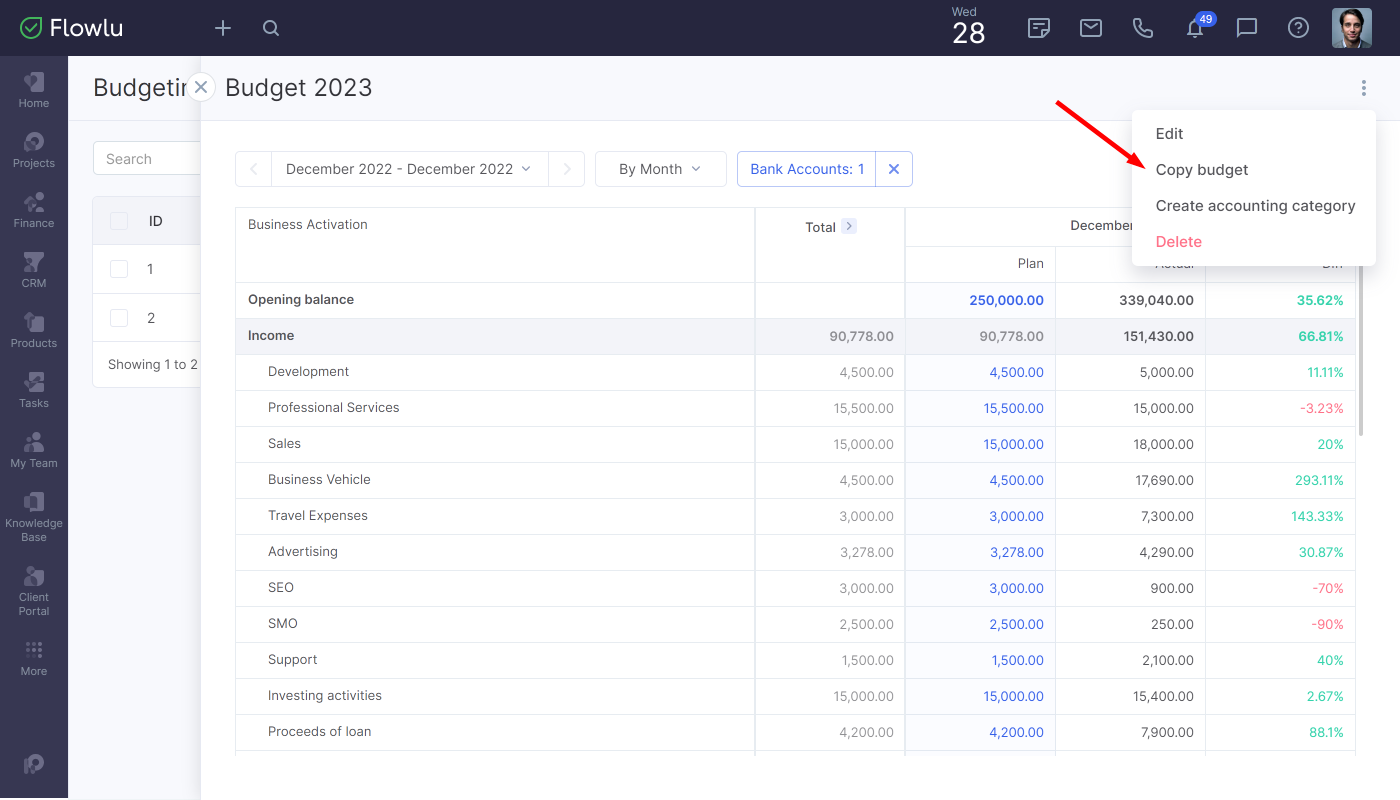
To save time on creating a new budget plan, you can duplicate the previous budget and add some changes. To copy the budget, click the three-dot button in the top right corner and then the Copy Budget button.
How to Create P&L Plan
You can quickly create a P&L plan just by duplicating the CashFlow. Switch to the P&L view and click the three-dot-button next to the date. Then click the Copy from CashFlow button.
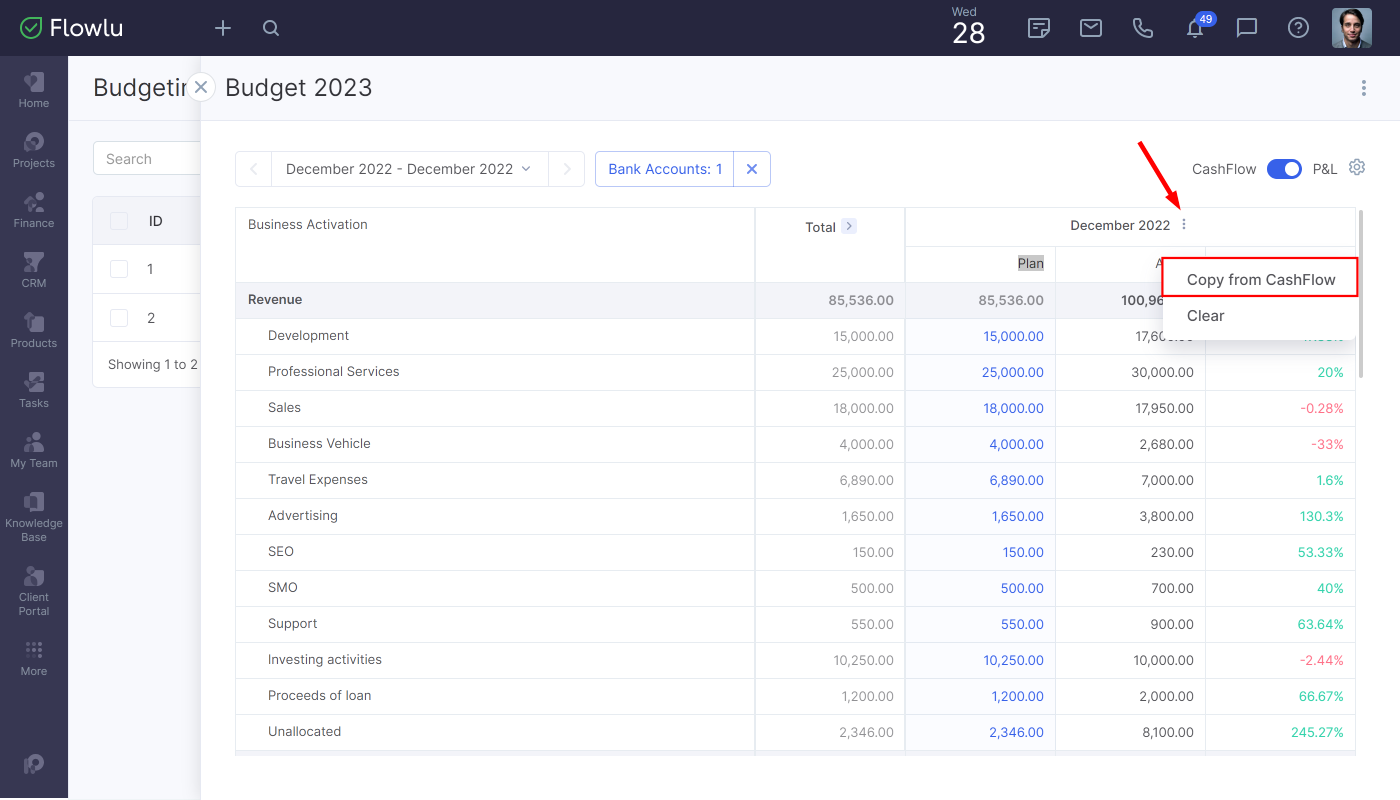
All the data for this period will be copied to the P&L plan. If it's needed, you can edit the value by clicking on it.
Creating Accounting Category
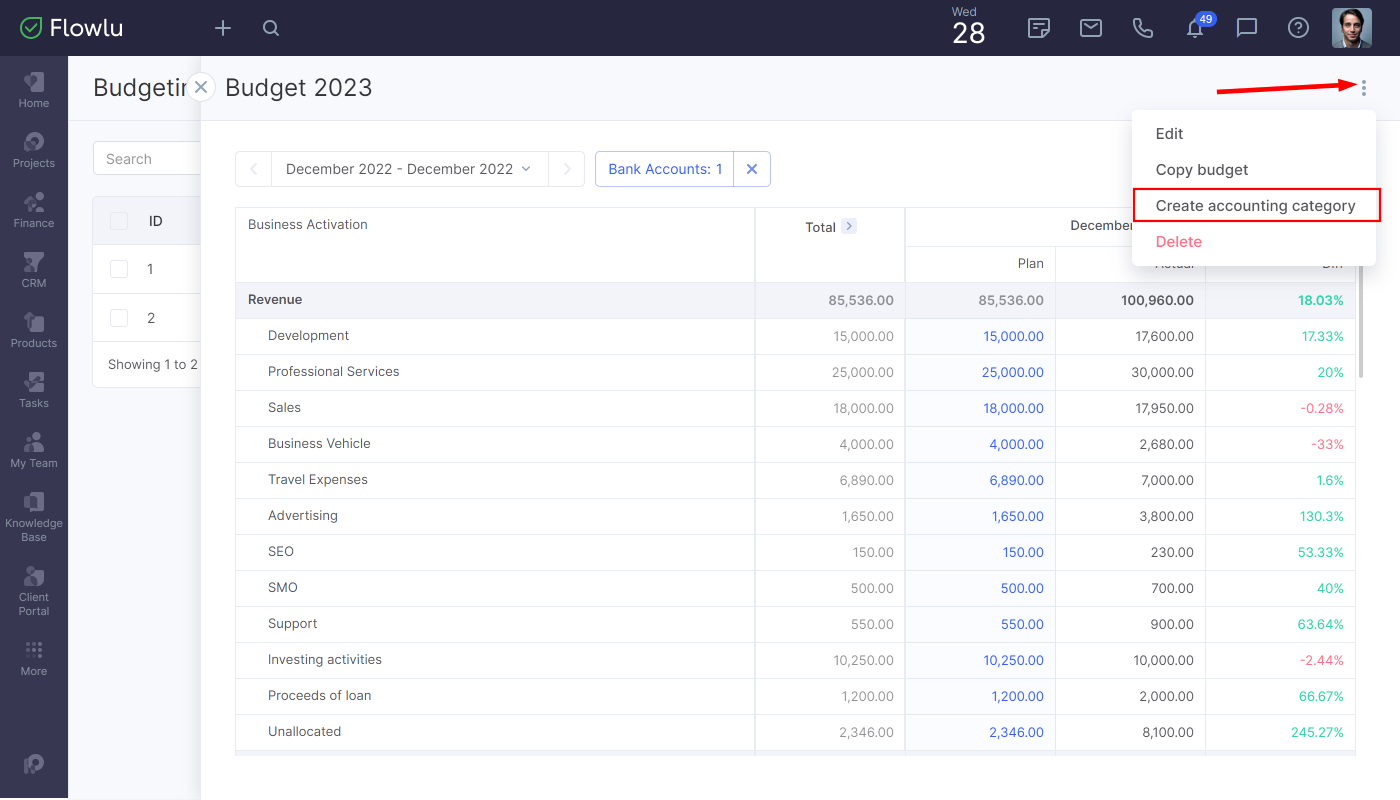
To create a new accounting category, click the three-dot button in the top right corner and go to the Create Accounting Category tab.
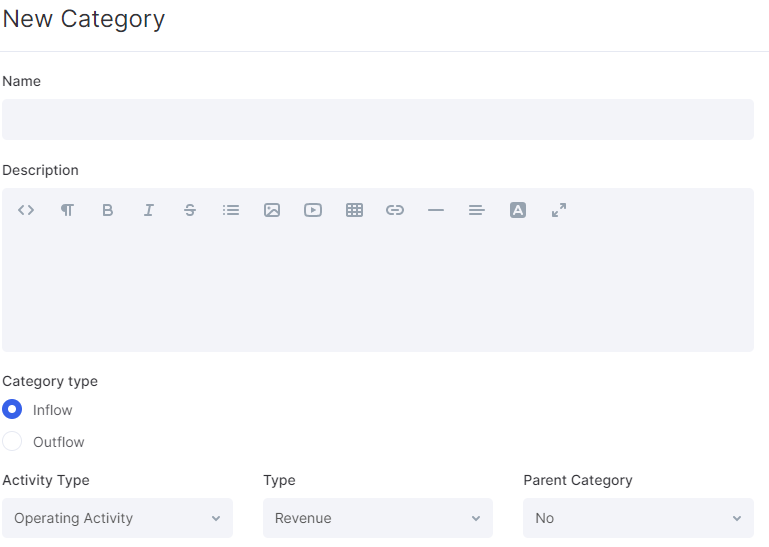
You can specify the name, description, select the category type, activity type and parent category.
How to Synchronize Actual Operations With a Budget
In Flowlu, you can easily synchronize actual transactions with a budget. It helps to avoid manually filling in the large amount of information to collate actual transactions with planned ones.
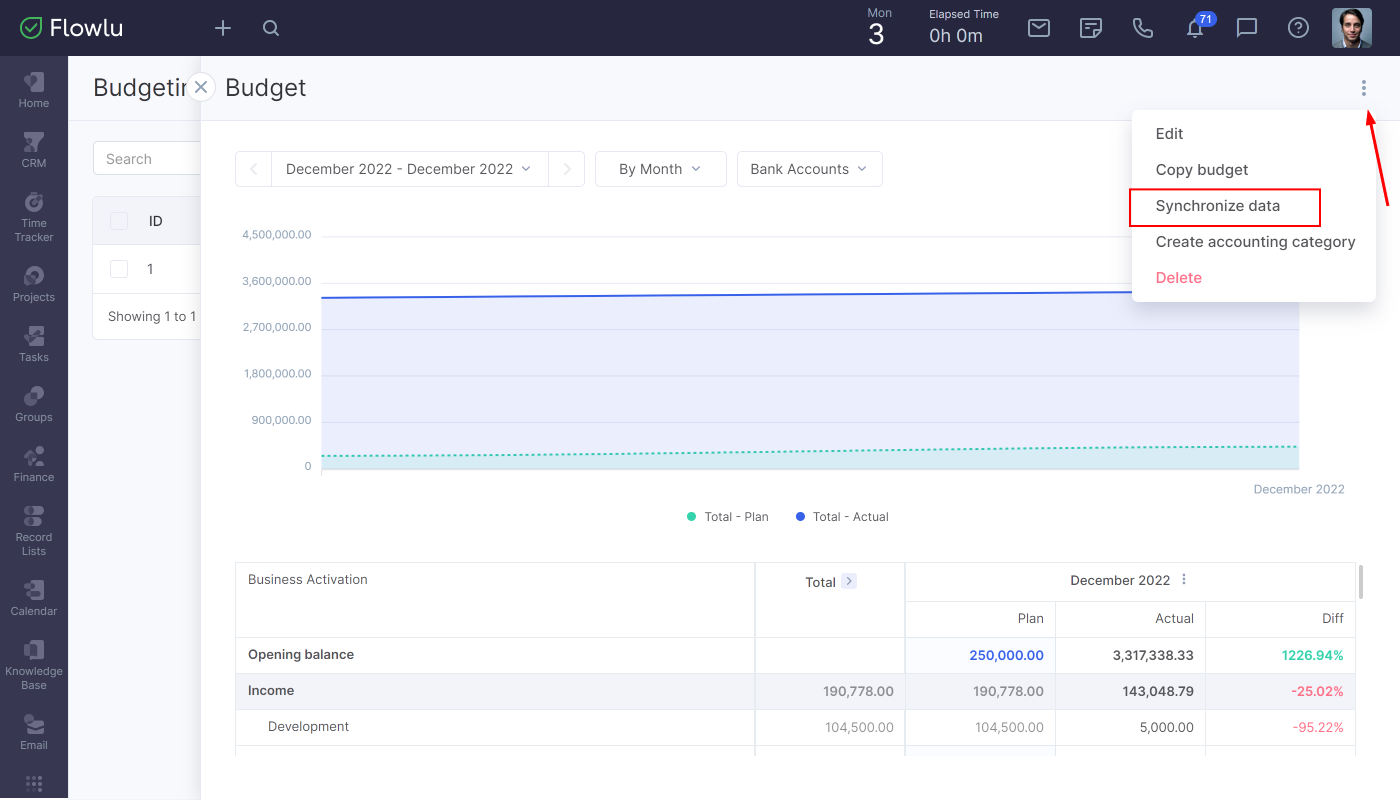
To do that, go to the budget you want to update and click the three-dot button on the top right corner.
Click Synchronize data.
After that, you'll receive a notification that the budget will be recalculated. Click OK to continue.
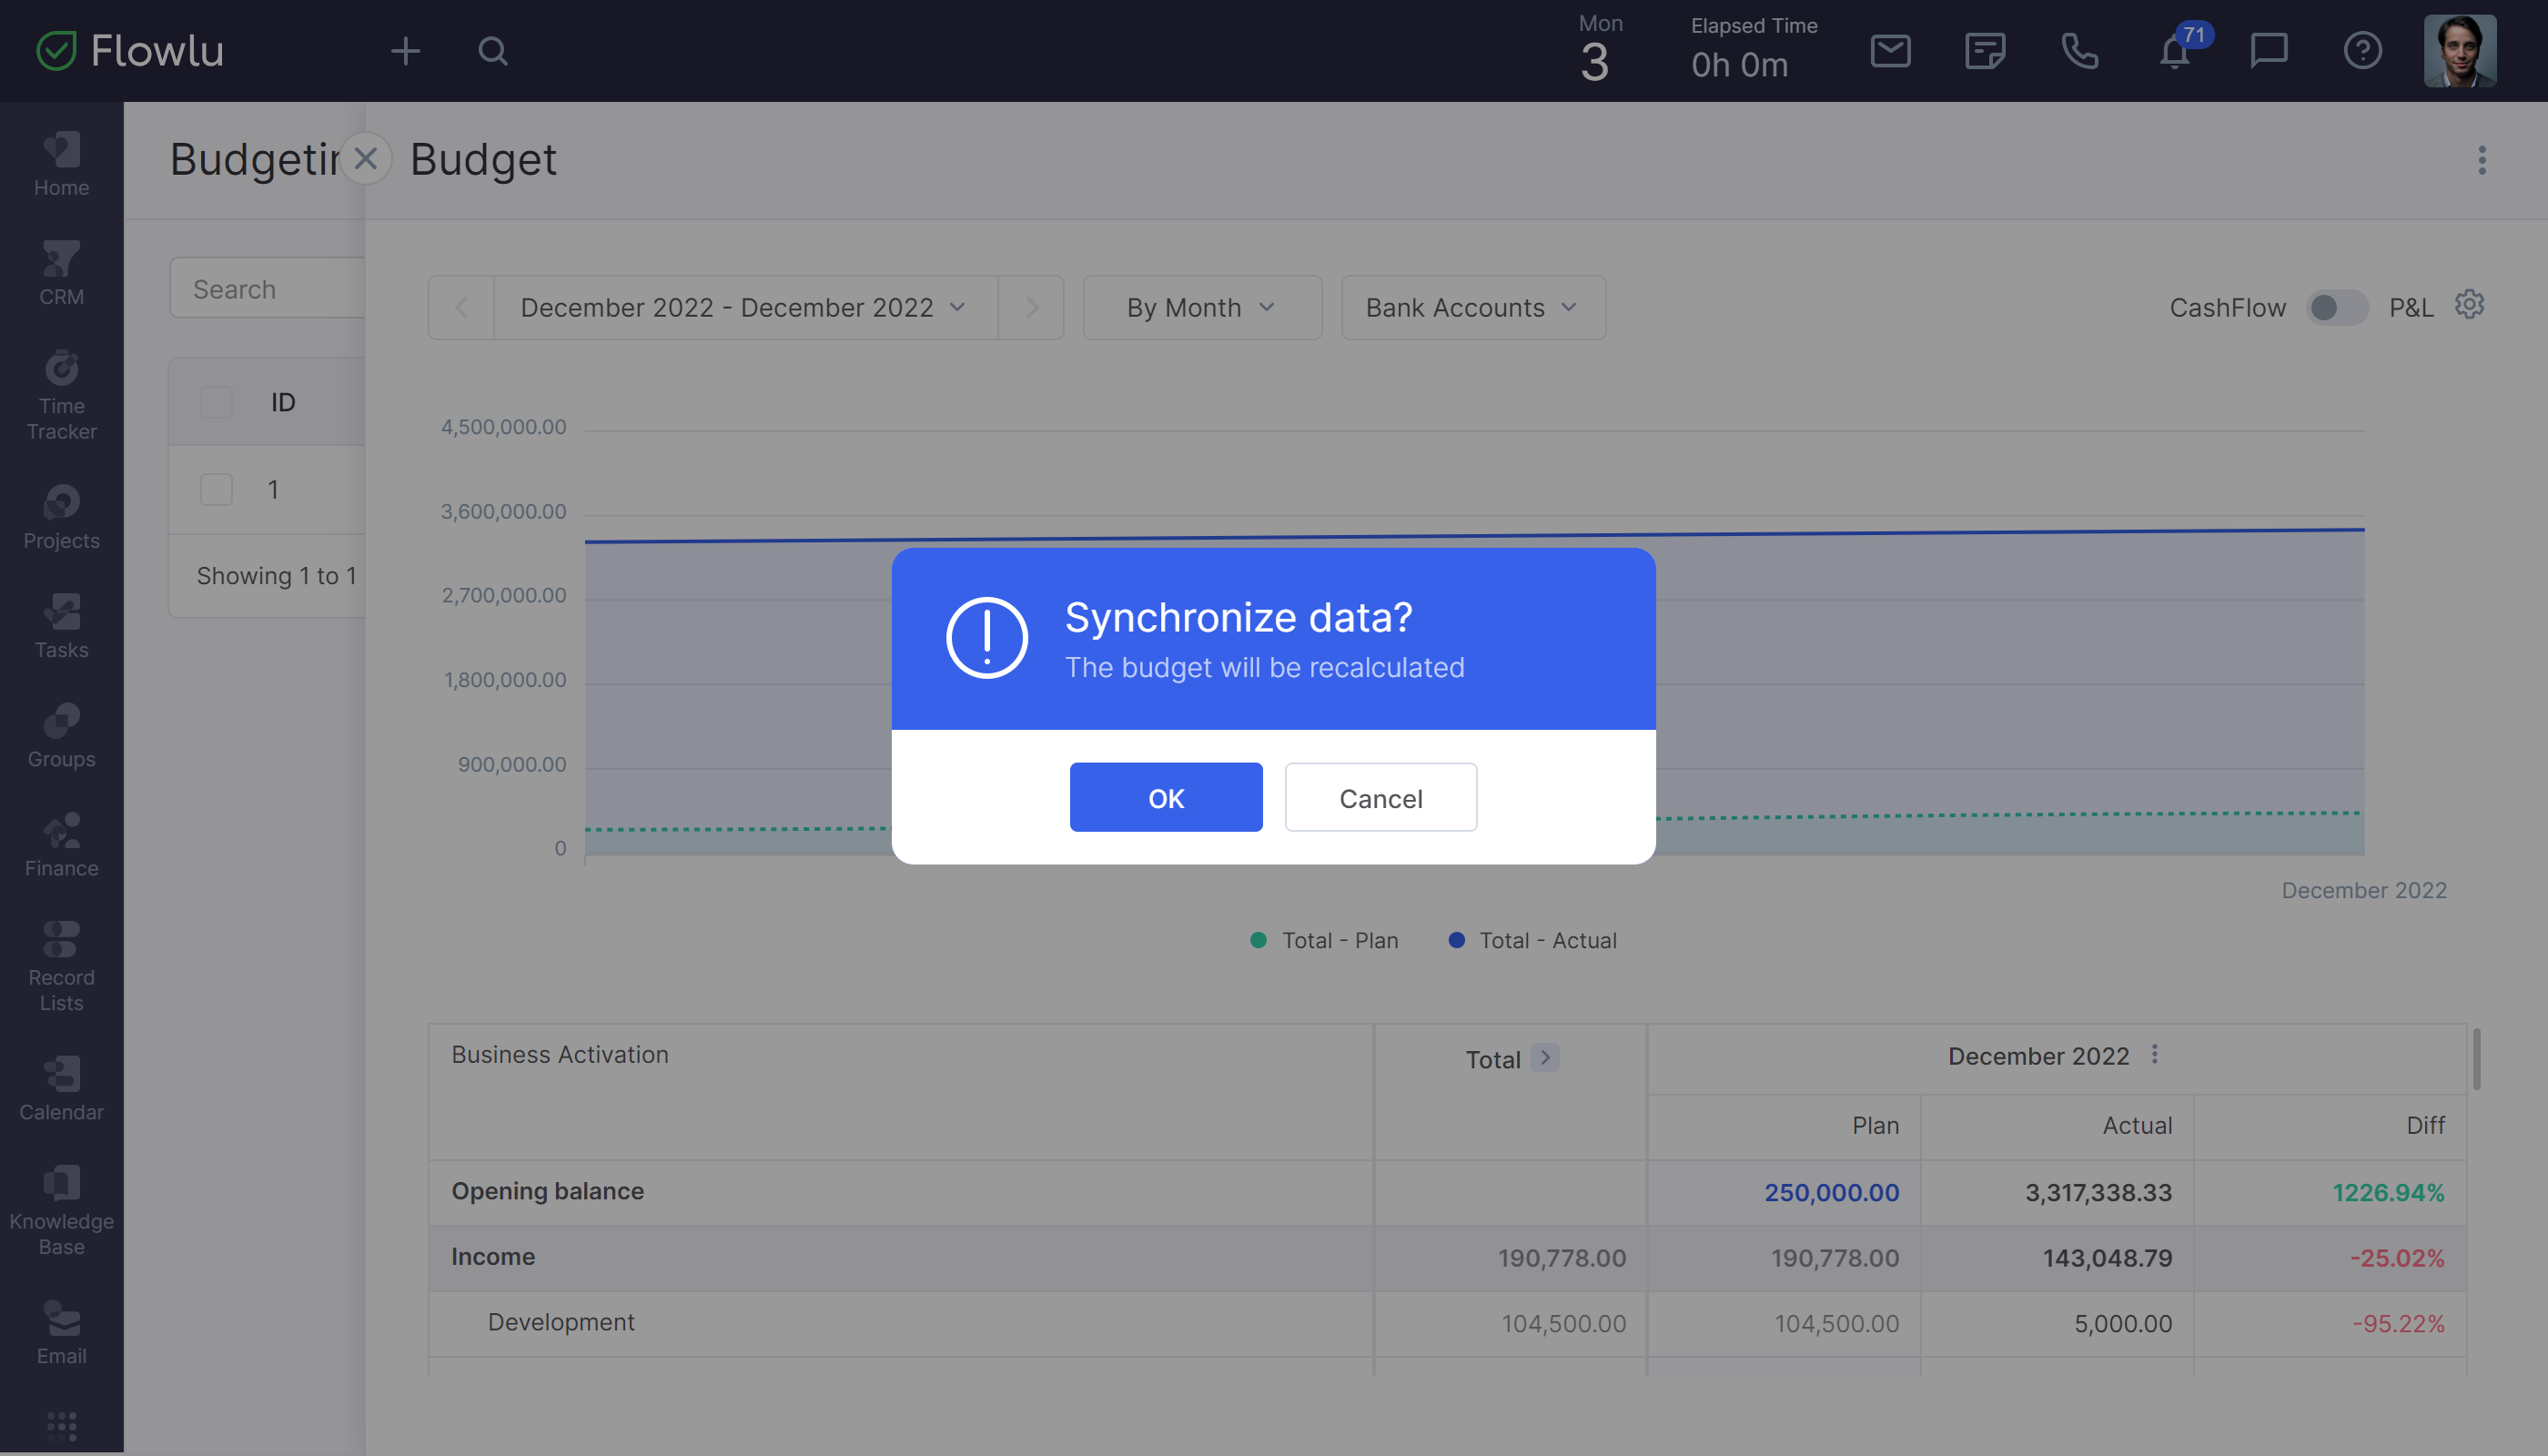
It can take up to a minute to synchronize data, and it depends on the amount of information that needs to be updated.

