

How to Create and Send Documents
By default, you can create a new document from the Docs module.

If you want the document to be related to any CRM account, you can create documents from the detailed page of this account. For example, from the Organization's page:

Note that creating a new document from an entity in Flowlu is possible only if the document type is related to this entity. For example, if you need to create a proposal related to an Opportunity in the CRM module, you need to add an "Entity connection" field to the document type and connect it to CRM opportunities.
How to Make Up a Document
All variable values will be automatically filled in if the connection with the variable-related connection is set. If not, you can fill in all fields manually in the right sidebar. Manual filling is useful when the information differs from the one in the related entity.
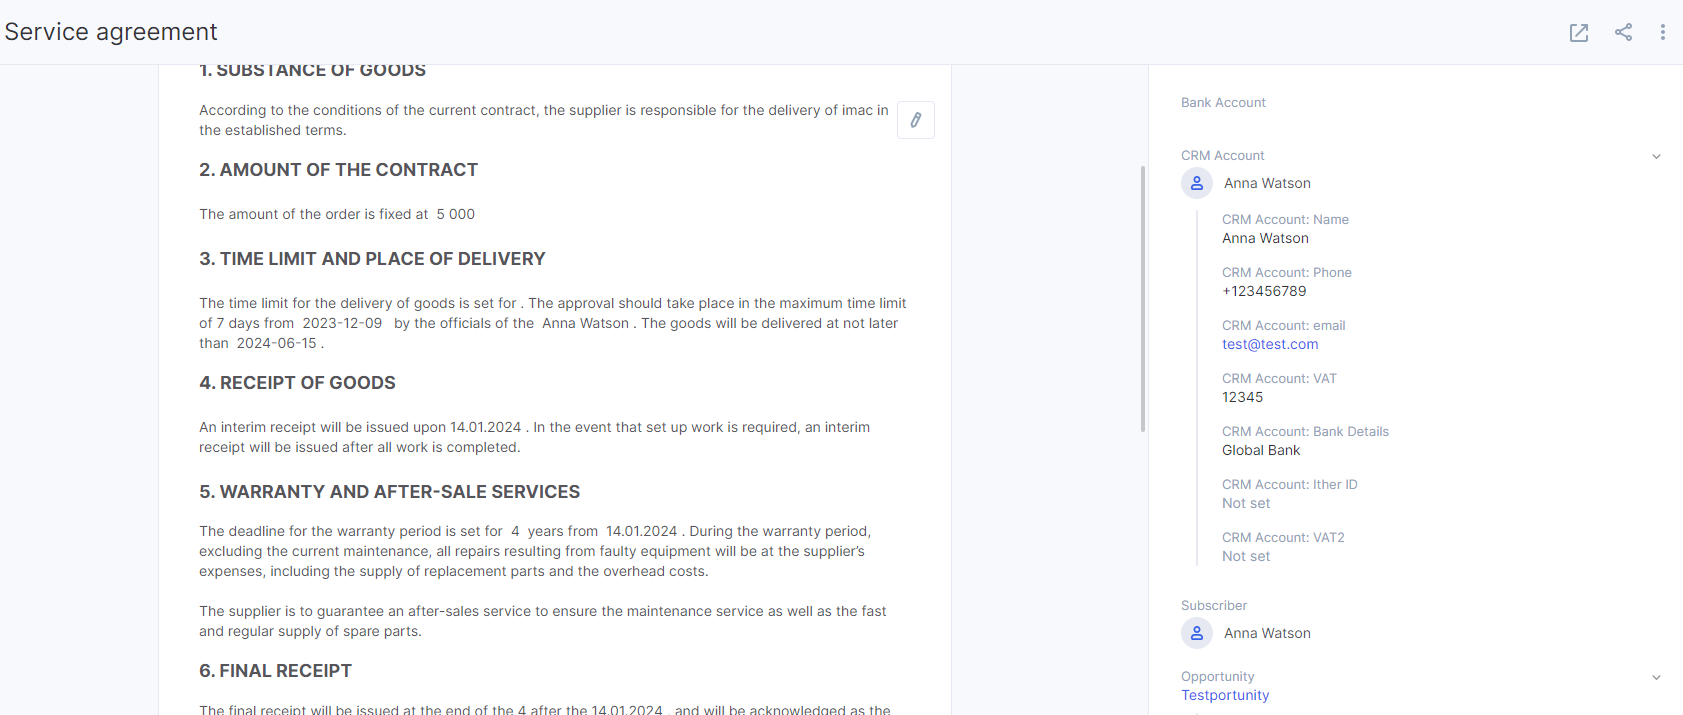
Also, to change the variable value, you can click on the pen icon, then click the variable (editable values are marked blue) you need to change and set a new value. You can also change the value of each variable on the right sidebar.
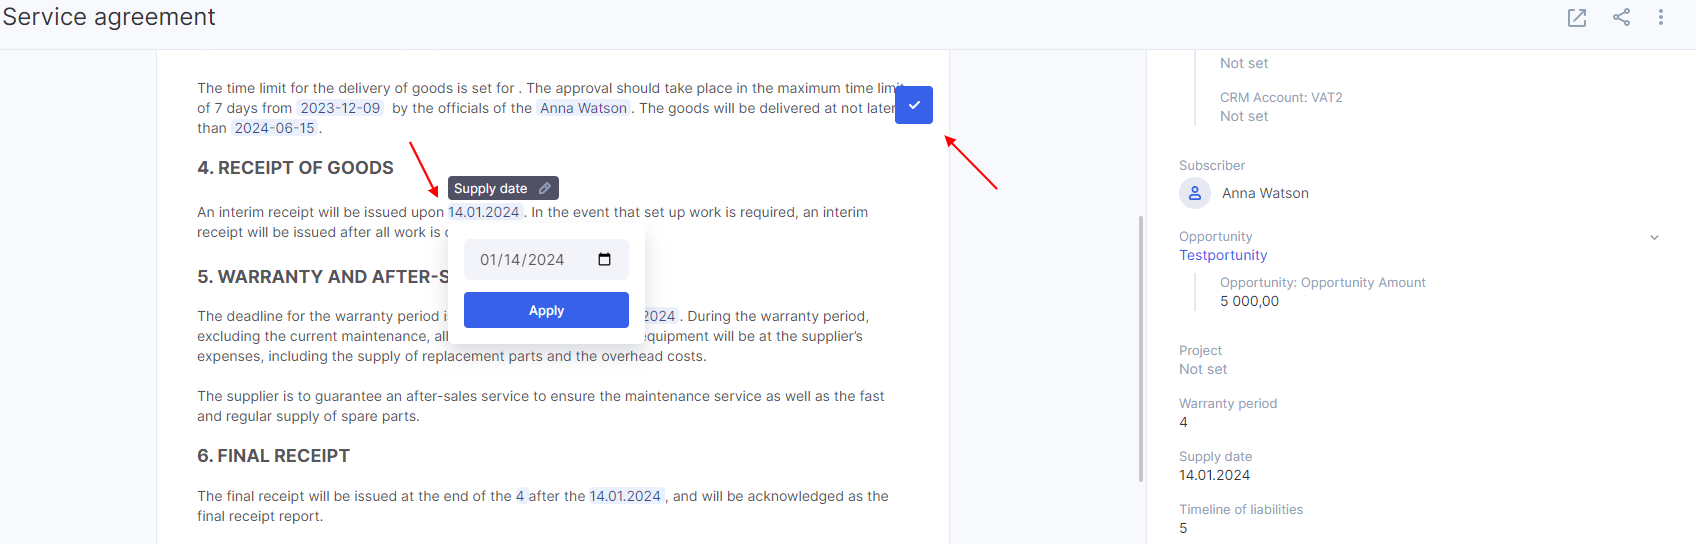
A new value will be applied only to this document and won't affect other documents, templates, or information in related entities.
Editing Mode
By clicking the pen icon in the right corner of the document, you'll be able to change the content, including variable values and text items.
If you want to change the appearance of this exact document without making changes to the whole template, first you need to make any changes in the content of the document. Then, after changes are saved, click the three-dot button and go to editing mode.

How to Send a Document
In the right sidebar, you'll see a document recipient.
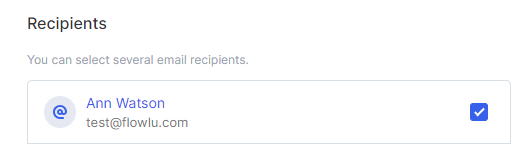
By default, it's a person related to the linked CRM account. If you need to change a recipient, click the "+ Add Contact" button.

Then, add the name of a new recipient and the email address. If you want a new recipient to be linked to the CRM contact, you can fill in the checkmark below.
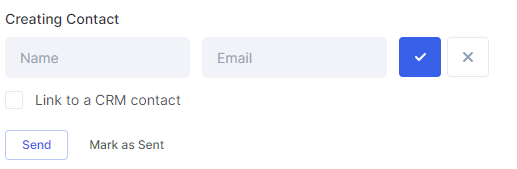
Check if all the information is correct, and click Send.
