

Import Tasks
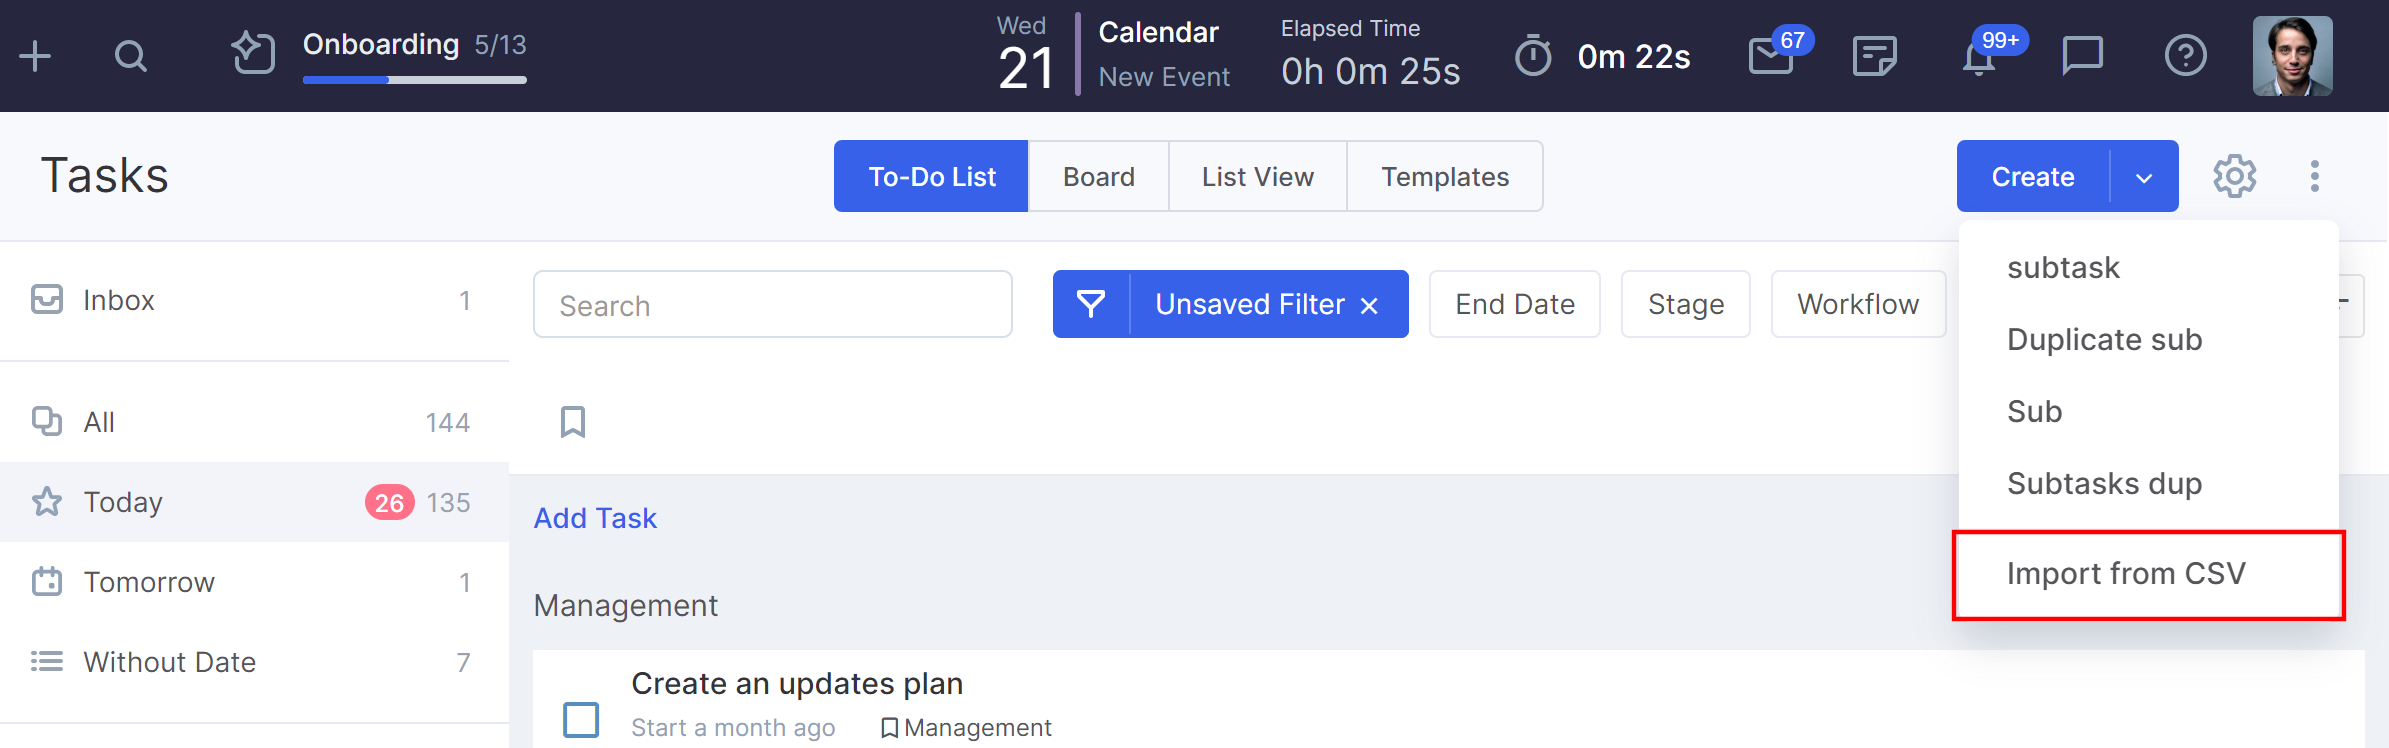
To import tasks, go to the Tasks page, press three-dots button and select the Import from CSV option.
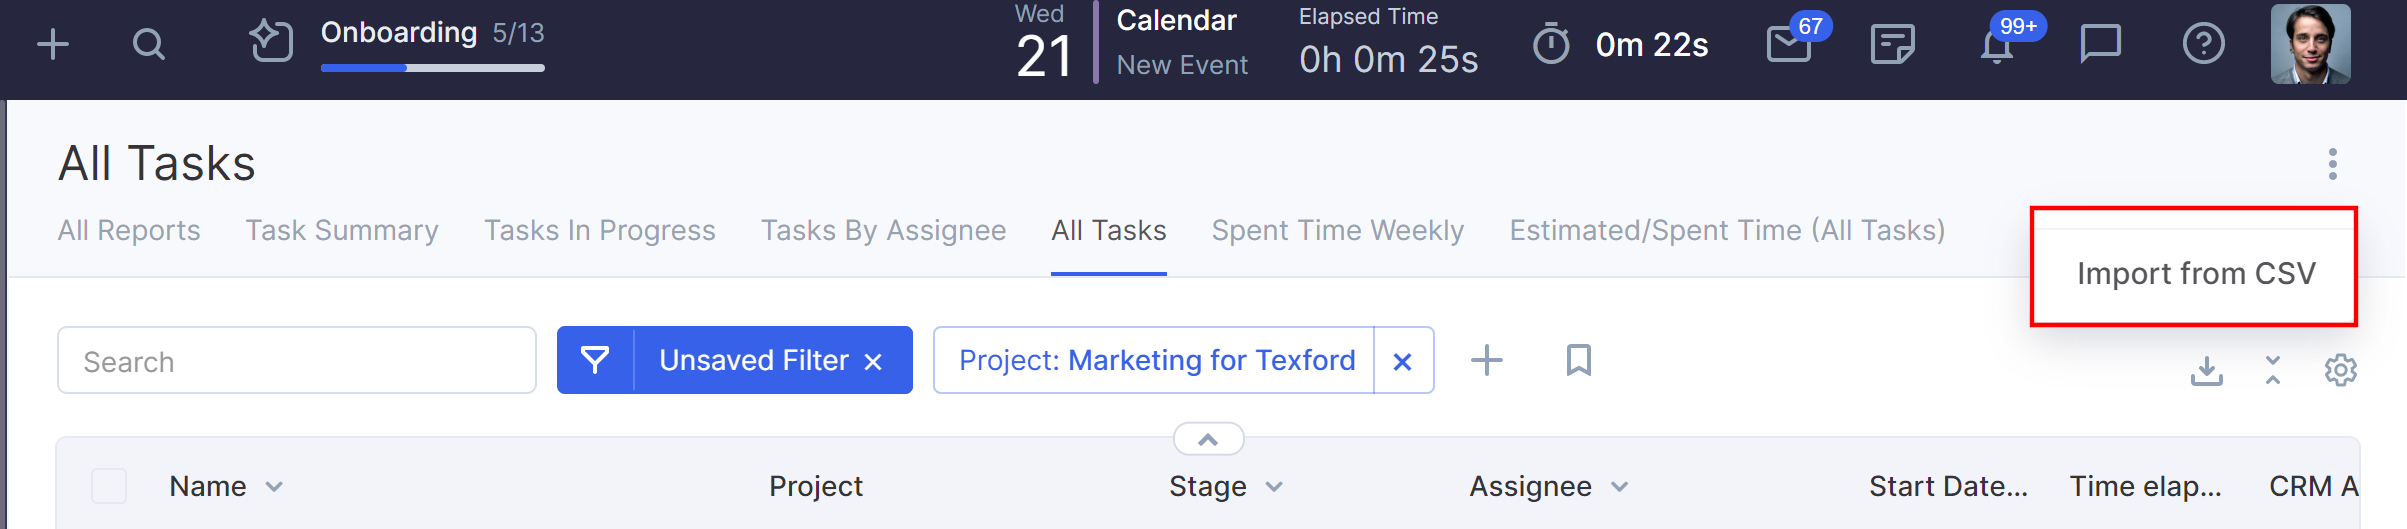
Import is also available from the Reports page > All tasks. Then press the three-dots button and select Import from CSV option.
Step #1. Import Settings
- upload the CSV file with tasks;
- select the file encoding (we recommend setting Auto-Detect);
- select the column separator;
- if the first line in your file contains field names (titles), check the checkbox;
- set the default task owner;
- set the default assignee;
- select the name format for user search.

Step #2. Field Matching
As soon as the file is uploaded, the Next button will appear at the bottom to the right of the form, click on it and go to the field matching.
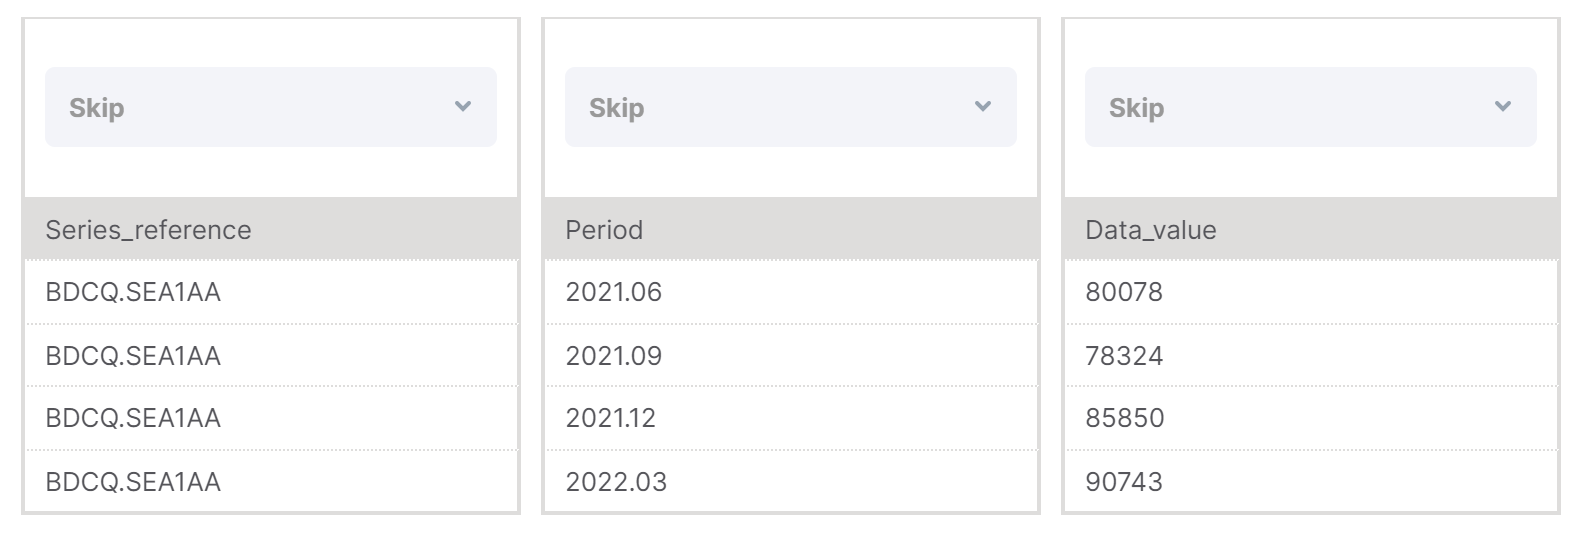
If your file has been correctly recognized by the system, then you will see blocks arranged horizontally, each of which corresponds to a column in your file.
If you see a different picture, it means the file was not correctly recognized—check that the separator is selected correctly in step 1. If you cannot fix the problem, please contact our support team by email: [email protected] or via app messenger.
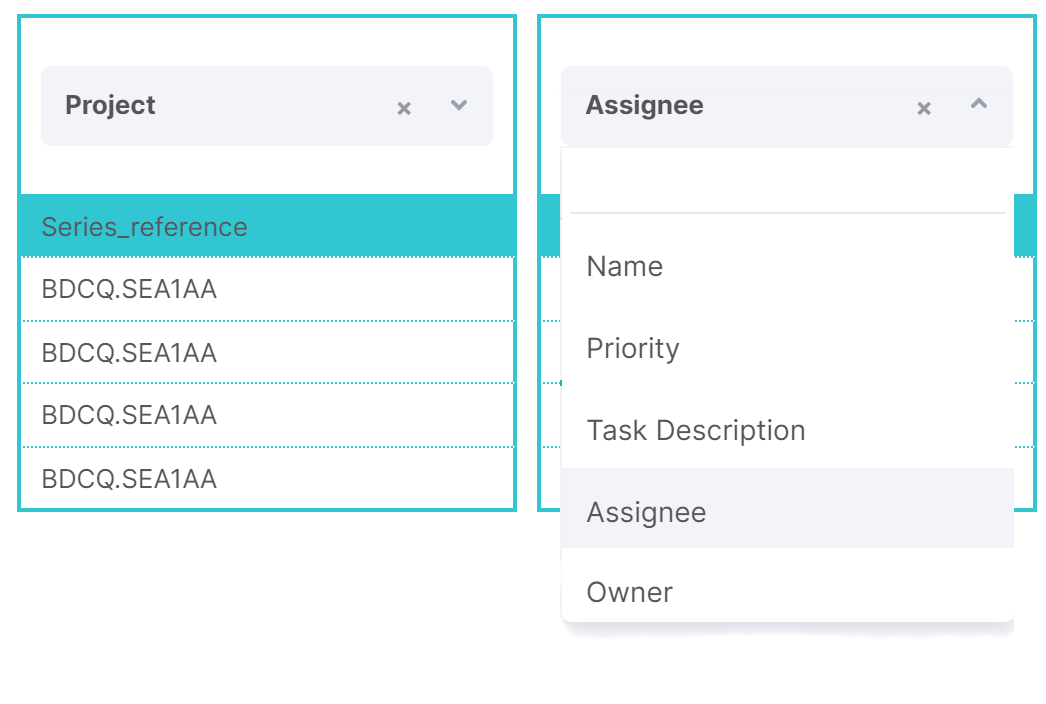
Next, select the Flowlu field in which the field data of the imported file will be written, if you want to skip the field, then select the skip option.
If you want to attach your tasks to the projects, then enter the name of the project in the field of the file being imported. If the project is found in Flowlu, the task will be added to it. Otherwise, new project will be created.
After setting the field matching, similar to step 1, click Next.
Step #3. Duplicate Control Settings
If the tasks have already been entered into Flowlu, the system will find them (if it’s possible) and process them according to the selected option:
- Allow (All data will be imported without duplicates);
- Replace (All fields will be replaced by imported data);
- Merge (All empty fields will be replaced with imported data);
- Skip (Duplicate records will be skipped).
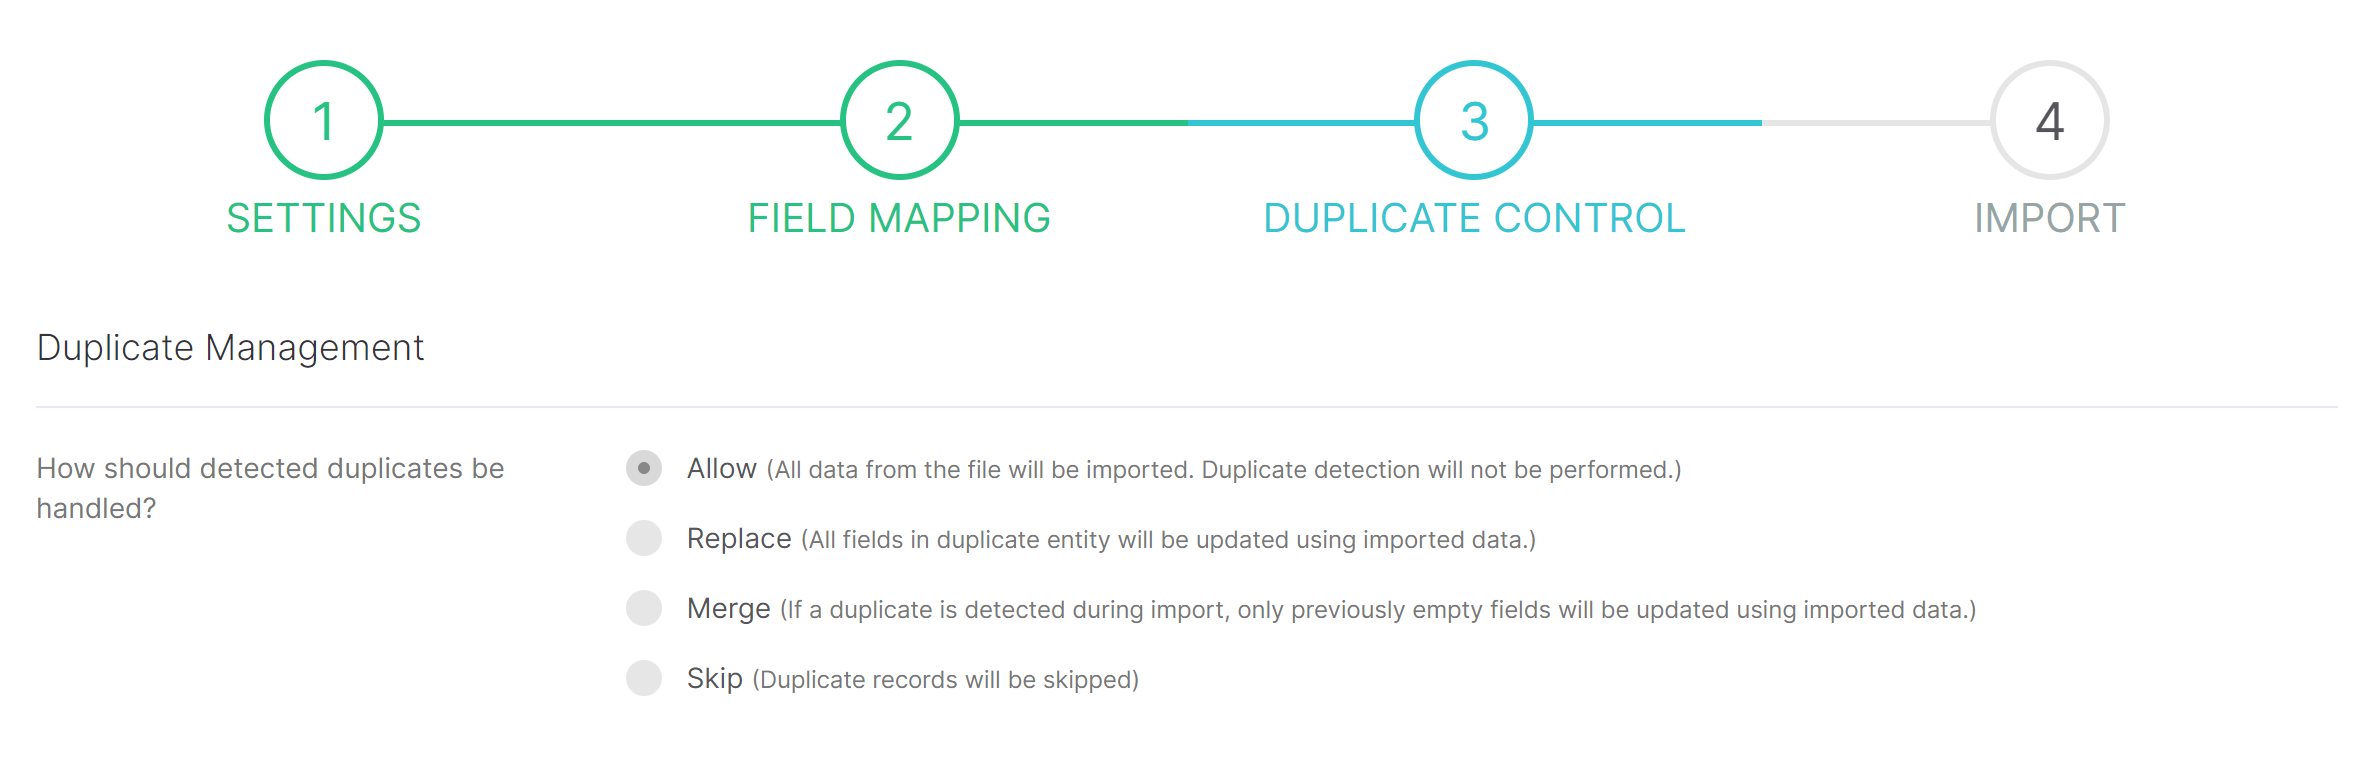
Select the relevant option and start the import with the Next button.
After a successful import, you will see a confirmation page and you can proceed to work with tasks.
