Setting a Custom Estimate Template
Advanced custom estimate templater allows you to create and customize estimate forms: change blocks and table order, create additional fields to show them by default in your estimates. You can also change appearance settings, text color, estimate background, etc.
Creating a New Template
Settings for templates can be altered in the Portal Settings → Finances → Estimates
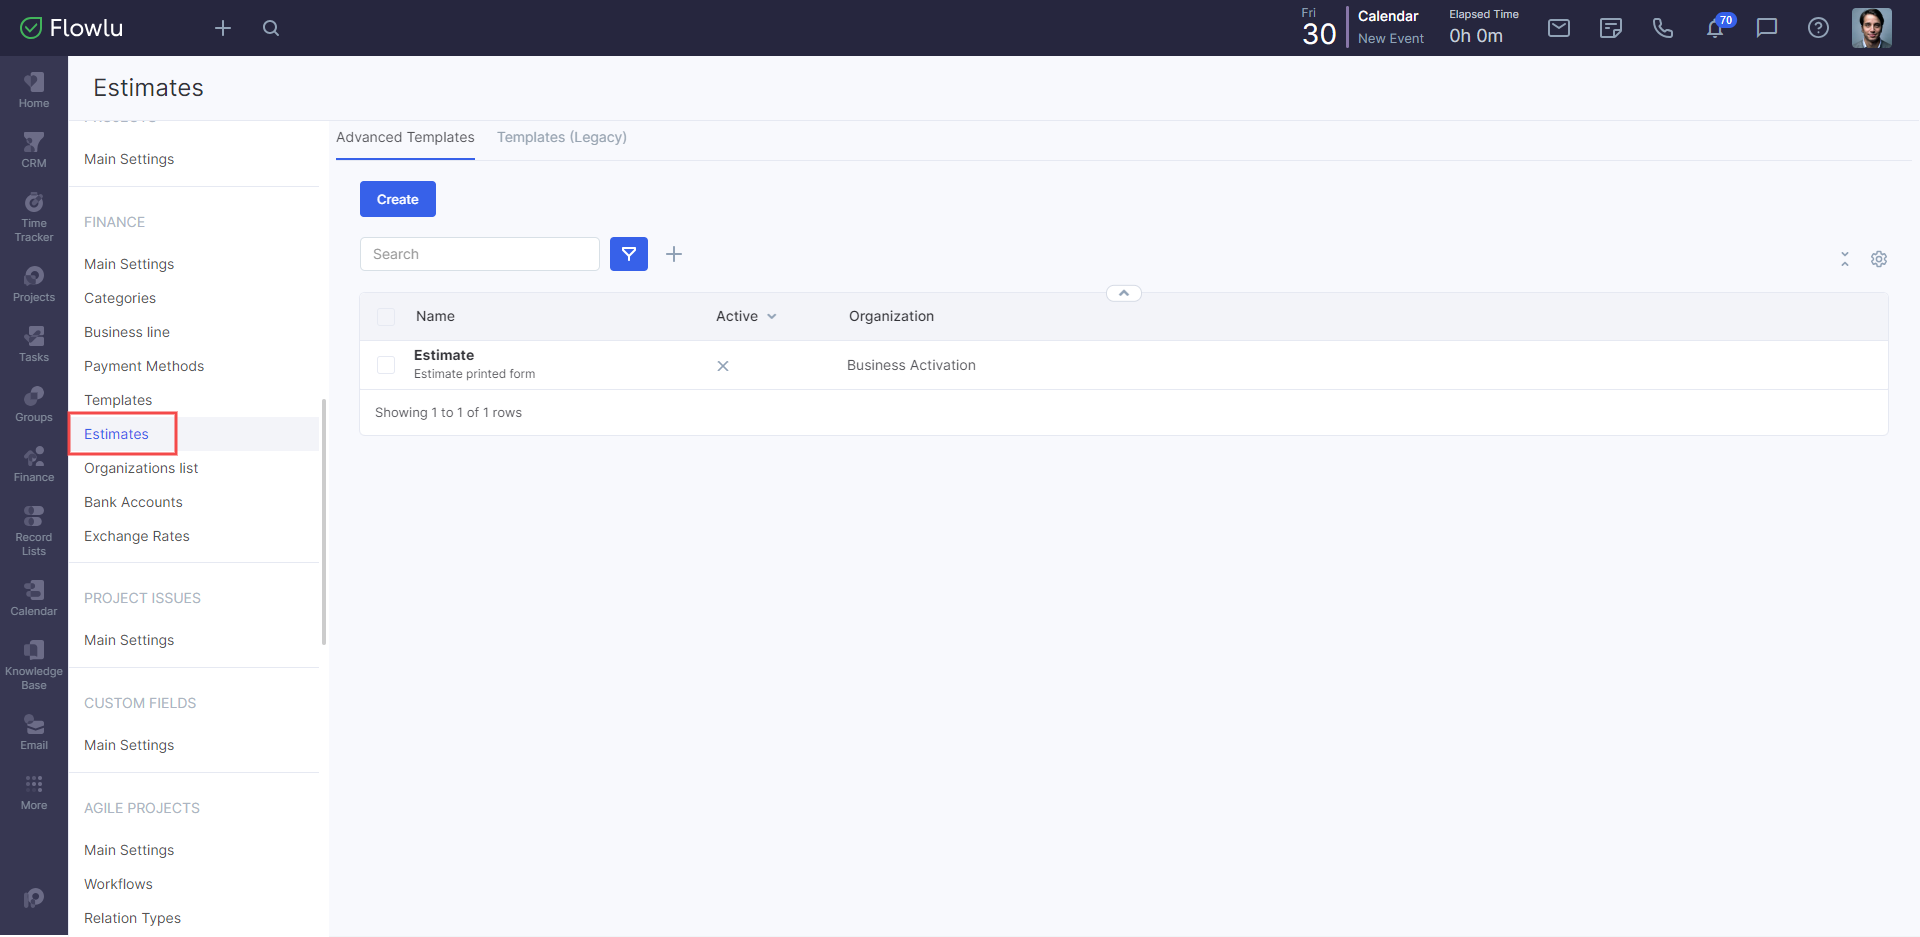
Here you can find the default templates for each organization (if you have more than one). You can modify them or create additional ones. To modify existing ones, click on the template title. Alternatively, click on the Create button to add a new one.
There is also a Legacy tab. This tab is available for all Flowlu users, who started to use Flowlu before the release of advanced estimate templates. All templates made with old settings are placed in the Legacy tab.
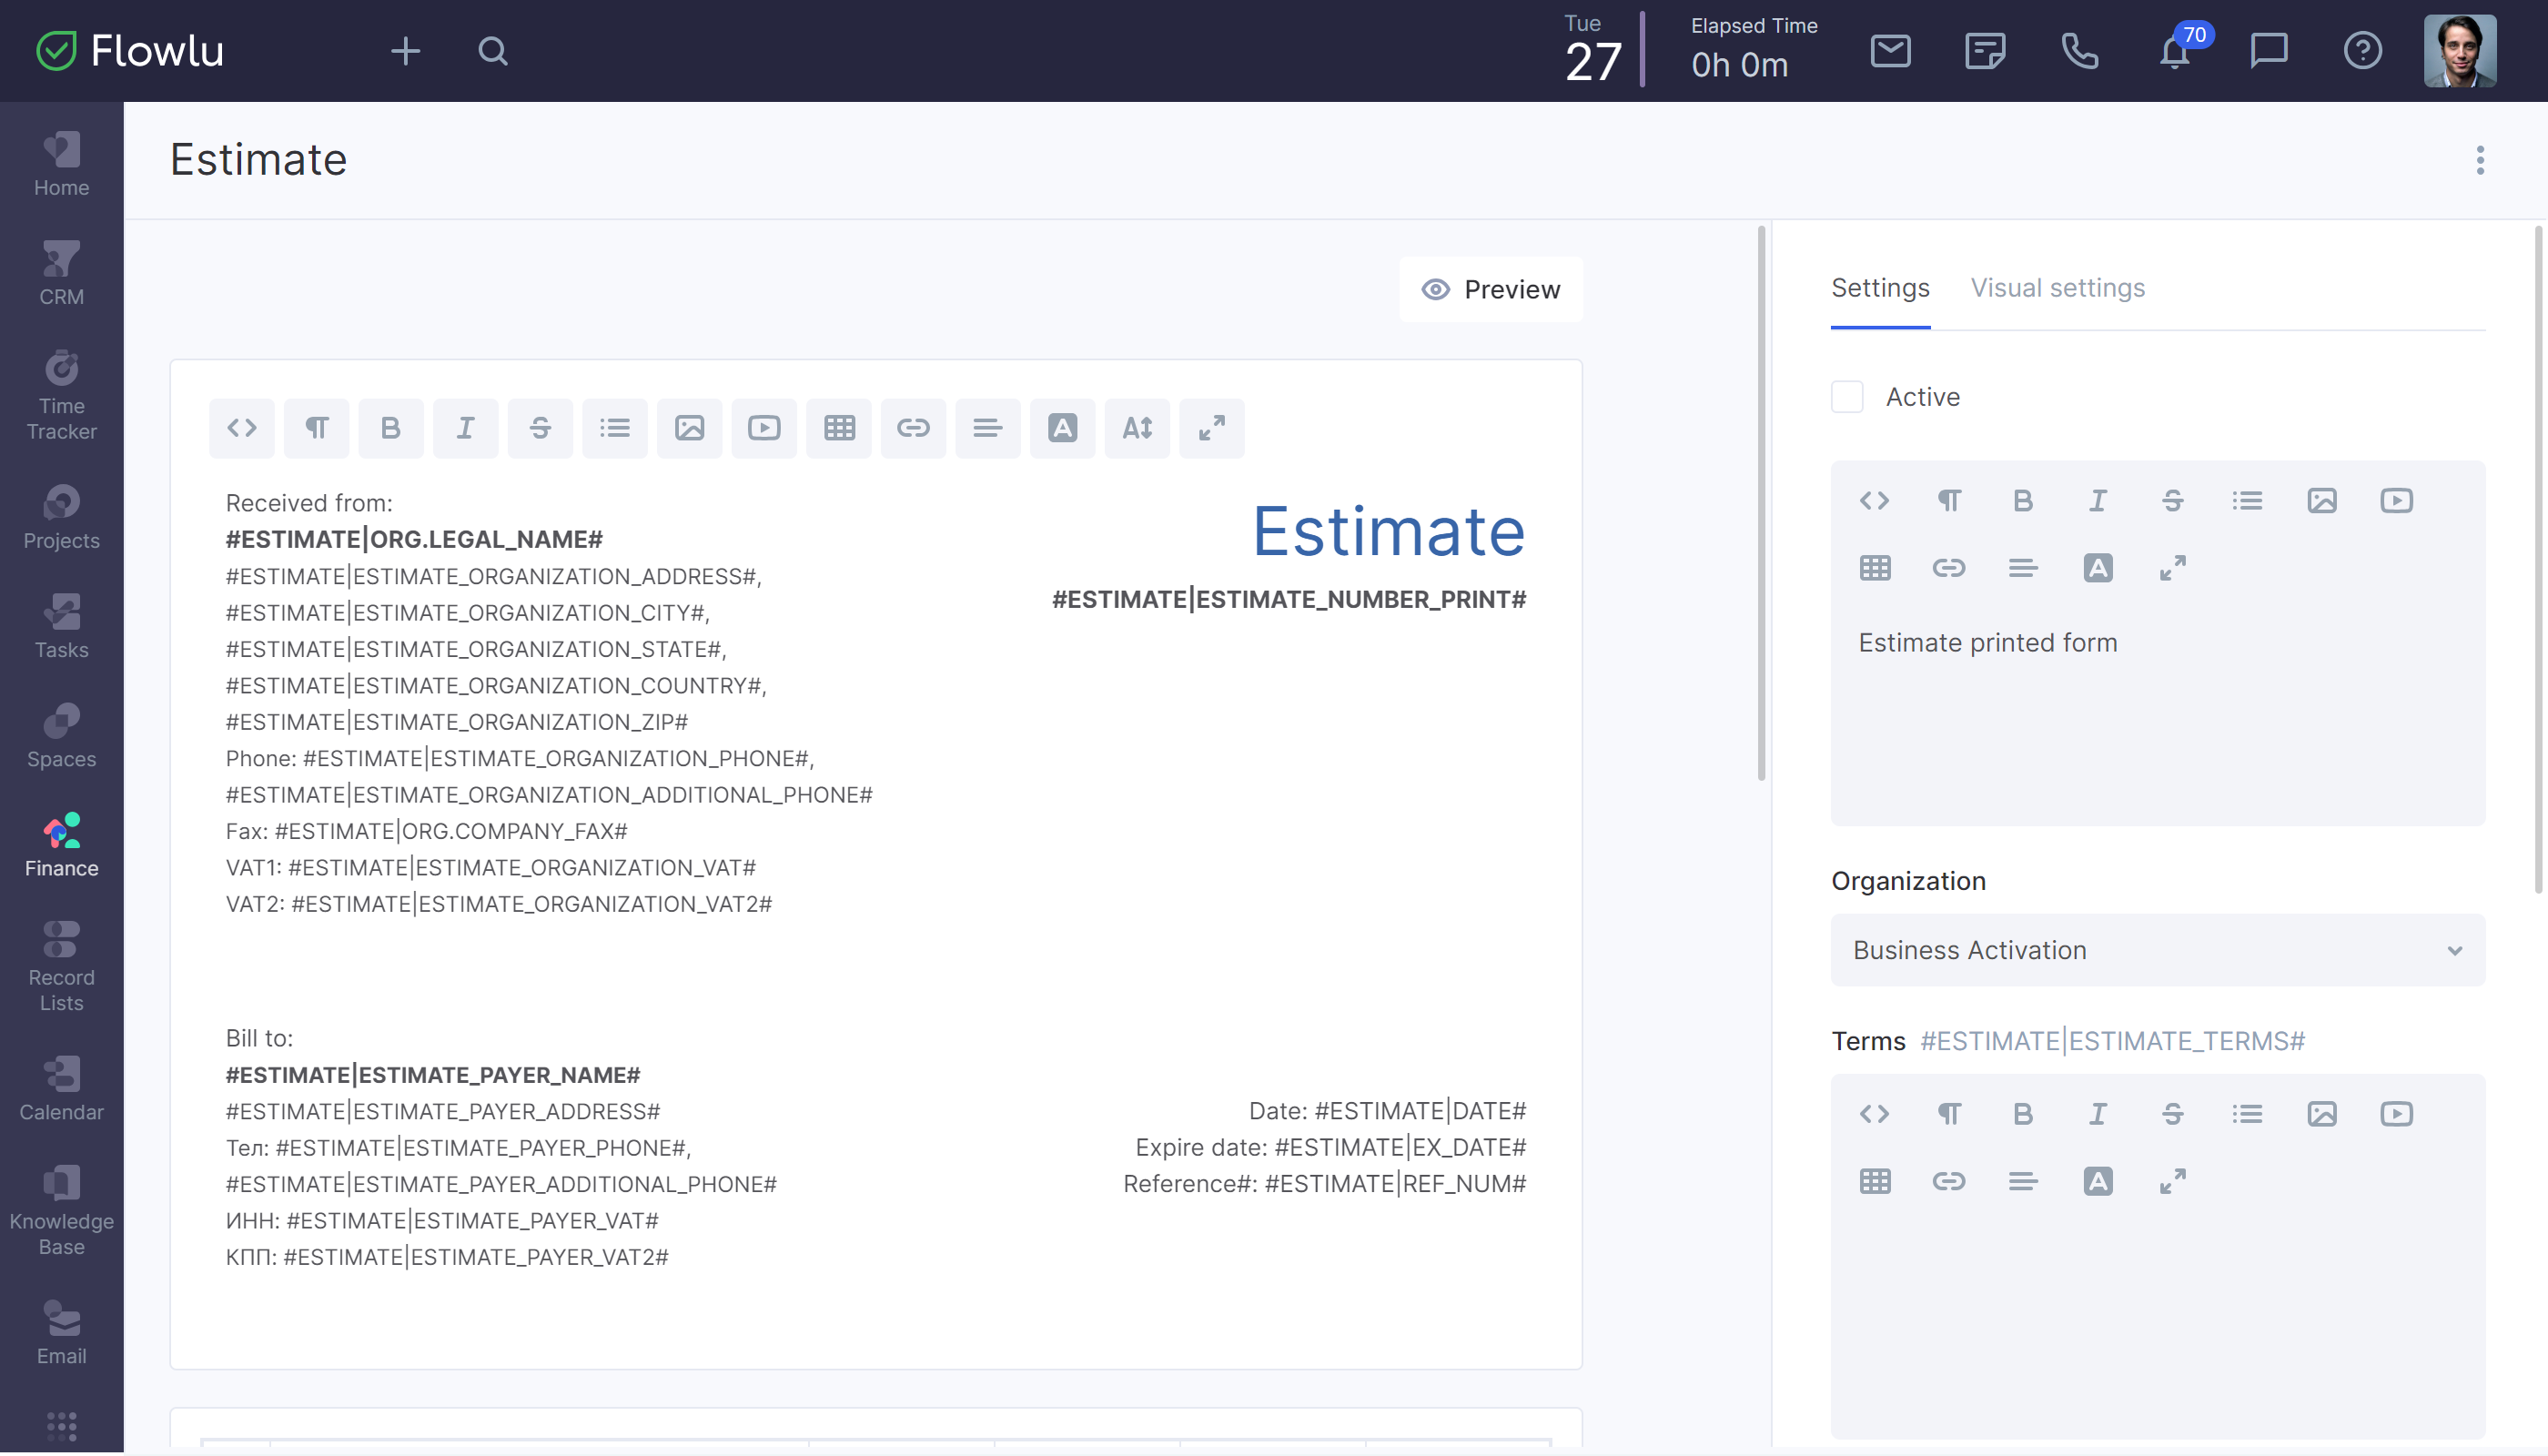
In the opened window, you can see a preview window and the right sidebar with template settings.
You have two common types of views, which you can switch between by clicking the Preview button. When the preview is enabled, you can change the visual settings of each block . When the preview is off, you can change general settings and customize each block by adding varieties, editing text, etc.
General Settings
The general settings for a template are displayed in the right sidebar. Here you can set the following configurations:
- Template Status. By checking the box, you can make the template active, so it’ll be available to select while creating a new estimate.
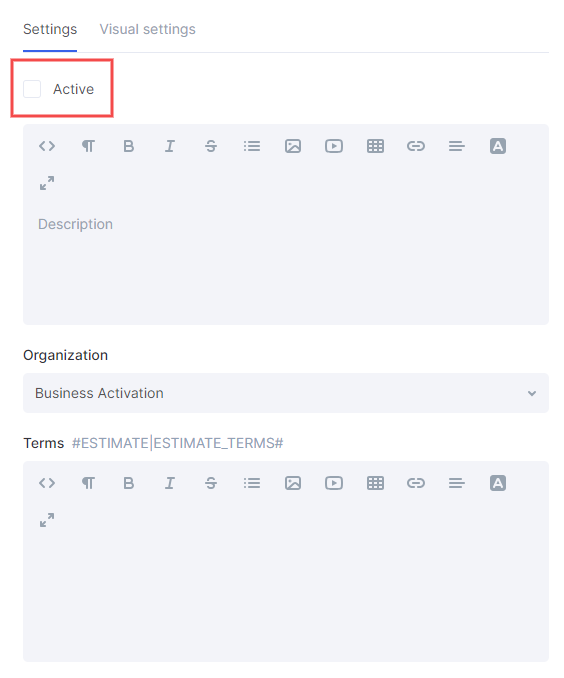
- Description. The description is open only to your teammates, so customers won’t see it. Here you can write any additional information, so it’ll be easier for teammates to navigate through templates.
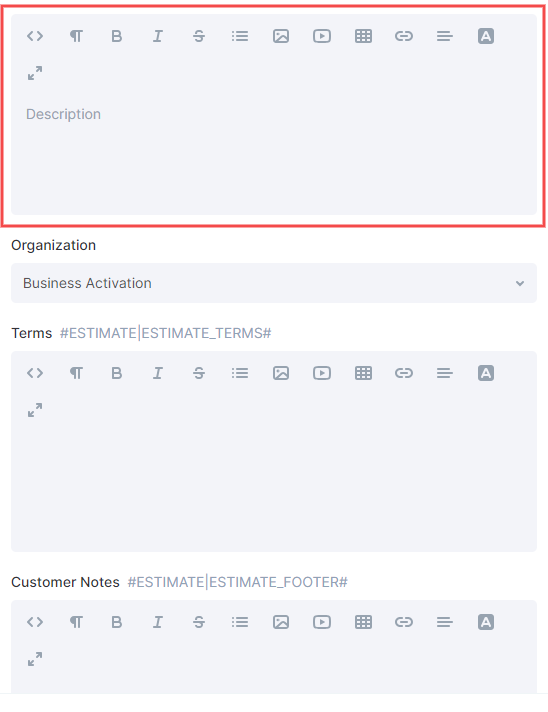
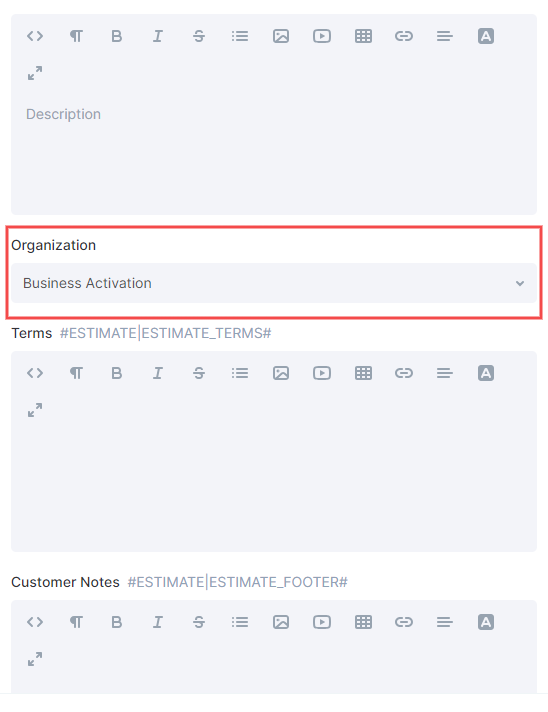
- Organization. If it’s set, the template will be allowed only for a certain organization.
- Terms & Conditions. Values from this field will be automatically shown in the variable: "#ESTIMATE|ESTIMATE_TERMS#". For example, once an estimate is created, it’ll turn to the estimate terms & conditions, and the value from this field will be automatically added to the variable "#ESTIMATE|ESTIMATE_FOOTER#".
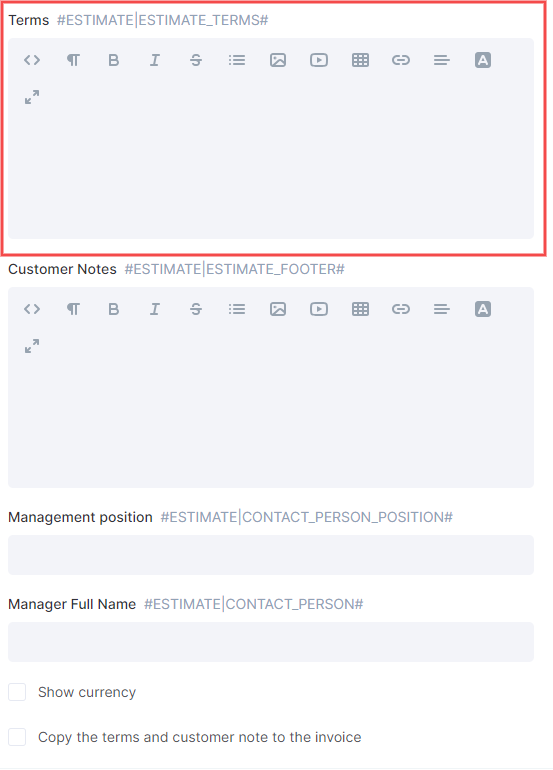
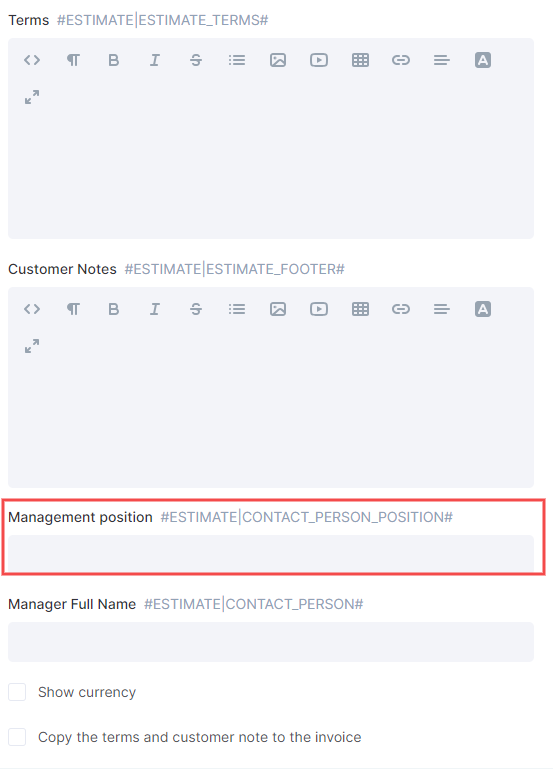
- Manager position. The value from this field will be automatically added to the variable "#ESTIMATE|CONTACT_PERSON_POSITION#"
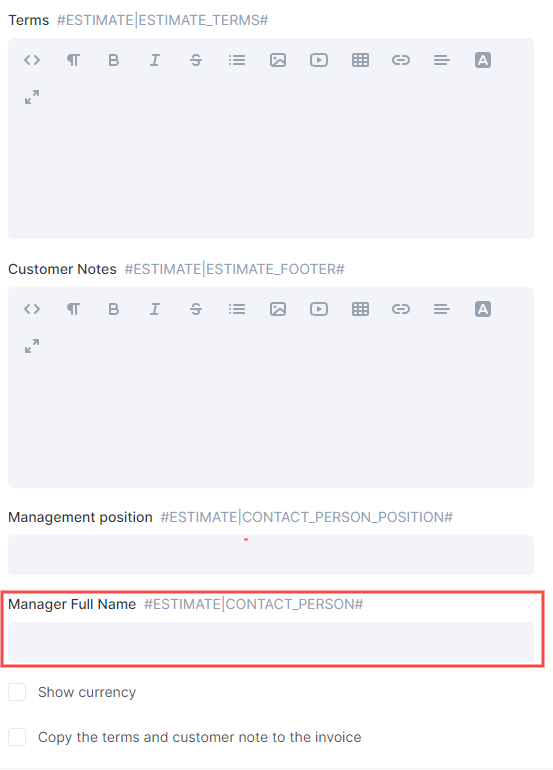
- Manager Full Name. The value from this field will be automatically added to the variable "#ESTIMATE|CONTACT_PERSON#"
- Show Currency option. If enabled, the currency’s code will be displayed next to the amount. For example, USD.
- Display the currency symbol instead of the currency code. If enabled, the currency symbol will be displayed next to the amount instead of the code. For example, use $ instead of USD.
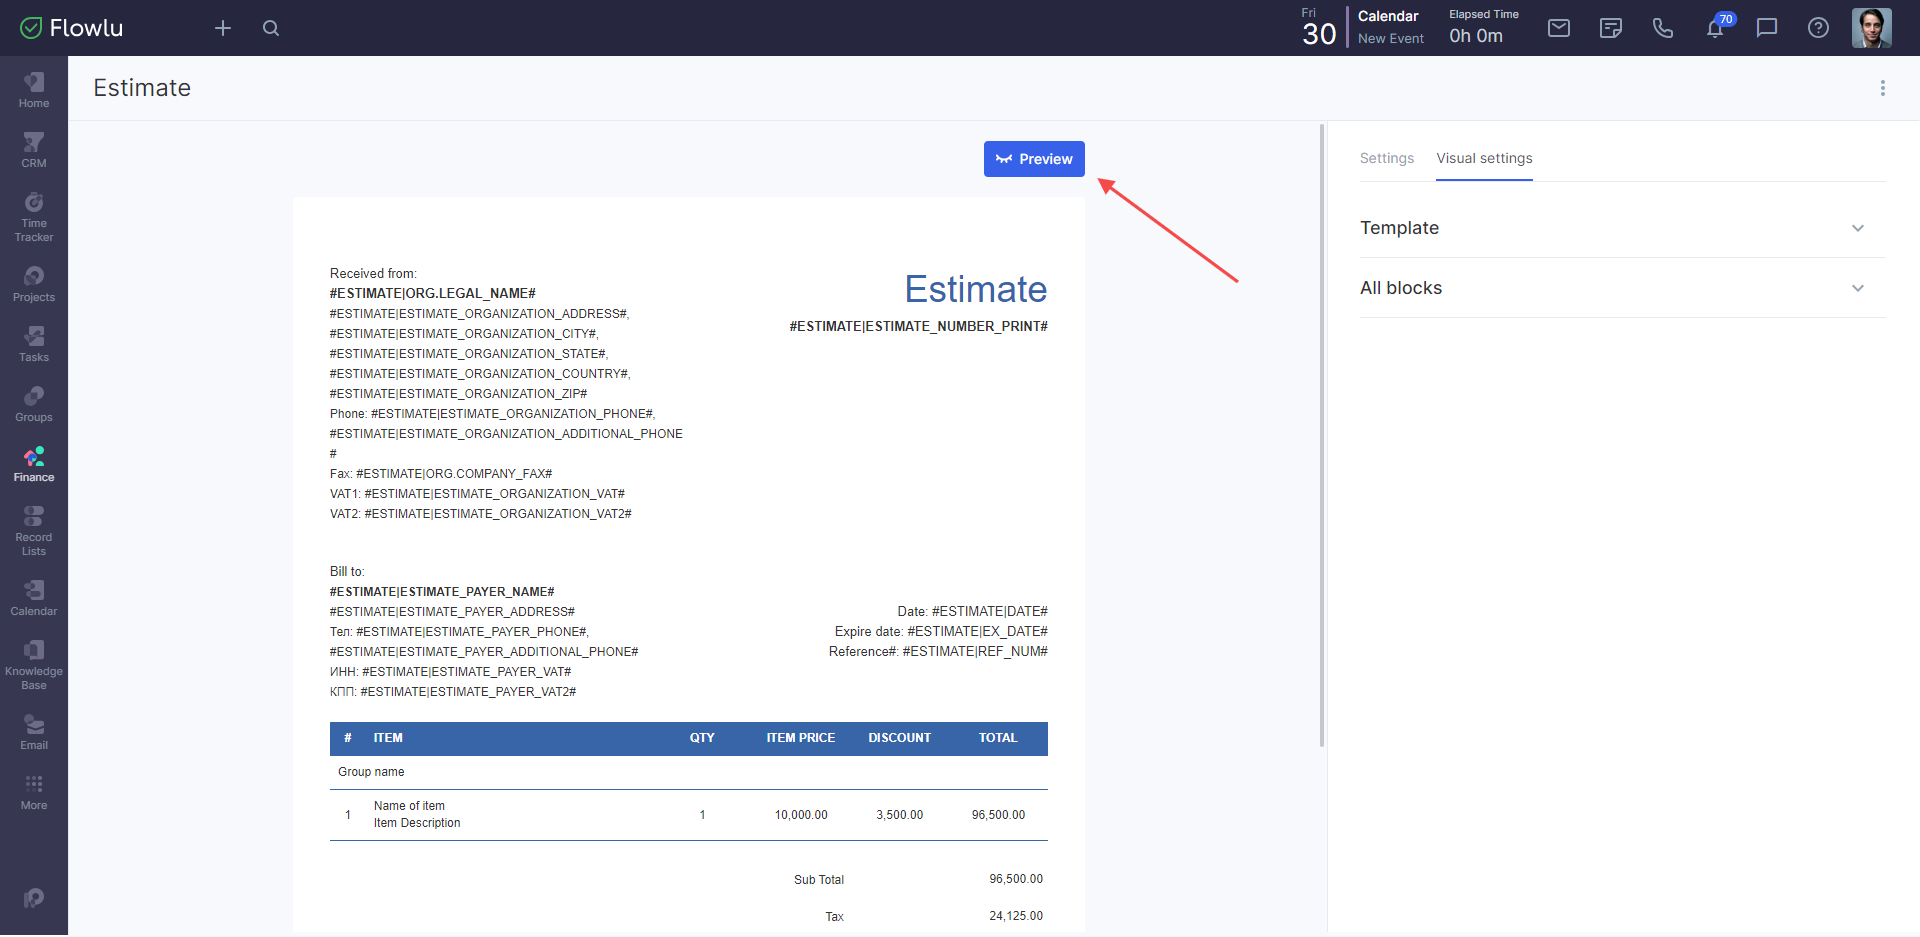
Visual Settings
This tab allows you to customize the whole estimate template and each single block. All visual settings are available on the Visual Settings tab or by clicking the Preview button.
By clicking on the Preview button, you can see the final result of your estimate template and change it as well.
Visual settings are split into three categories:
- Template. Template settings are applied to the whole estimate template. Here you can change the background color, padding, and add a background image. By clicking the three-dot button, you can quickly reset the template to its default settings. For paddings, light indicators will show which side will be changed.
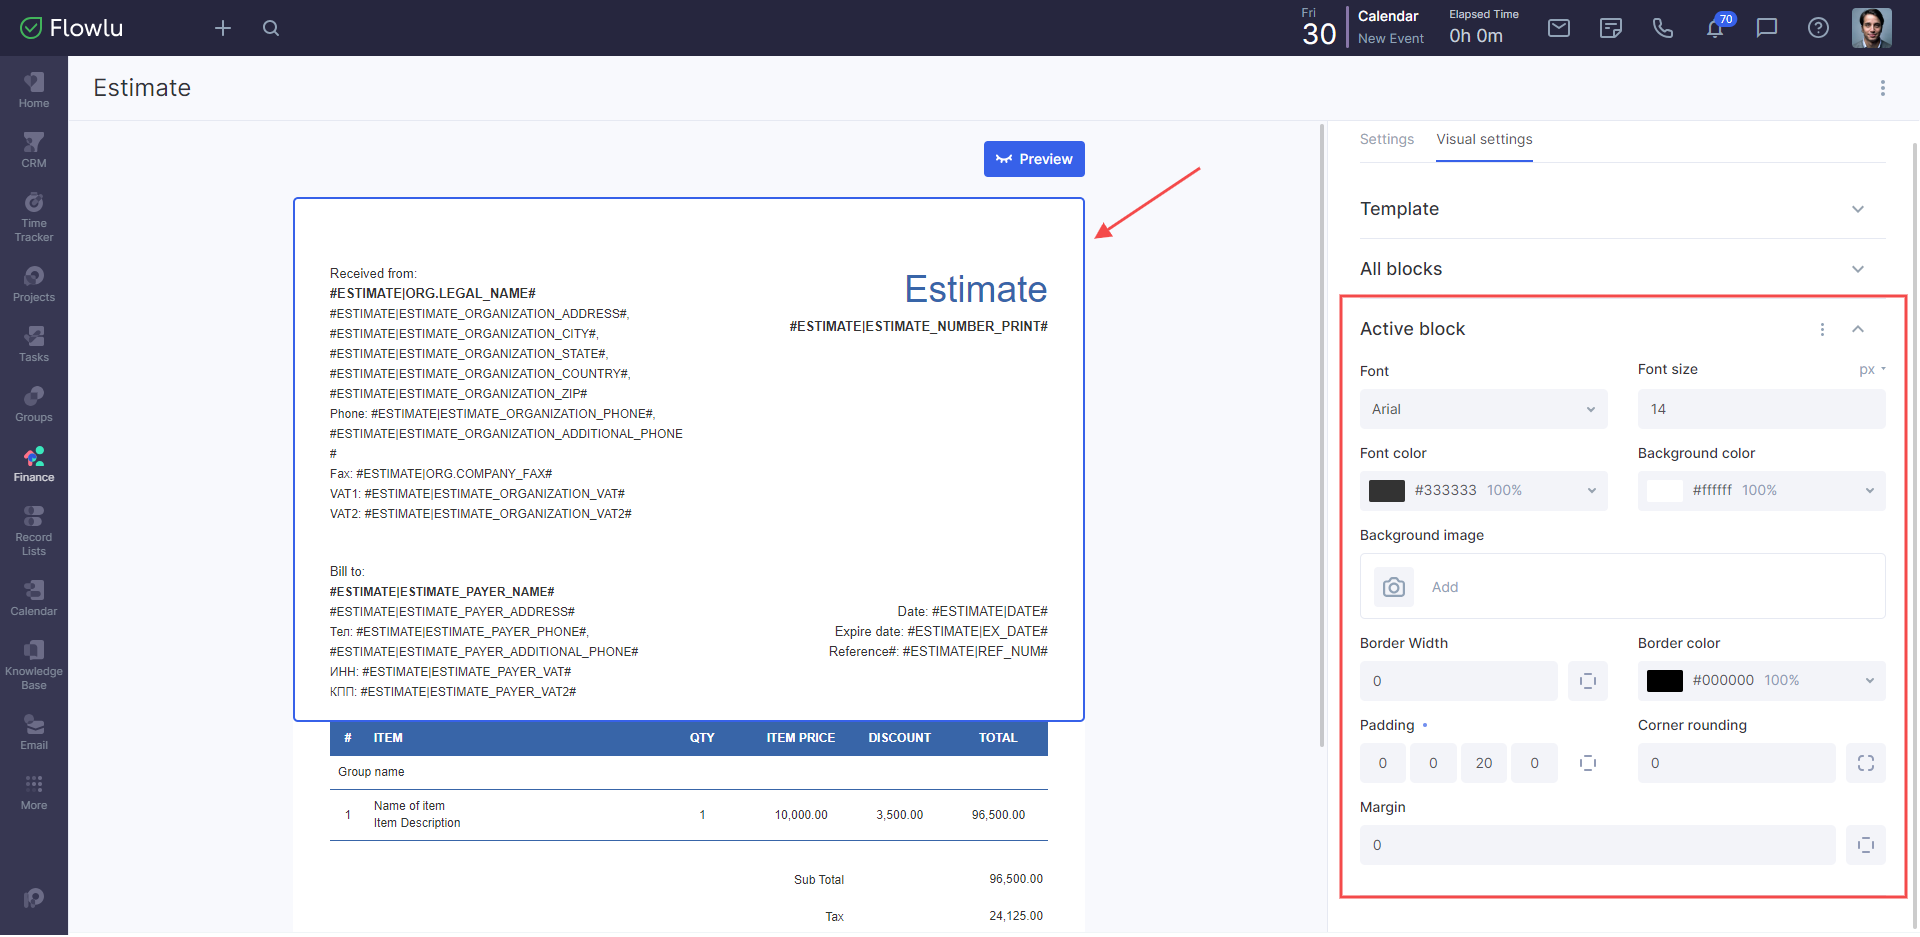
- All Blocks. These settings are applied to all template blocks by default. You can change the font, its size and color, the block background, borders and their colors, padding, corner rounding, and margin.
- Active block. You can change each single block by clicking on it. All the settings will be applied only to this block. By default, each block has settings for the whole template.
Each block has its own settings, depending on the type. For example, a header with contact information and a footer with the total amount have different settings and features.
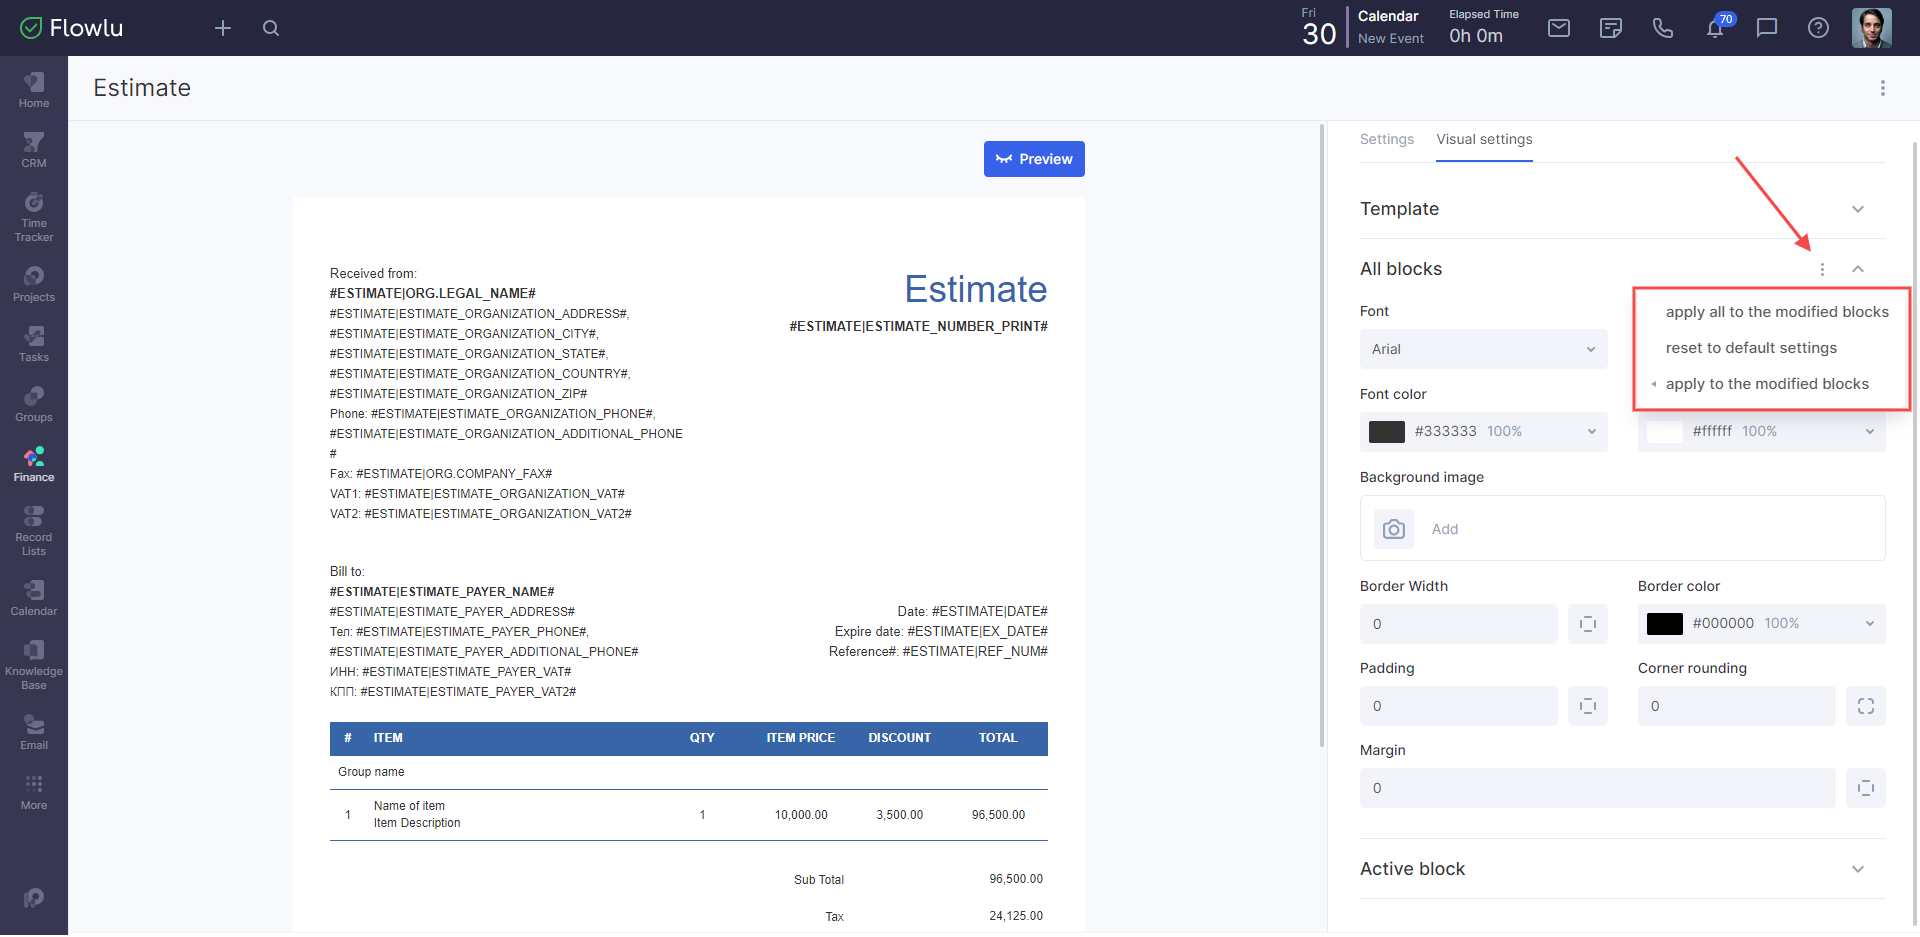
For all block settings, you can make additional changes by clicking the three-dot-button:
- Apply them all to the modified blocks. All changes will be applied to other modified blocks. For all modified settings, there is a blue dot next to them.
- Reset to default settings. All changes will be canceled for all blocks.
- Apply to the modified blocks. You can choose which setting to apply to all blocks that were modified.
Estimate Template Blocks
Each estimate consists of blocks, which you can add, edit, delete, and mix.
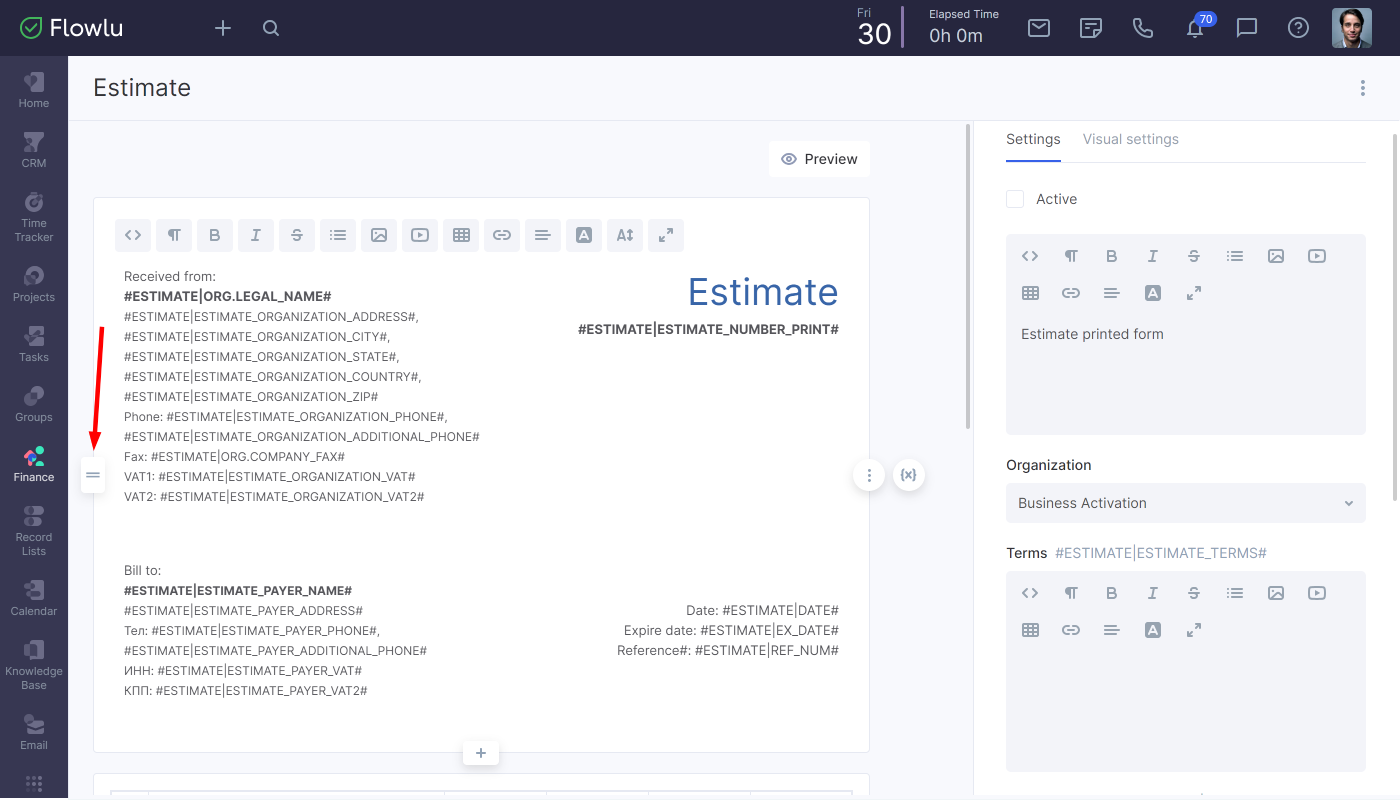
You can drag and drop each block by holding the button left of the block.
By clicking the three-dot button next to the block, you can apply advanced settings, unique to each block. You can also delete or change visual settings. Some blocks can be duplicated, depending on the type. Examples of unique blocks: the "Total" block and "Products"
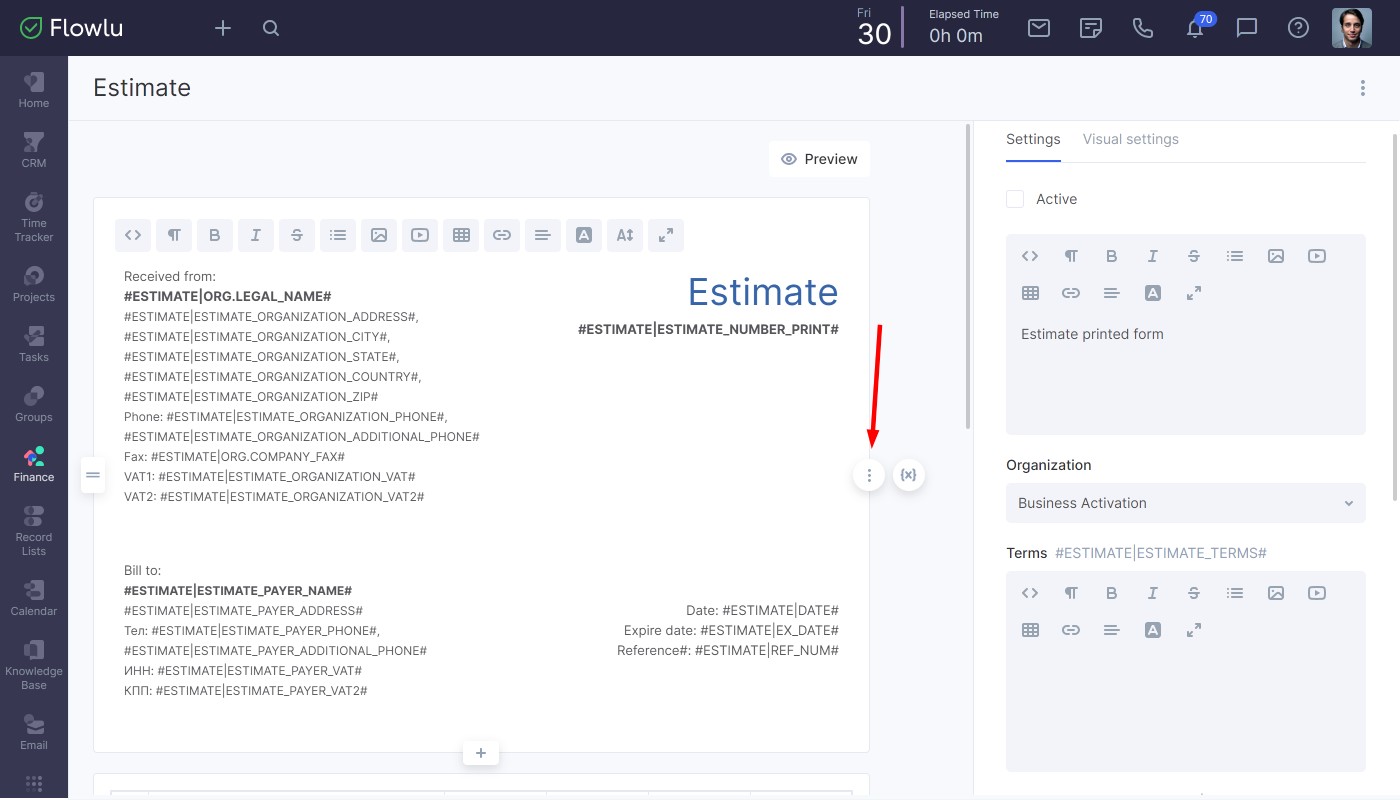
For blocks with text content, you can find the "variables" button next to the three-dot button. A variable will add an actual value to the final estimate, for example, an organization's phone number.
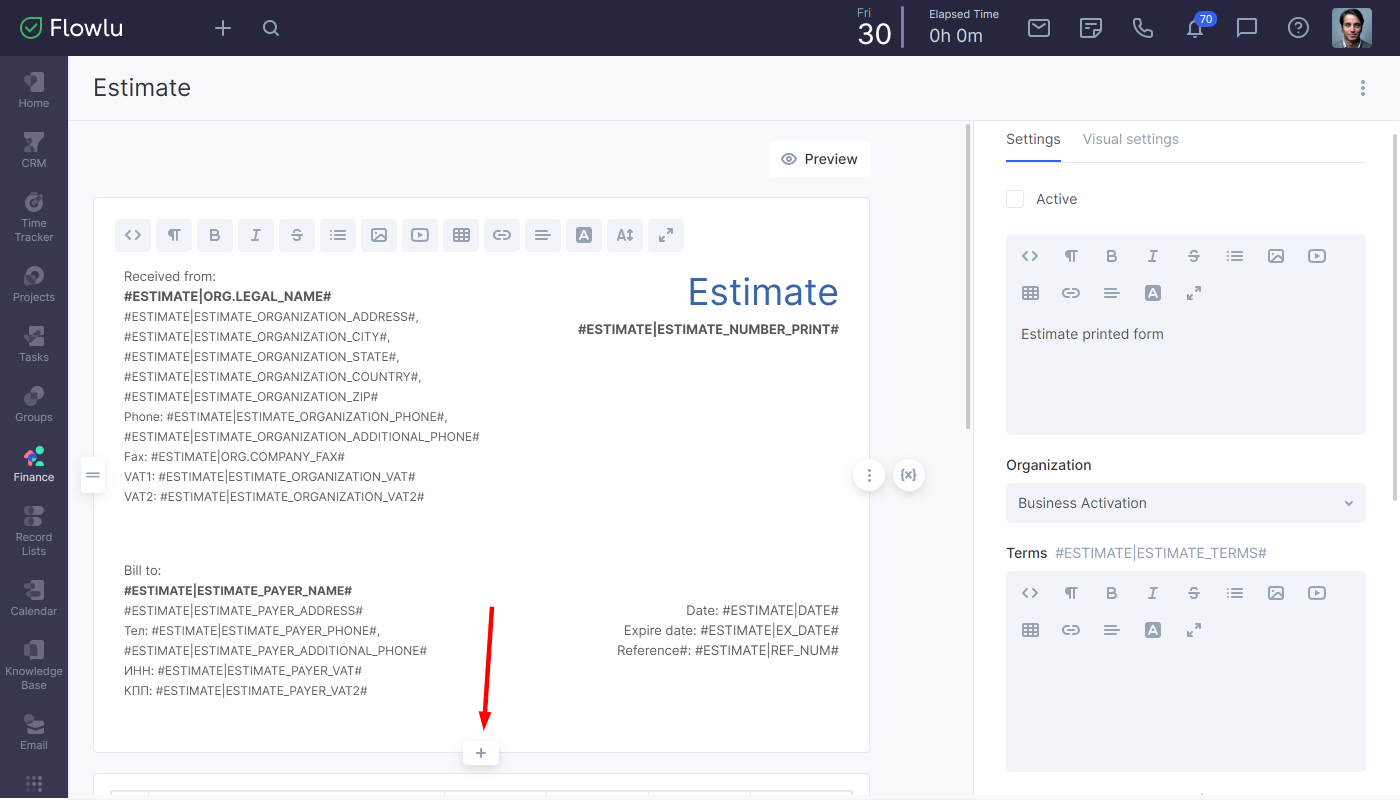
By clicking the + button, you can add a new block.
Intro
It’s a default block, which is different for all templates. For example, here is how it looks in the international estimate template:
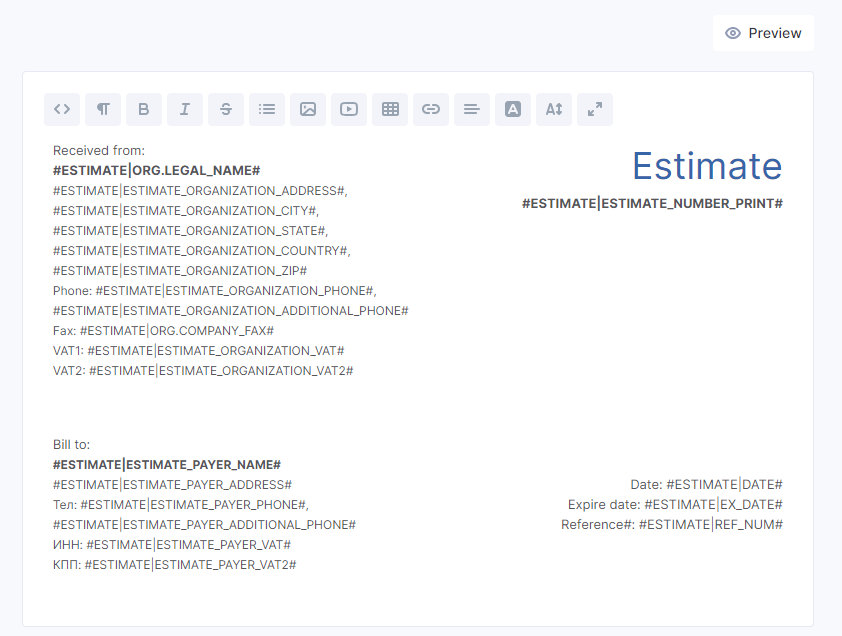
It’s important to note that this block is based on the table structure, and you should consider it while creating a template. To make your work process smooth, use the "Table" option in the toolbar.
To change each cell, simply click on it. If you want to change the table's settings, click the Table icon on the toolbar.
You can add unlimited tables to the template. To add or delete tables, use the table icon on the toolbar.

By clicking the table icon, you can make the following changes:
Table. All changes will be applied to the whole table.
- Background
- Paddings
- Borders and their color
Cell. All changes will be applied only to a certain cell.
- Alignment
- Centring
- Background color
- Borders
- Width and height
- Merge/Split
Column. All changes will be applied to the whole column of the table.
- Insert column left
- Insert column right
- Delete column
Line. All changes will be applied to the whole line of the table.
- Add head
- Insert row above
- Insert a row below.
- Delete row
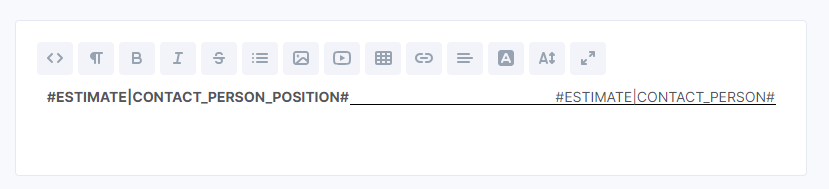
Signature
By default, this block contains two variables: #ESTIMATE|CONTACT_PERSON_POSITION# and #ESTIMATE|CONTACT_PERSON#
You can also enable the "Show stamp" option in the block settings and set its position.
Content
This block is completely empty, so you can set it up according to your needs. There are also some unique settings for this block: background and font color, and its size in pixels.
Image
This block allows you to only add images. In the active block settings, you can expand the image or remove borders.
Items and Total
These blocks have default settings and can’t be added to the template multiple times.
In the block settings, you make changes to the font, borders, text position, etc.
Separator
This block helps to separate parts of the estimate with a line. You can also set the color and width of a separator.
Page Break
This block splits the estimate into separate pages, which is also taken into account when creating a PDF file of the estimate.
All changes are saved automatically.
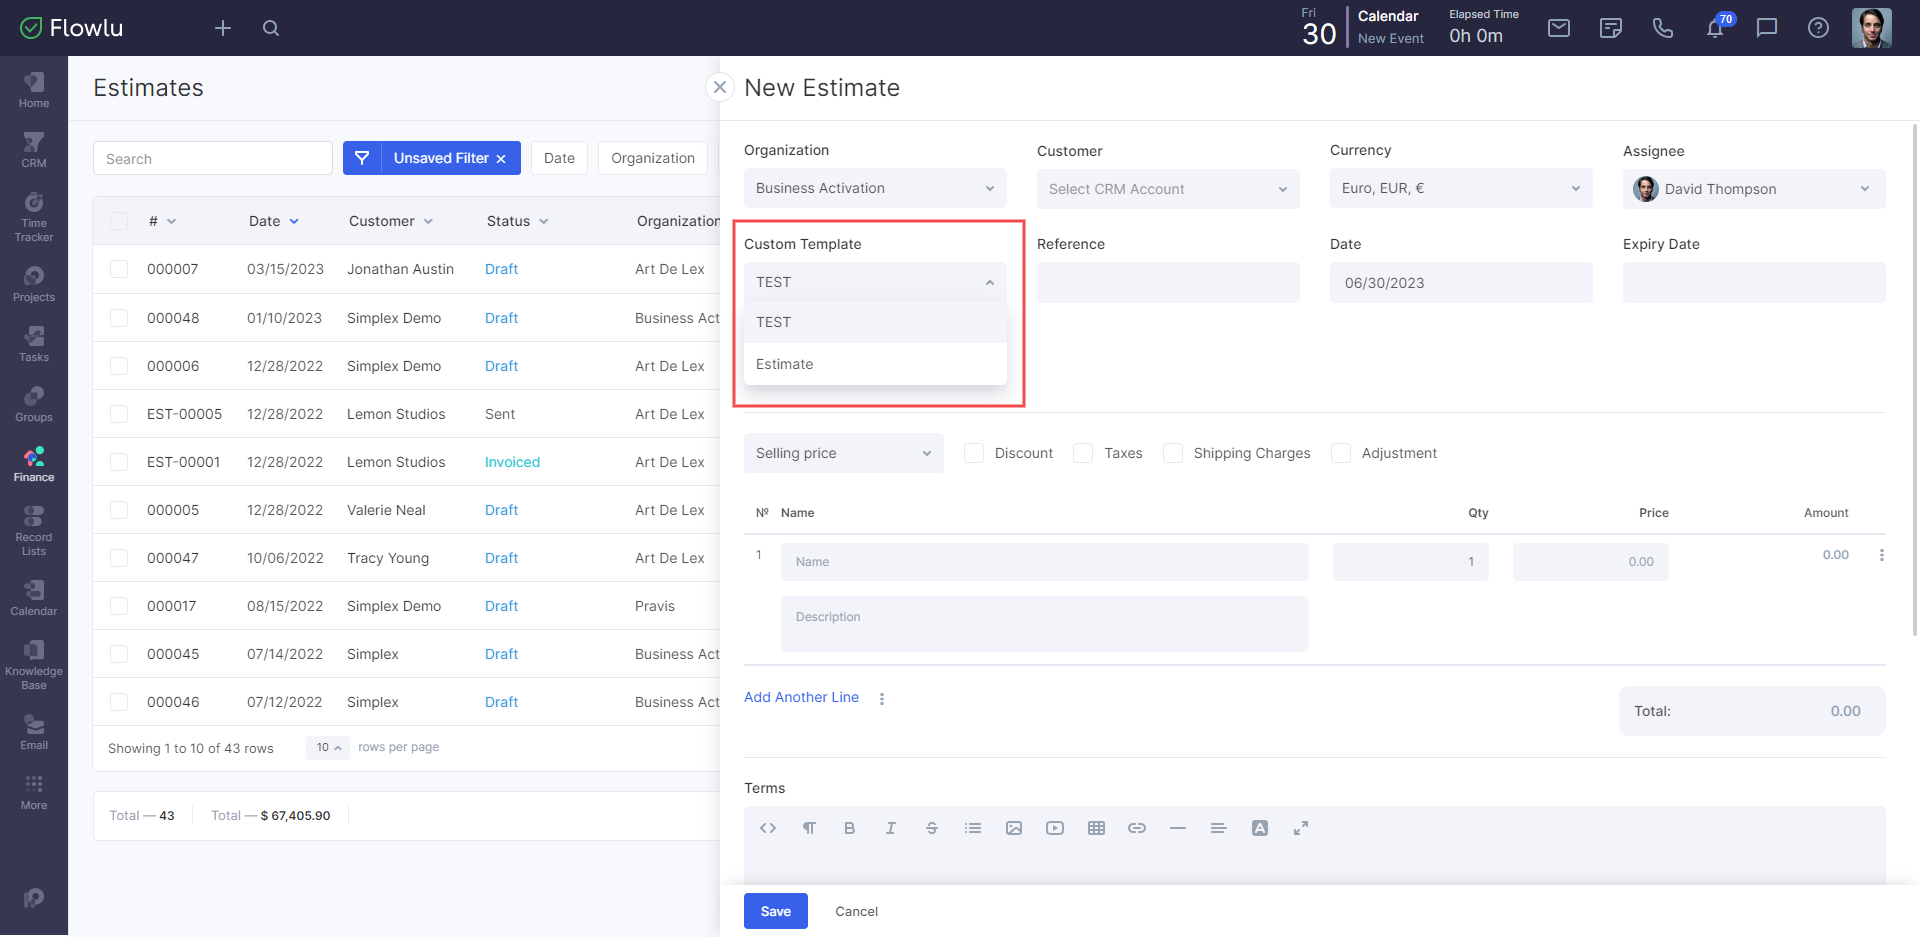
How to Use Templates
To create an estimate using your custom template, ensure that the template is active. Also, remember to link the template to the organization.
Go to the Finance module → Estimates and click the Create button.
In the opened window, choose the organization to which you linked template from the drop-down menu in the Custom Template field.