Organization Settings
In Flowlu, you can manage one or several companies and create Invoices, Estimates or track cash flow on their behalf.
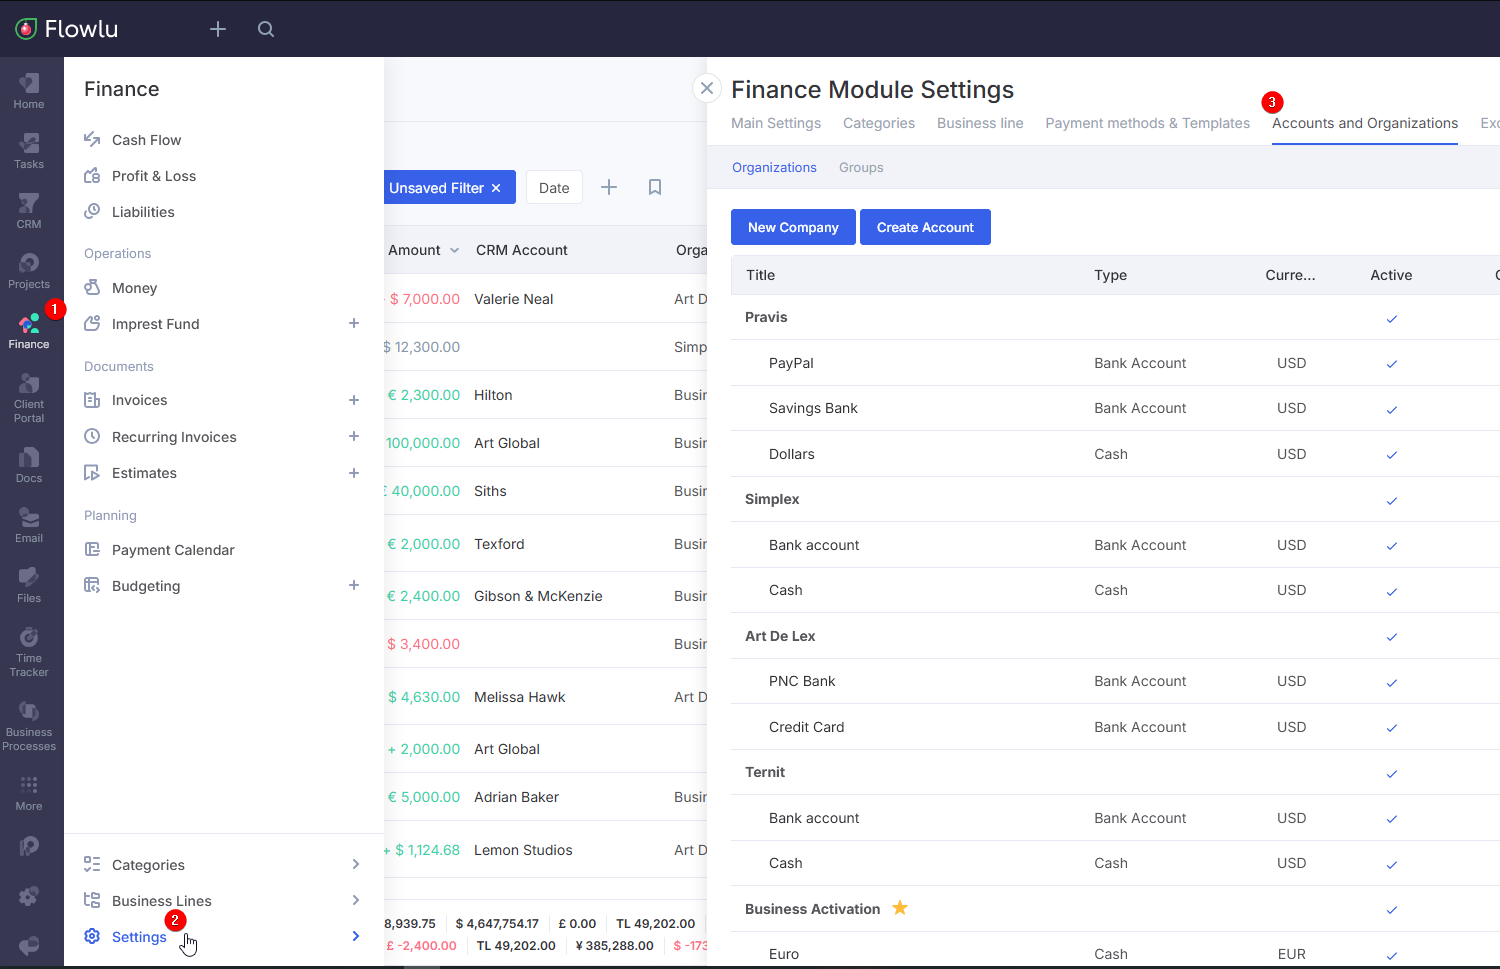
To edit information about your company, add a new bank account, or create a new company, go to Settings in the Finance module and select Accounts and Organizations
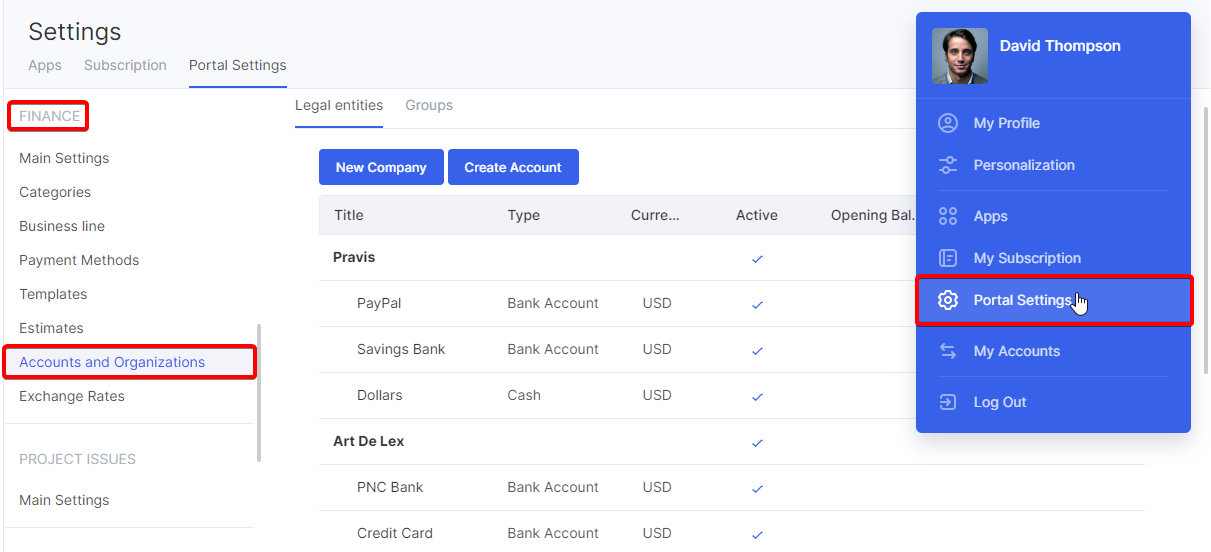
You can also edit your company by clicking the profile picture in the top right corner and going to Portal Settings → Finance → Accounts and Organizations.
You will see that one organization has already been created by default. To open its settings, click on its name:
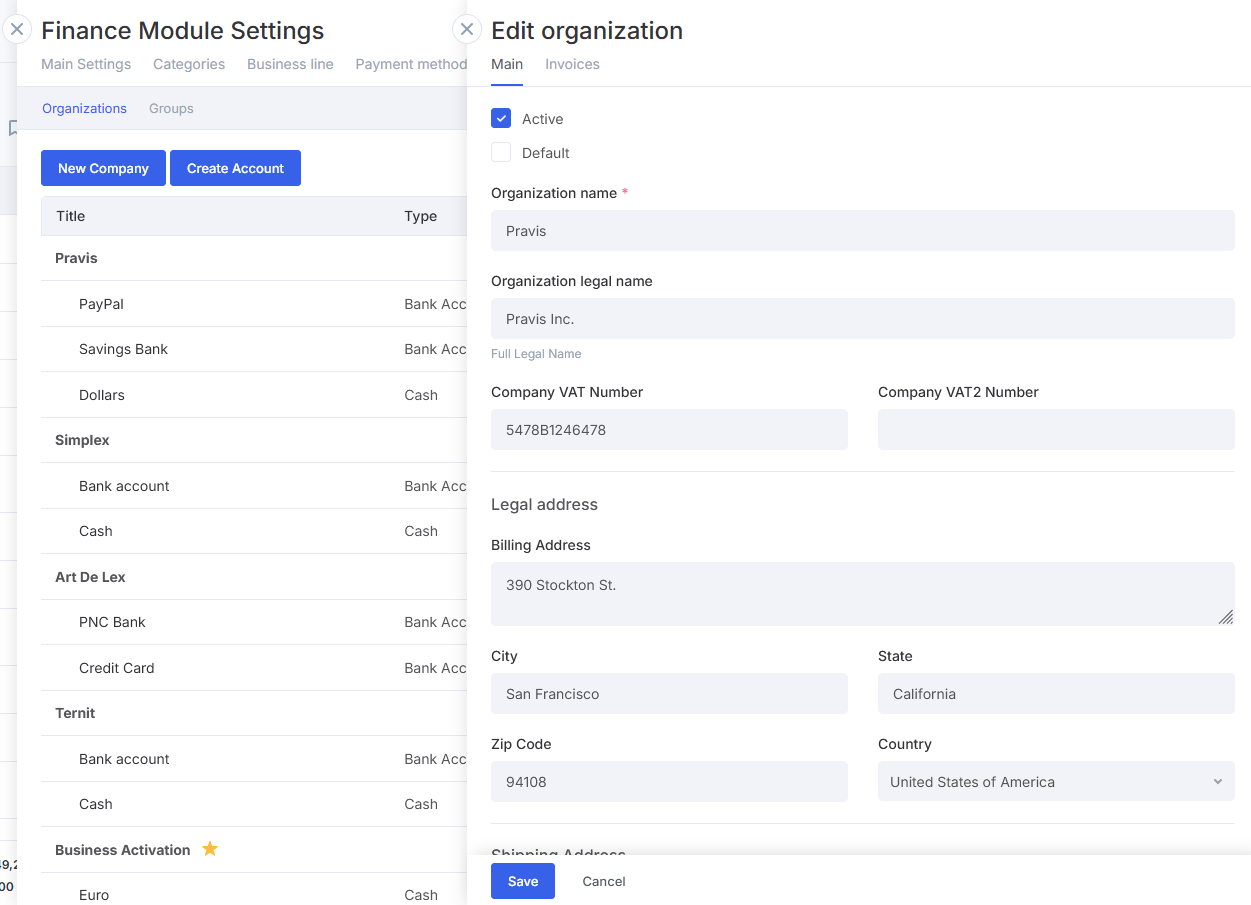
In the Main tab you can specify the following data:
- Organization name — short name for your company used only inside Flowlu, legal company name is used for all external documents.
- VAT number
- Legal and Shipping addresses.
- Contact Information — website, email, phone numbers, fax.
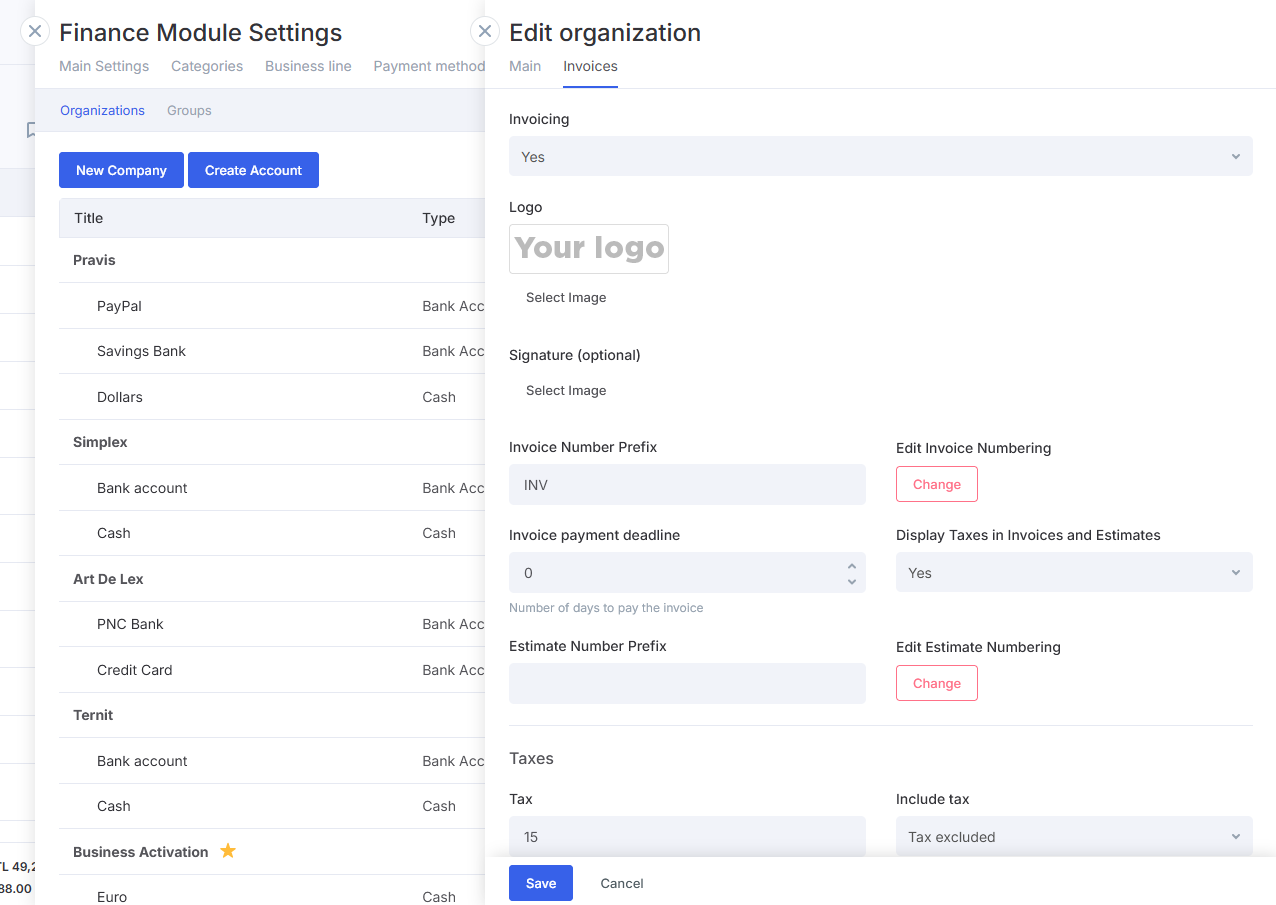
This includes:
- Taxes — you can add two tax rates for your company. If selected, a tax rate will automatically be applied and calculated in an Invoice
- Custom logo that can be displayed in documents
- Custom prefix before invoice number
- Starting number for Invoices and Quotes — new invoices will automatically be numbered based on the number you've entered. You can always reset the numbering and start it over from any other number.
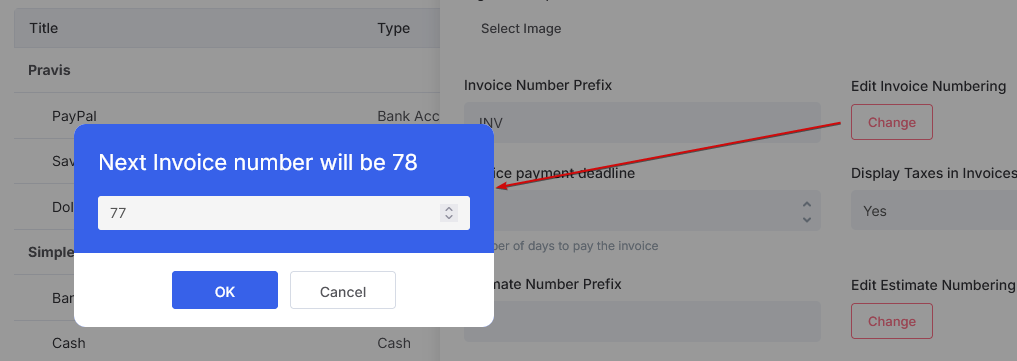
- Invoice payment deadline —set the number of days customers have to pay your invoices. The Payment Due date will automatically be calculated and displayed in an Invoice. If an invoice isn't paid by its due date, it will be marked as Overdue You can adjust payment terms for each invoice individually.
- Enable or Disable Taxes for Invoices and Estimates
Click Save at the bottom of the window when you've finished editing your organization.
If you plan to manage several organizations at the same time, mark the one that you issue Invoices for most often as Default
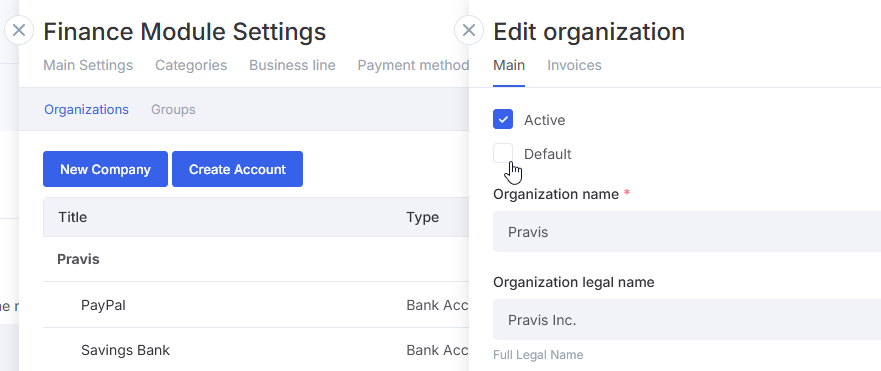
This organization will be selected in Invoices automatically, but you can also change it manually.

While you're on this page, you can also add another organization to your Flowlu account (1), or create a new bank account for your existing organization(s) (2)

