
Web Forms
Web forms let you collect requests from your website or any other channel and turn them into opportunities and contacts in CRM automatically — with no manual data entry.
There are two ways to access web forms:
- As a CRM administrator, navigate to the CRM module in the left-hand menu (1) and select "Web Forms" (2).

- As account administrator, go to Settings (1) in the left menu and open Portal settings (2).
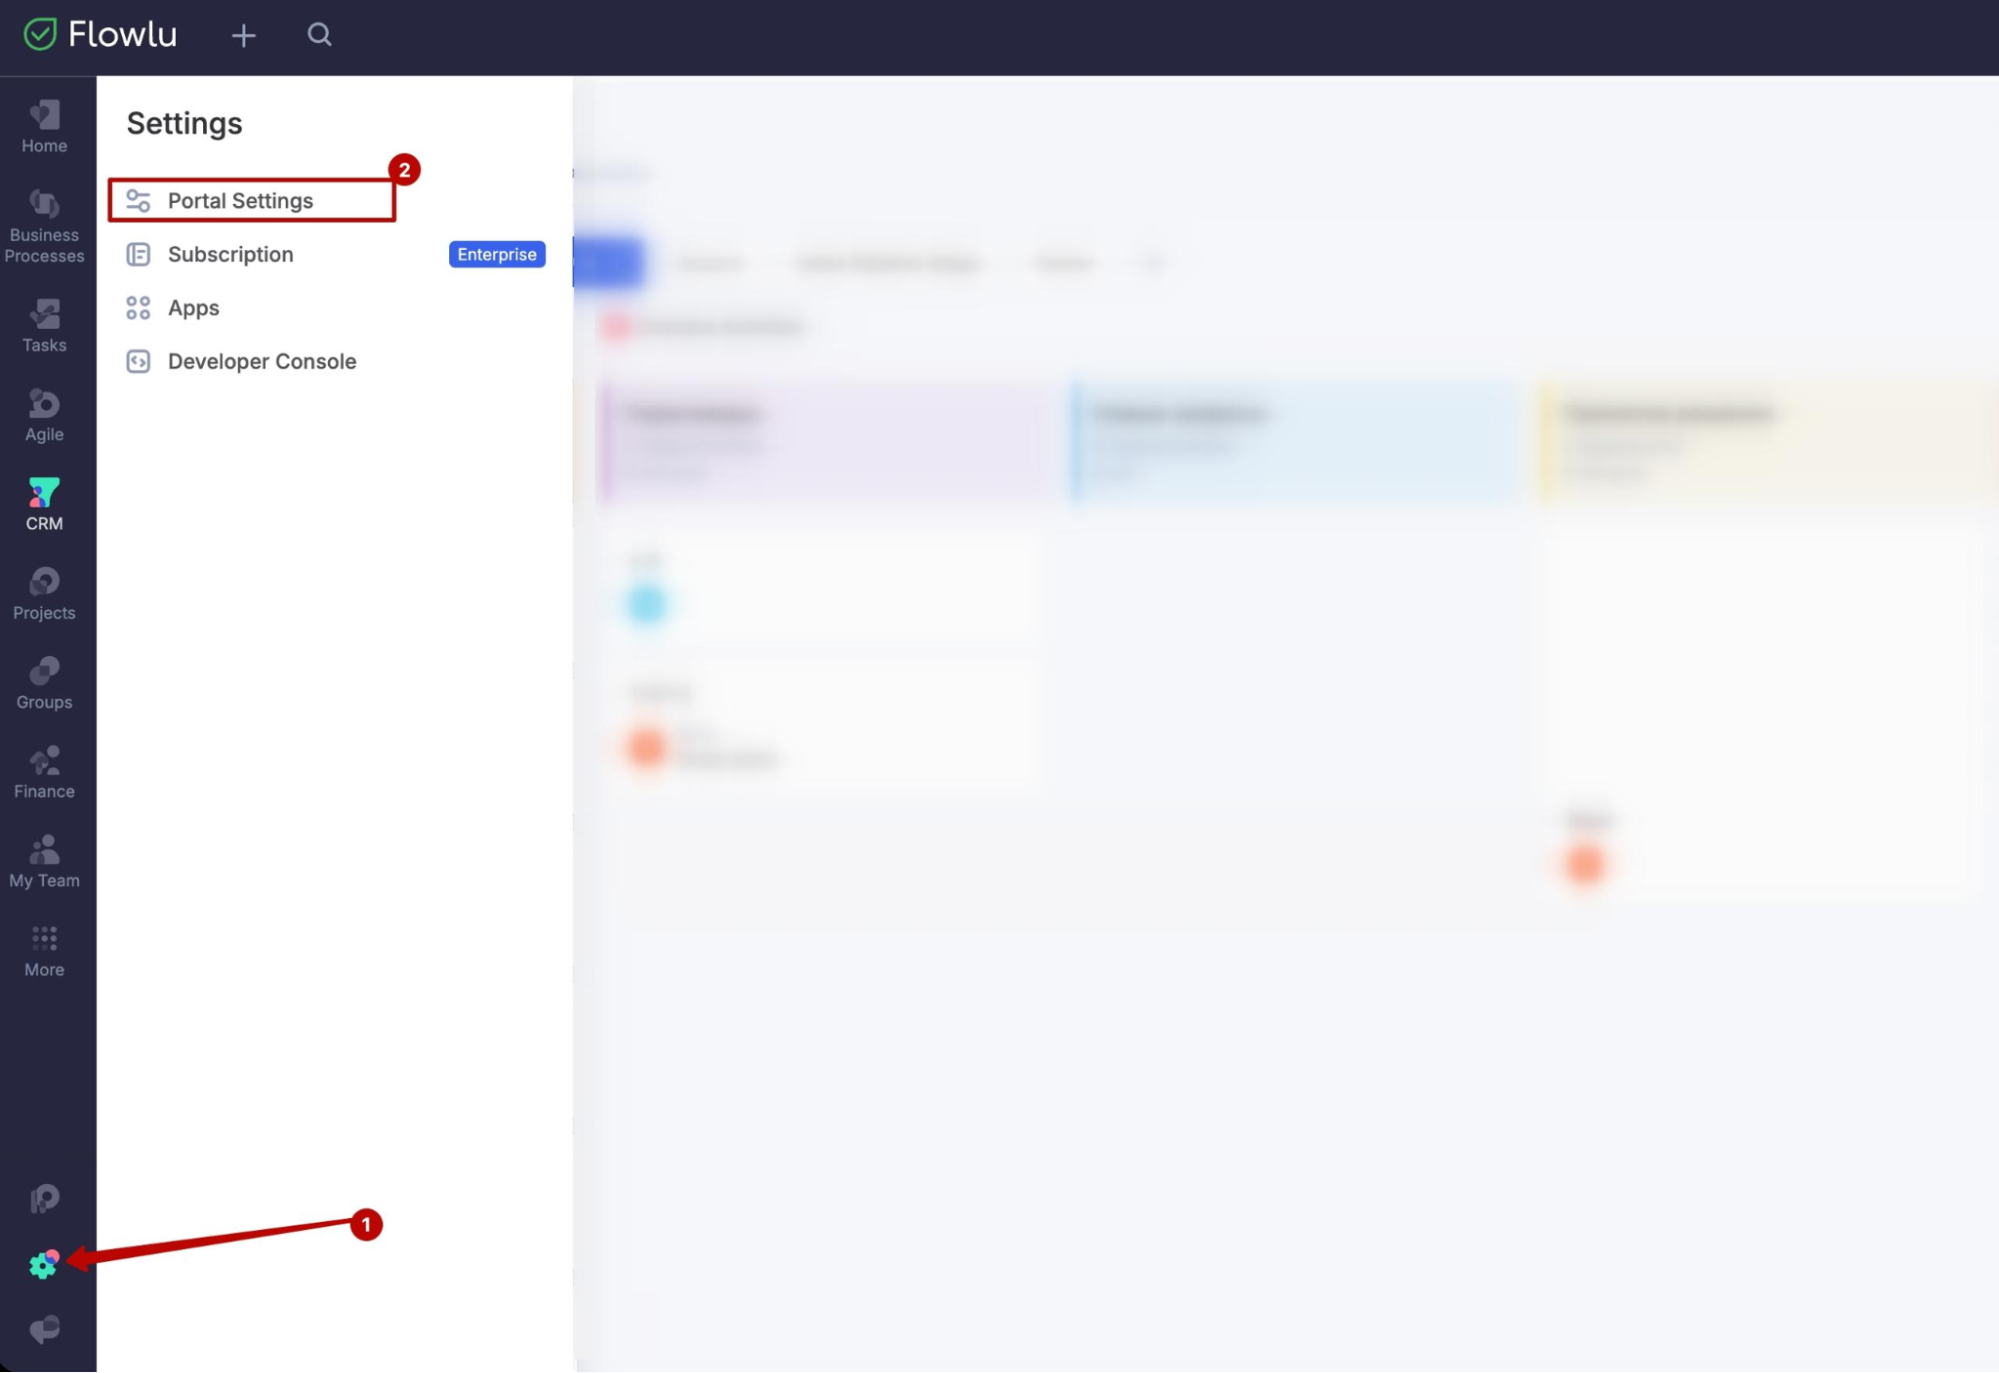
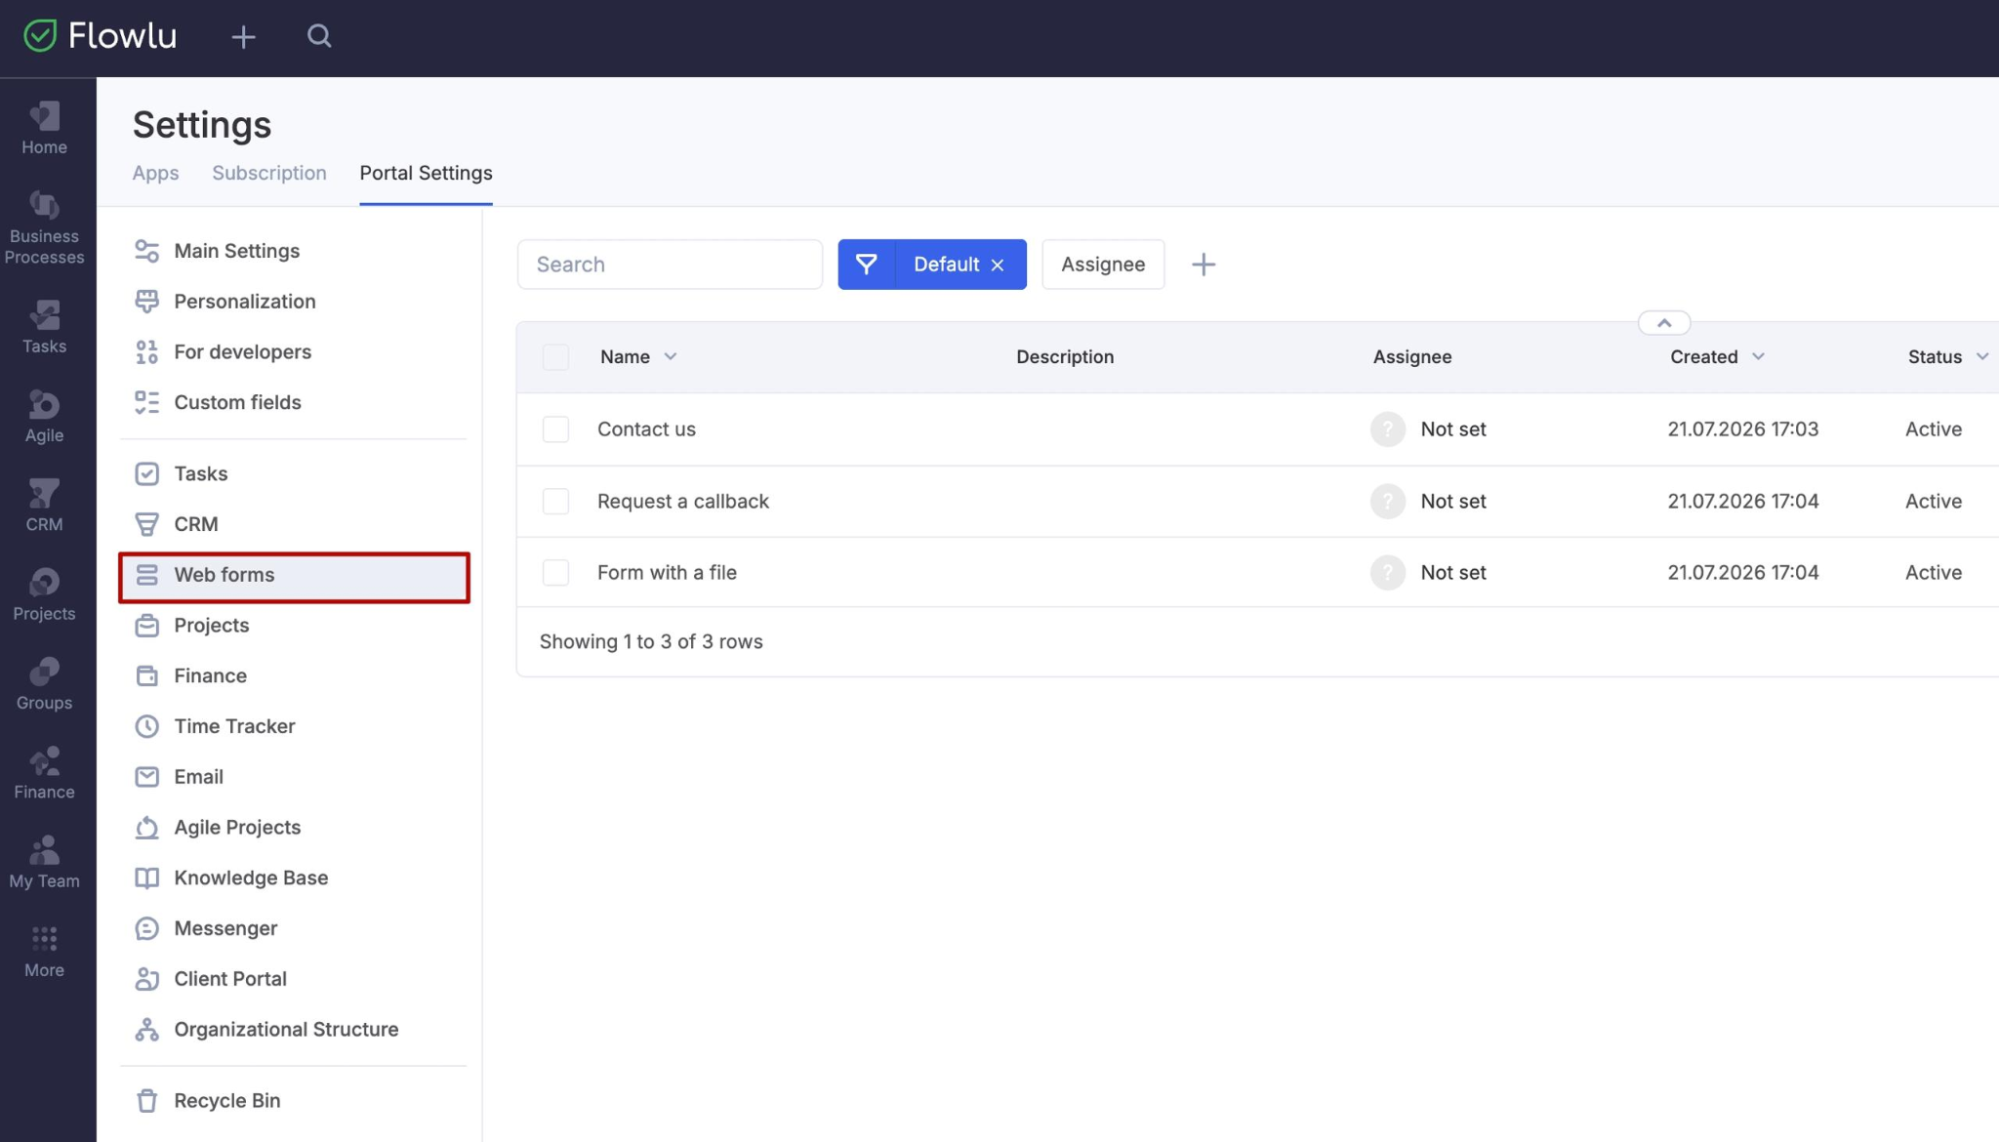
In the left menu, find and select Web forms.
Creating a web form
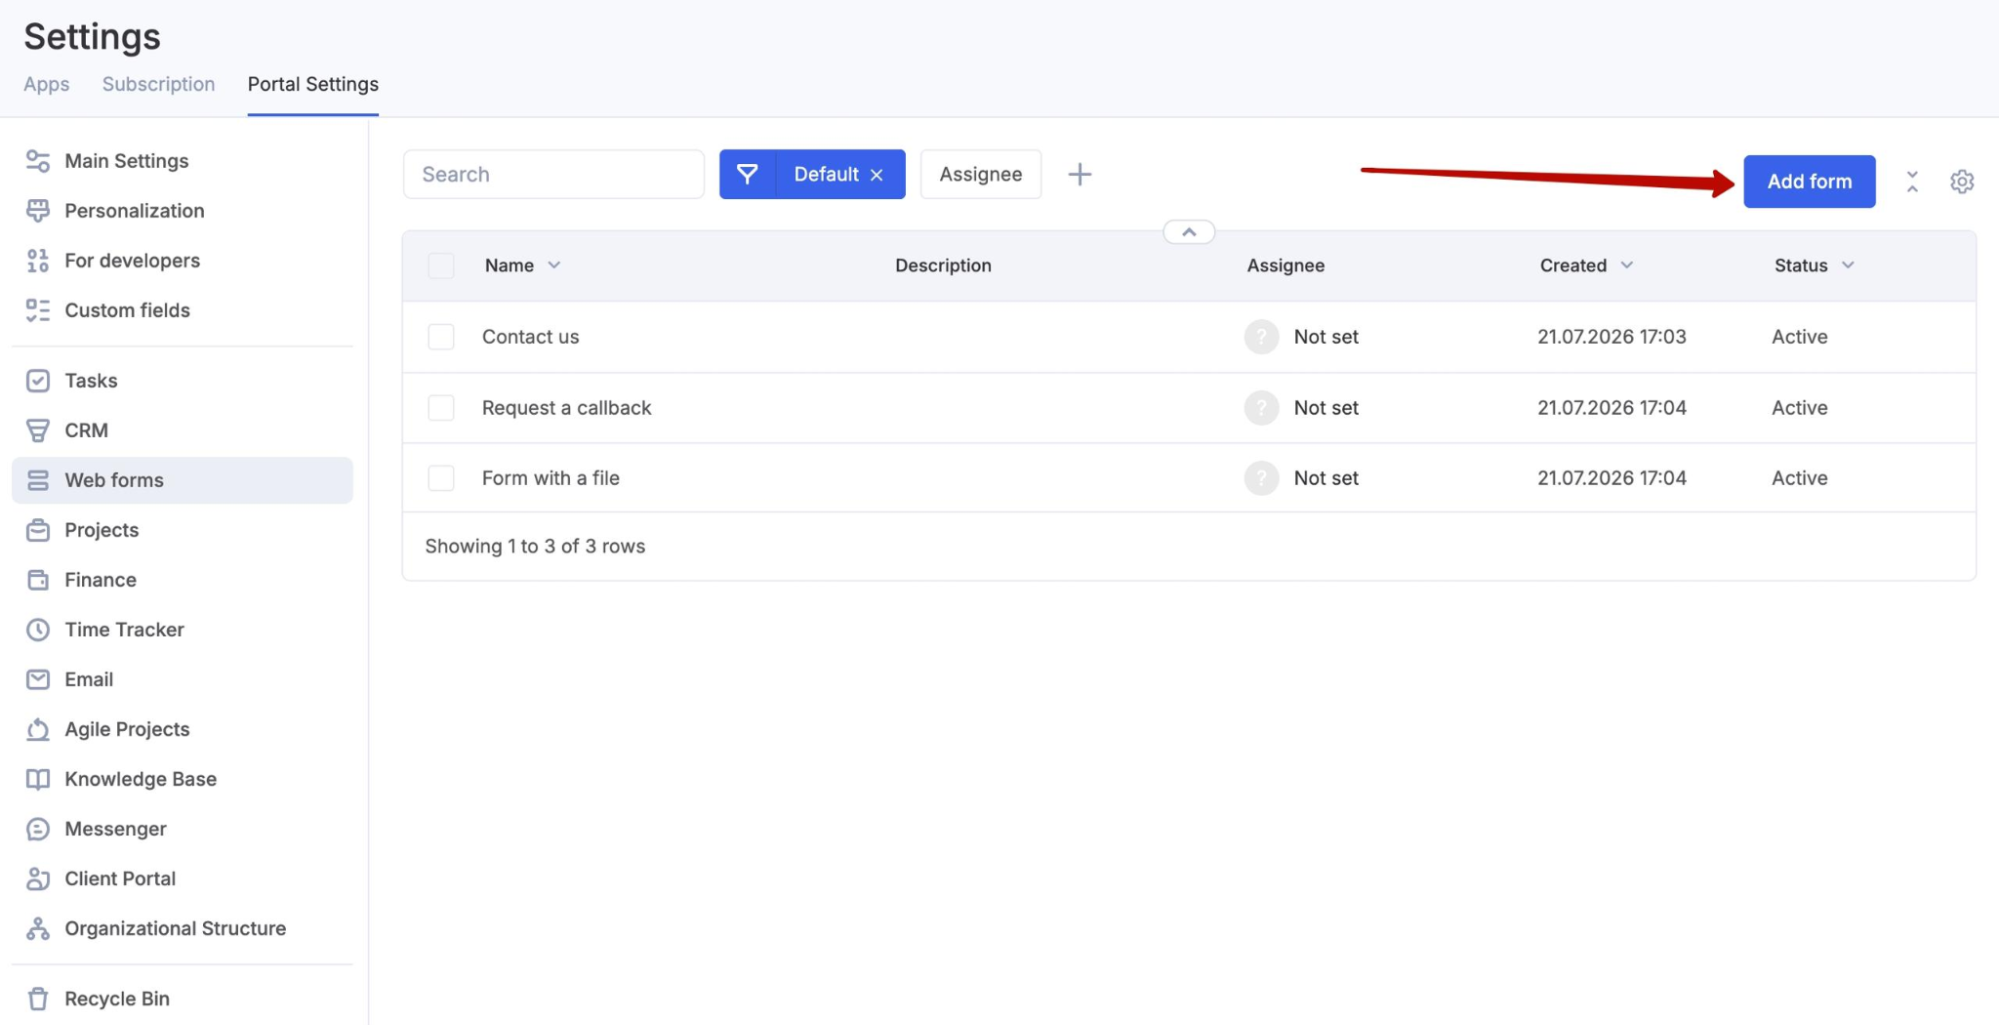
To create a web form, click Add form in the top right corner.
The template picker will open. Three ready-made templates are available:
- Contact Us — name, email, phone and message
- Callback — name and phone
- Form with File — name, email, phone and the option to attach a file
You can also choose a blank template and build the form from scratch.
Form settings
General settings
The settings panel is on the right of the form. On the General tab you can:
- fill in the form description — only you can see it;
- choose the assignee — contacts and opportunities created from this form will be assigned to them;
- set the opportunity source and choose the sales pipeline — this information appears in the record created from the form;
- add followers — the people who receive an email about a new request.
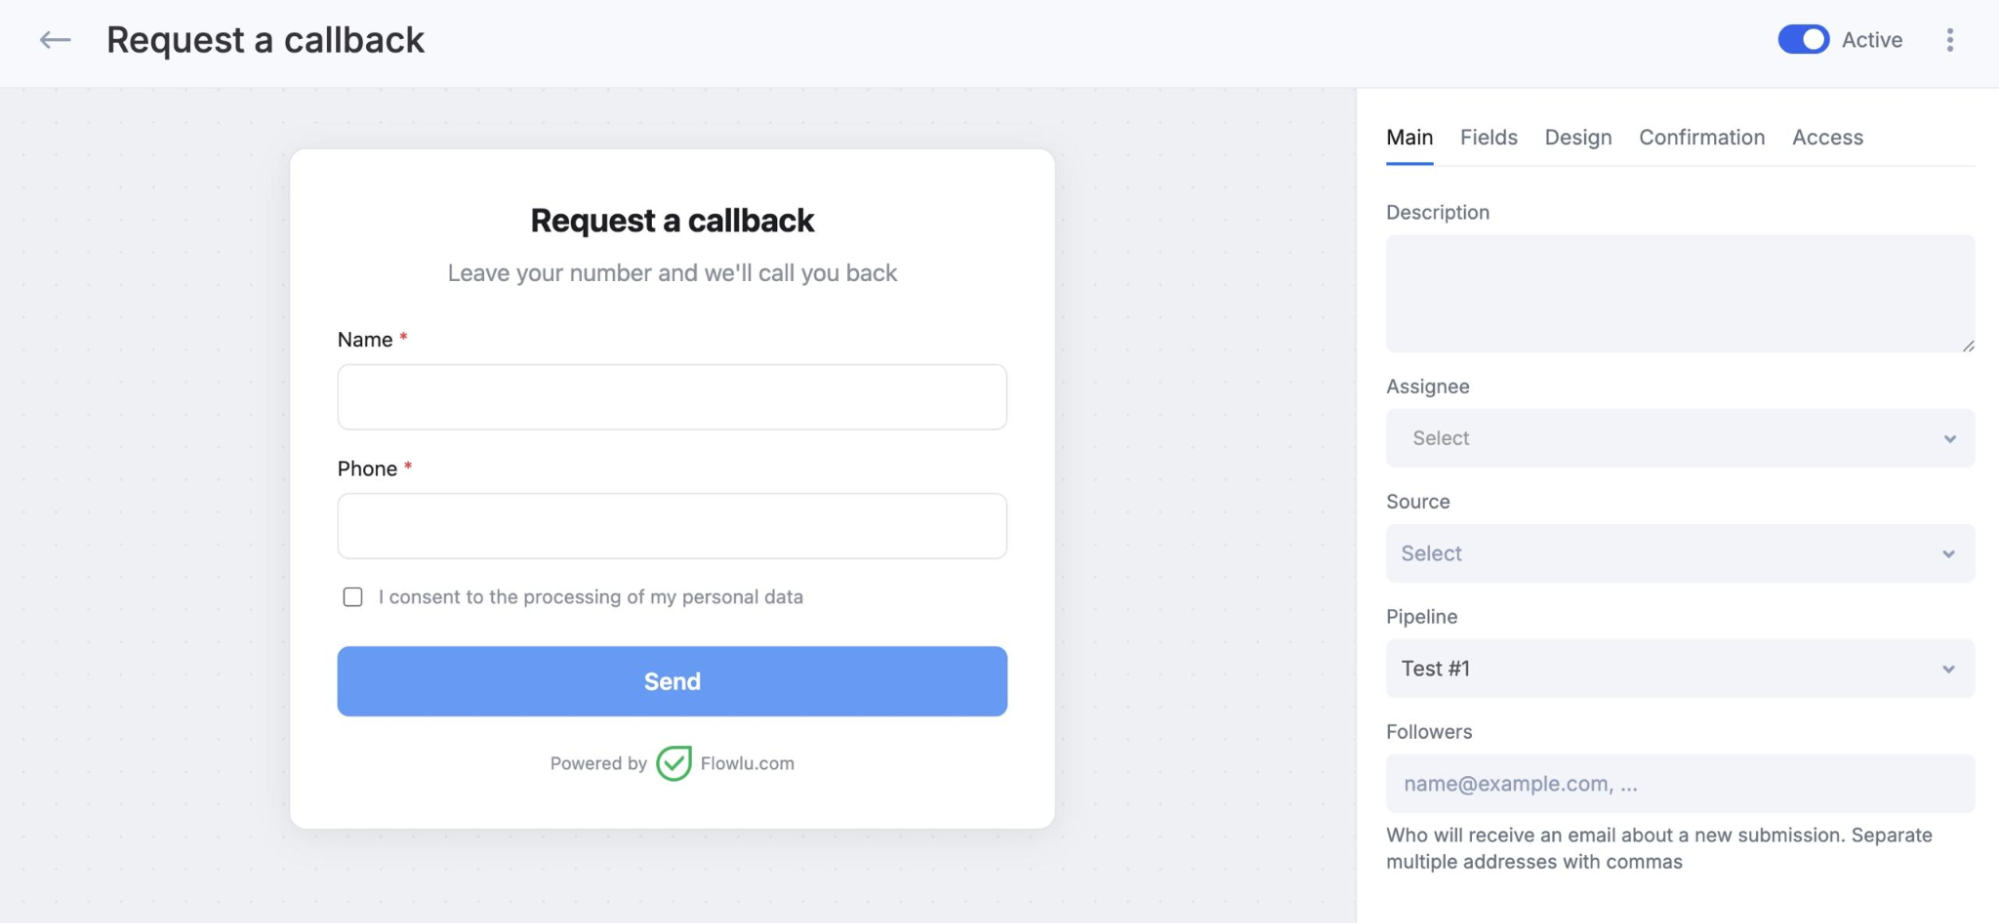
Note: you can enter several addresses in the followers field, separated by commas. The follower receives the form data and a link to the record created — opportunity, company or contact.
If the form creates several records at once, the email contains a link to one of them, by priority:
Opportunity
Company
Contact
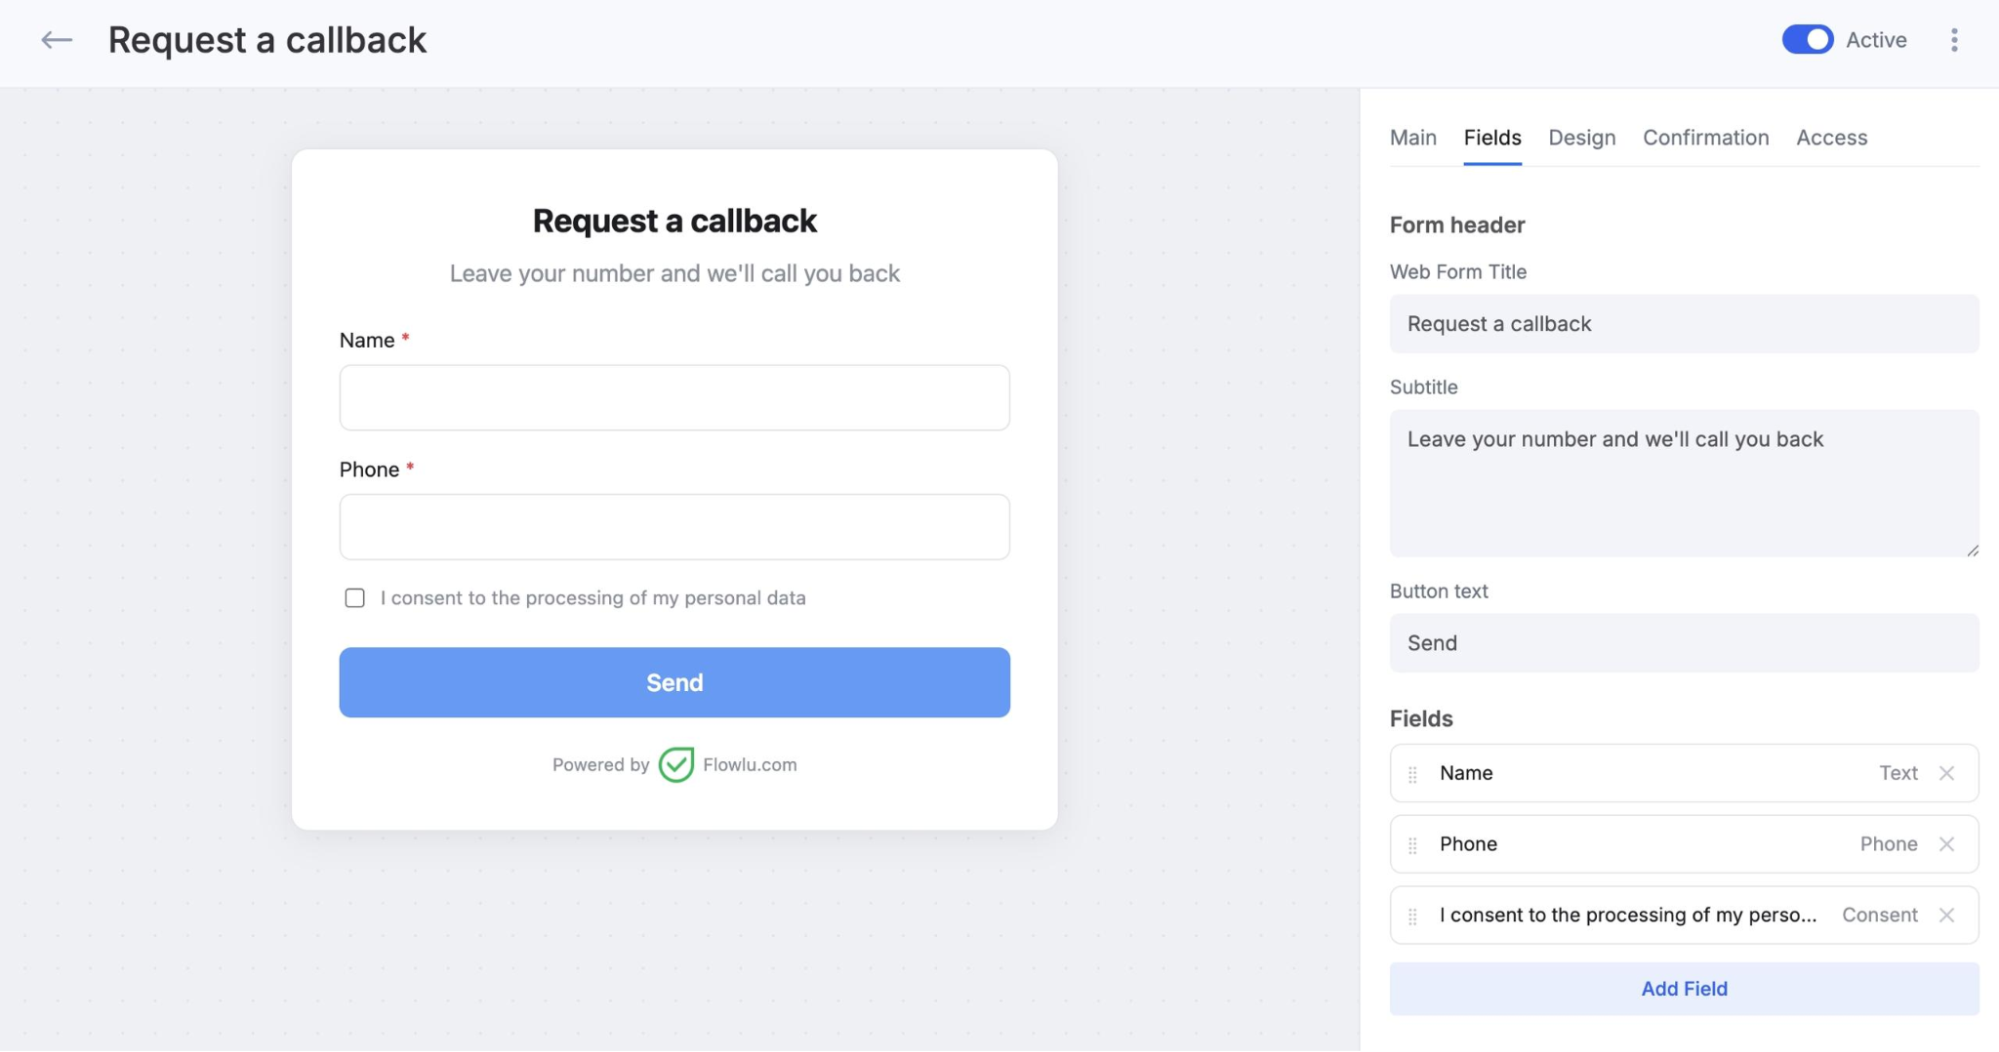
Field settings
On the Fields tab you can set up the content of the form:
title;
subtitle;
button text;
the fields to fill in.
The following field types are available:
Text
Multi-line text
Email
Phone
Number
Date
Dropdown
Radio buttons
Checkboxes
Consent
File
The number of fields is unlimited, and field types can repeat.
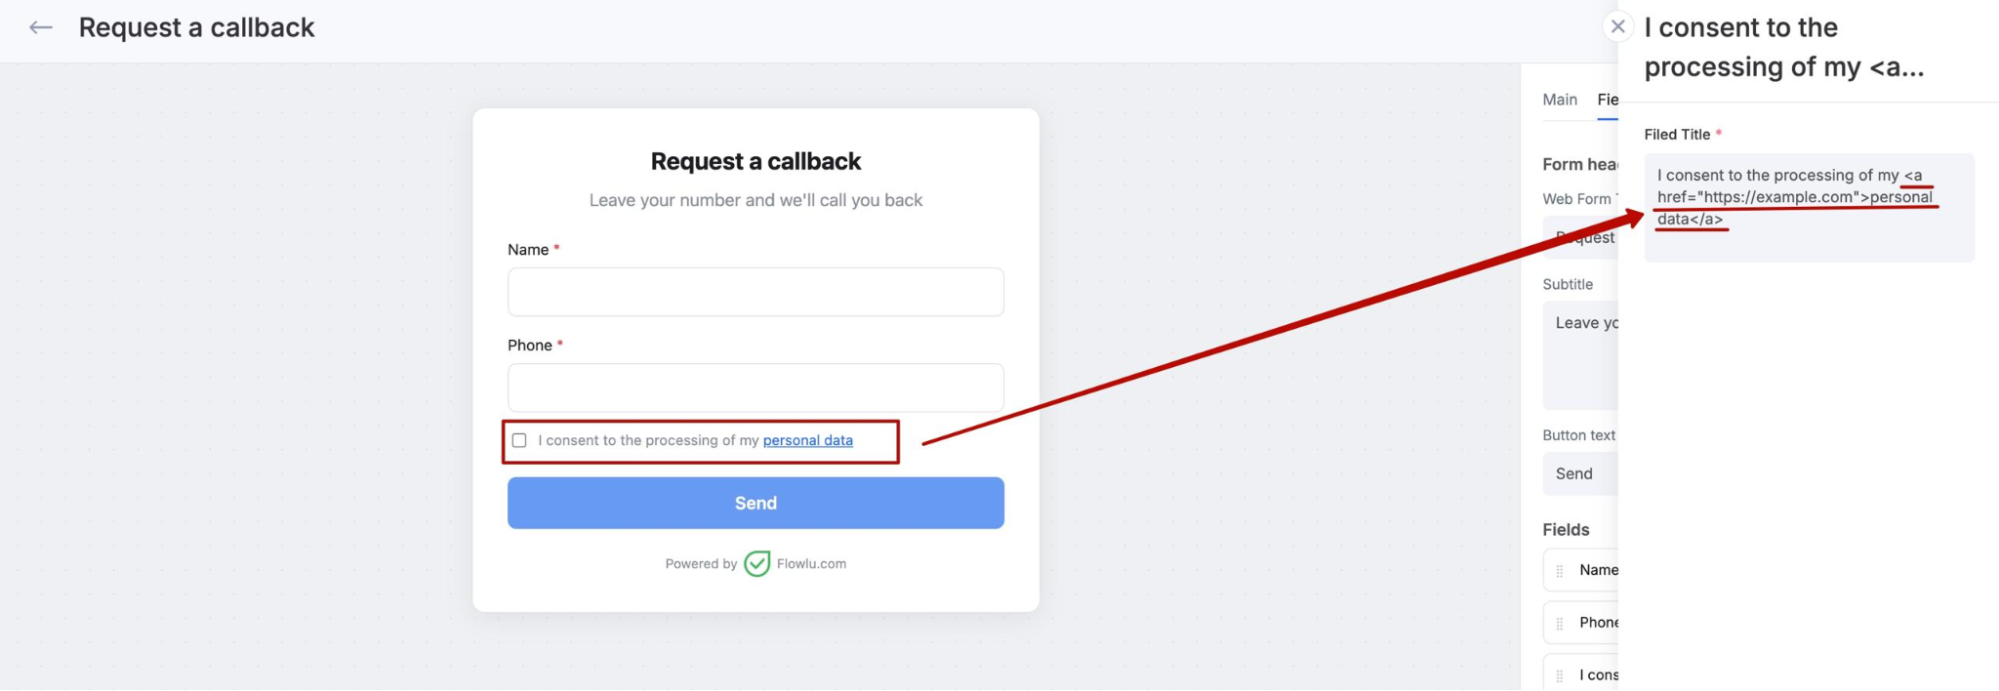
Note: to add a link inside the consent text, mark it up with the HTML element and the href attribute.
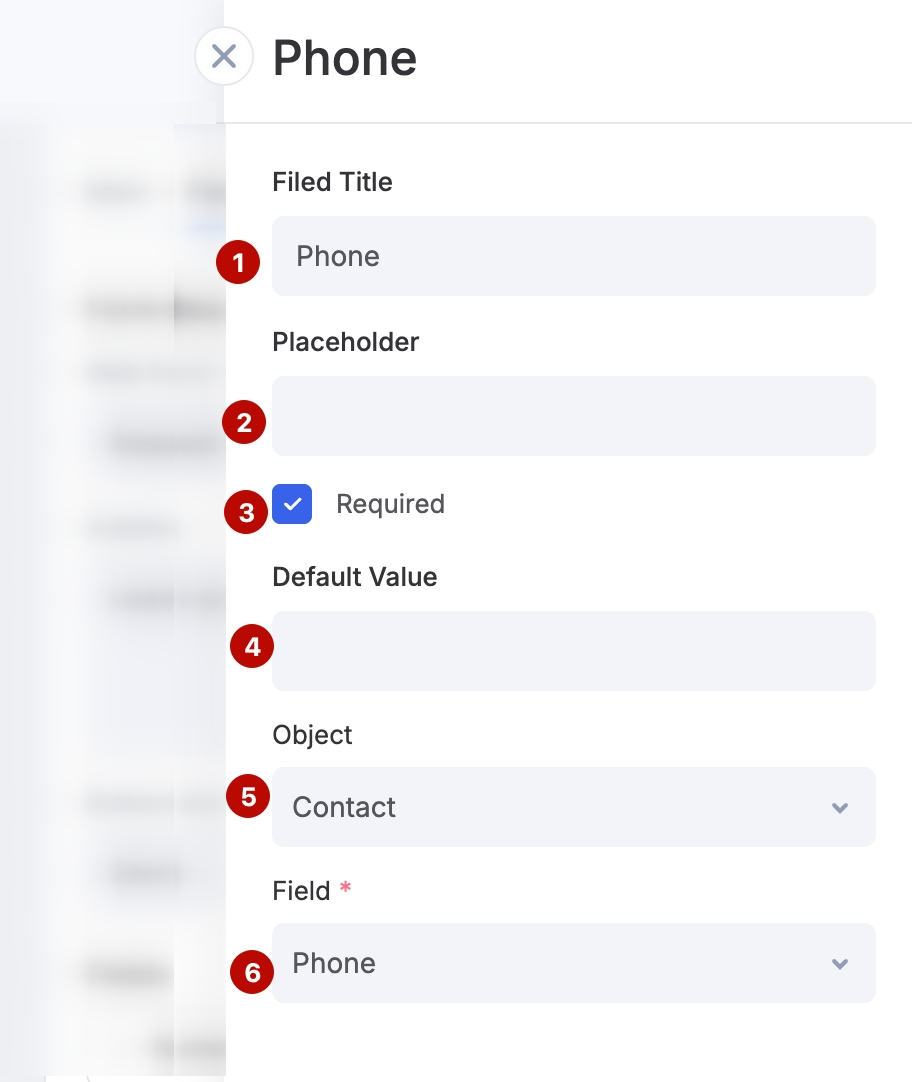
For every field you can:
- set your own label (1);
- fill in the placeholder text inside the field (2);
- make the field required (3);
- set a default value — it is used if the field is left empty (4);
- choose the record the form will create (5);
- choose the field of that record the value goes to (6).
Note: Every form field is mapped to a field of the selected record, and both fields must have the same data type — for example, a Date field can only be linked to another date field, not to a text field. If the field you need does not exist in the opportunity or account yet, create it in the CRM module.
If you map some form fields to an opportunity and others to a contact, a new request will create both an opportunity and a contact. The opportunity is filled with the fields mapped to it, and the contact with the fields mapped to the contact.
Example: name and email are mapped to the opportunity, and the phone number to the contact. When the form is submitted, the new opportunity contains the name and the email, and the contact contains only the phone number. The contact name is taken from the available data — in our case, the phone number.
Design settings
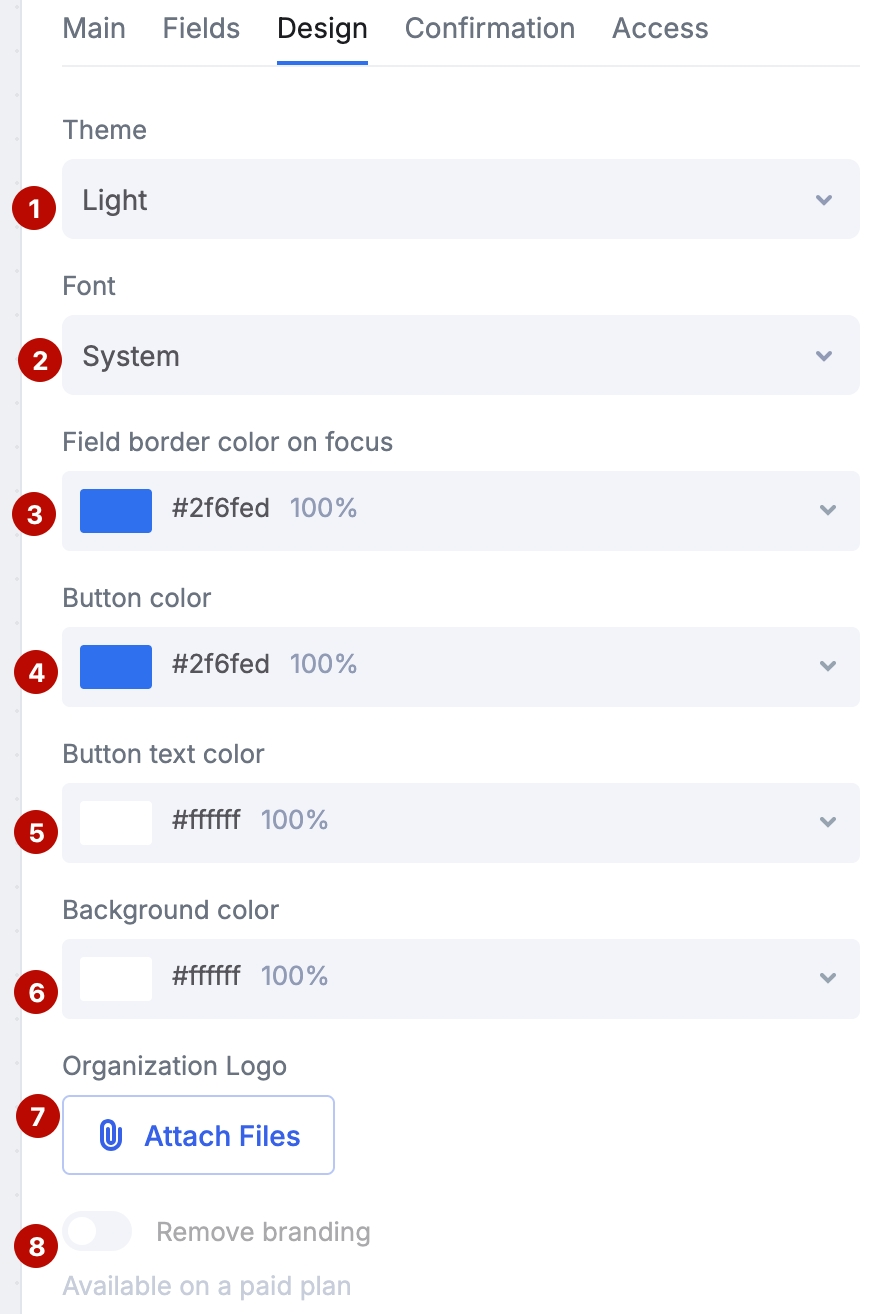
On Design tab you can set the appearance of the form:
- theme;
- font;
- field border color on focus;
- button color;
- button text color;
- background color;
- logo;
- "Powered by Flowlu" label.
Note: "Powered by Flowlu" label can be removed on Essential plan and higher.
Confirmation page settings
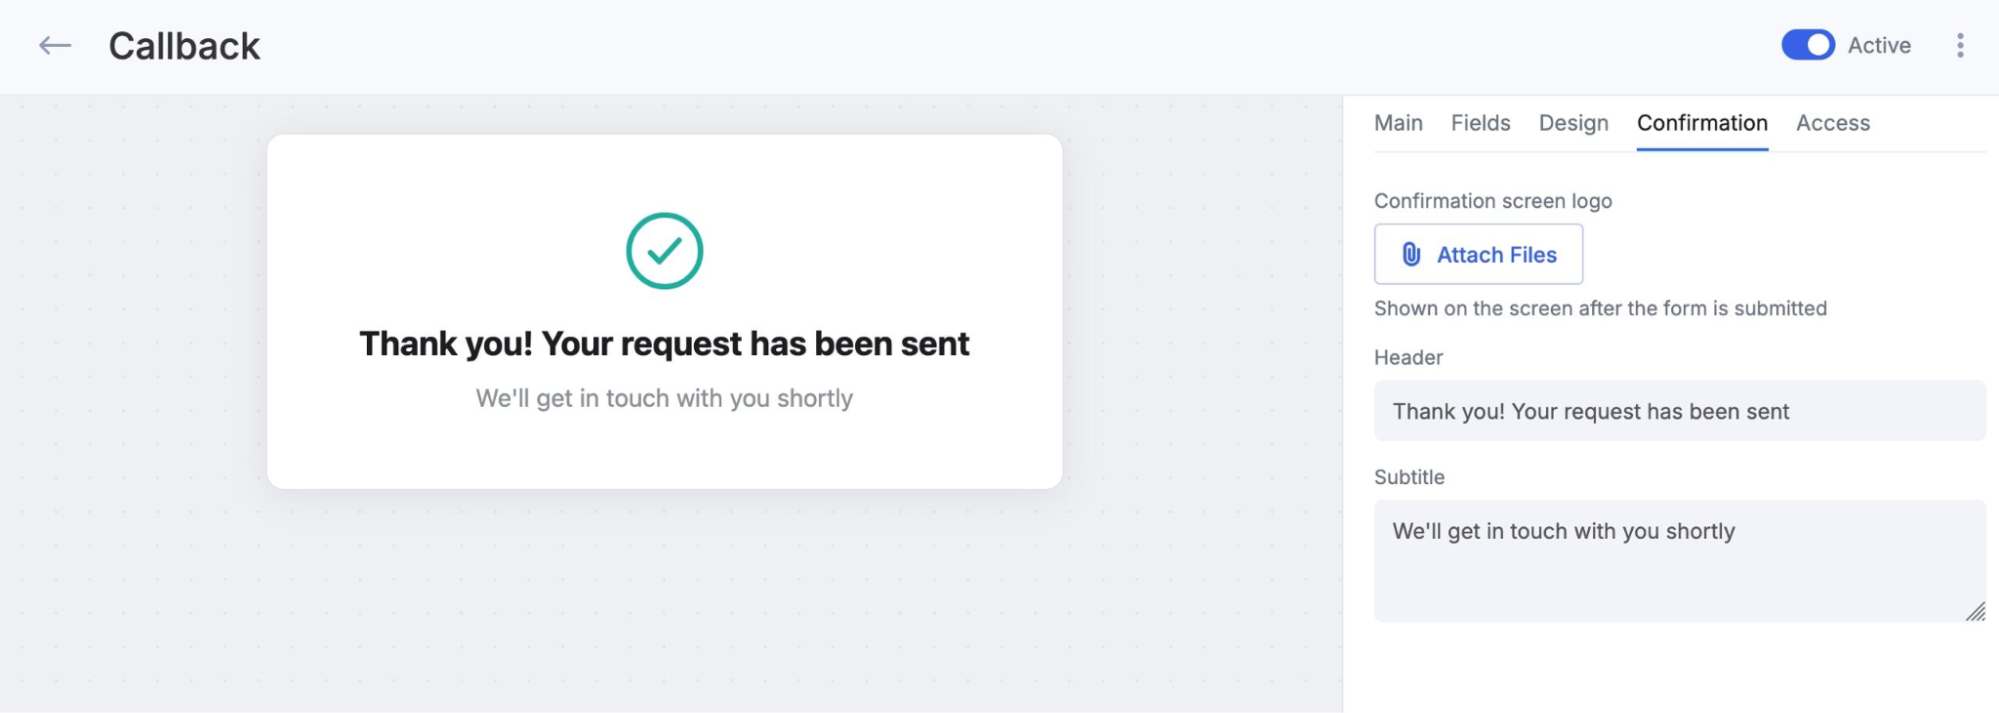
Confirmation tab sets up the screen a visitor sees after submitting the form: the logo, the title and the subtitle of the success message.
How to publish a form
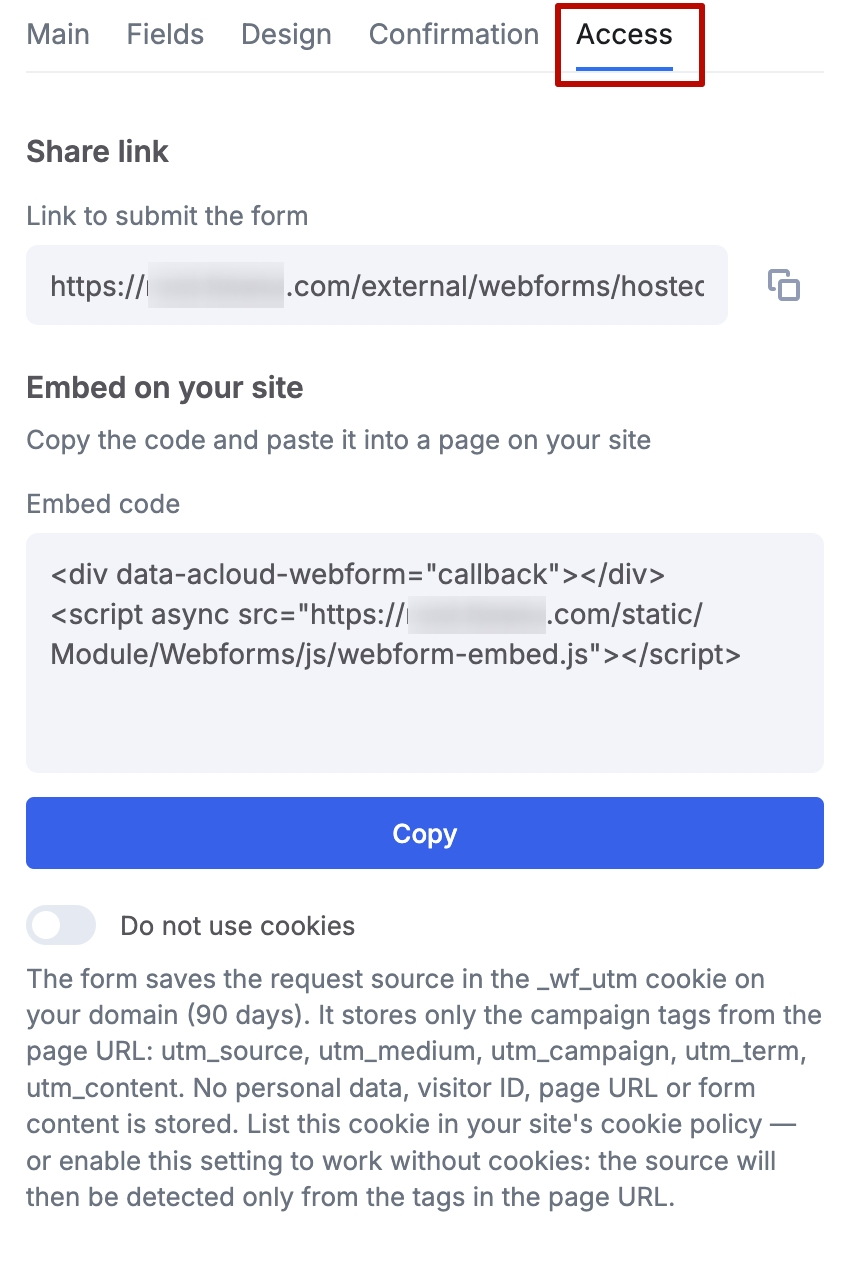
Form access is set up on the Access tab.
Option 1: Share a link
The tab contains the direct link to the form. Copy it and send it to your customer any way you like — in direct messages, by email, in a messenger, or post it on social media. This option works when you do not have a website yet, or when the form is for a one-off campaign rather than for permanent placement on a page.
Option 2: Embed on your site
To place the form on your website, copy the embed code and add it to the page you need — into the section of the page HTML, or through your website builder if it supports custom HTML/JS.
Cookies and UTM tags
The form sets the _wf_utm cookie on your domain for 90 days. It stores only the advertising tags from the page address — utm_source, utm_medium, utm_campaign, utm_term, utm_content — so the request source is not lost even if the visitor does not fill in the form right away. The cookie contains no visitor identifiers, no page address and no data from the form itself.
Mention this in your site cookie policy, or turn the cookie off with the Do not use cookies toggle if you do not need it.
UTM tag values cannot be set in the form builder. But if traffic reaches the form through a tagged link, the tags are saved to CRM automatically — to the opportunity or account created.
- Direct link — if the link to the form is tagged with UTM, the tags are saved to the opportunity or account on submission.
- Form on your site — if the link to the page with the embedded form is tagged, the tags are passed to CRM as well.
Note: the HTTP Referer parameter stays empty if the visitor opens the form directly — for example, through the direct link to the form. If they reach the form from some source (an article, a website page and so on) or fill in a form embedded in a website page, this parameter is filled in.
Form list
All the web forms you create are kept in one list. It shows:
- form name;
- description, if filled in;
- assignee — the user who will be assigned to the opportunity created from a request through this form;
- creation date;
- form status — active or not.
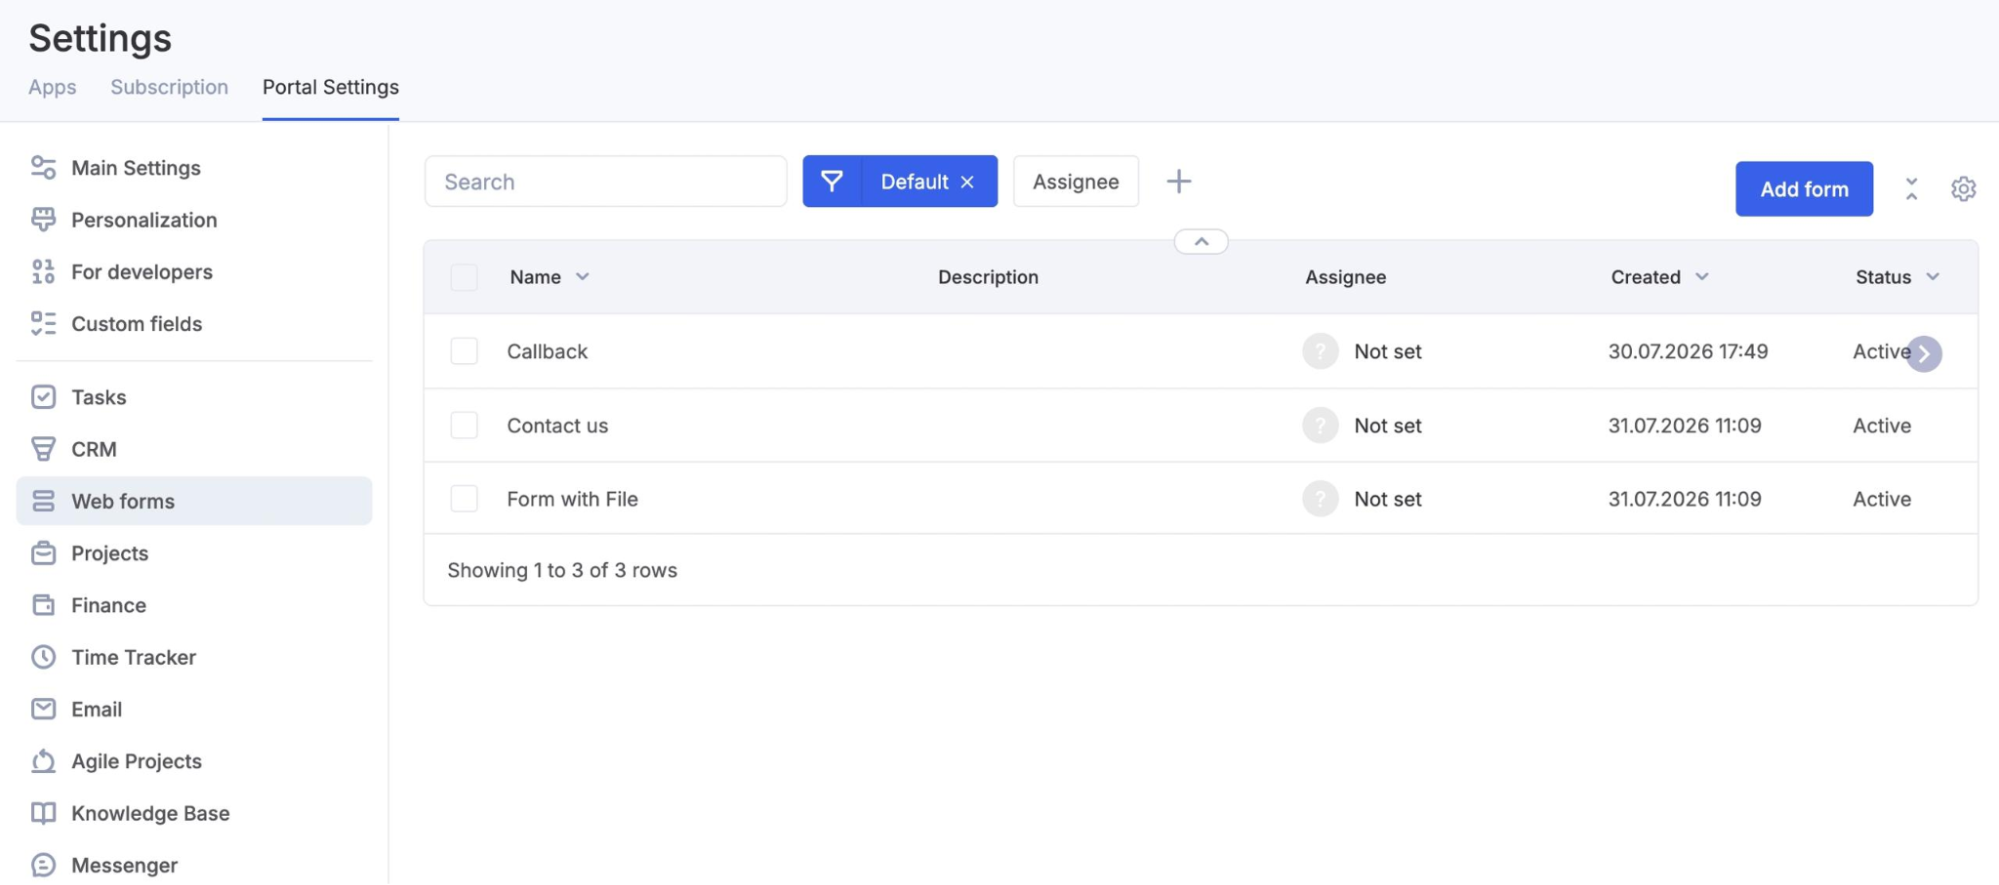
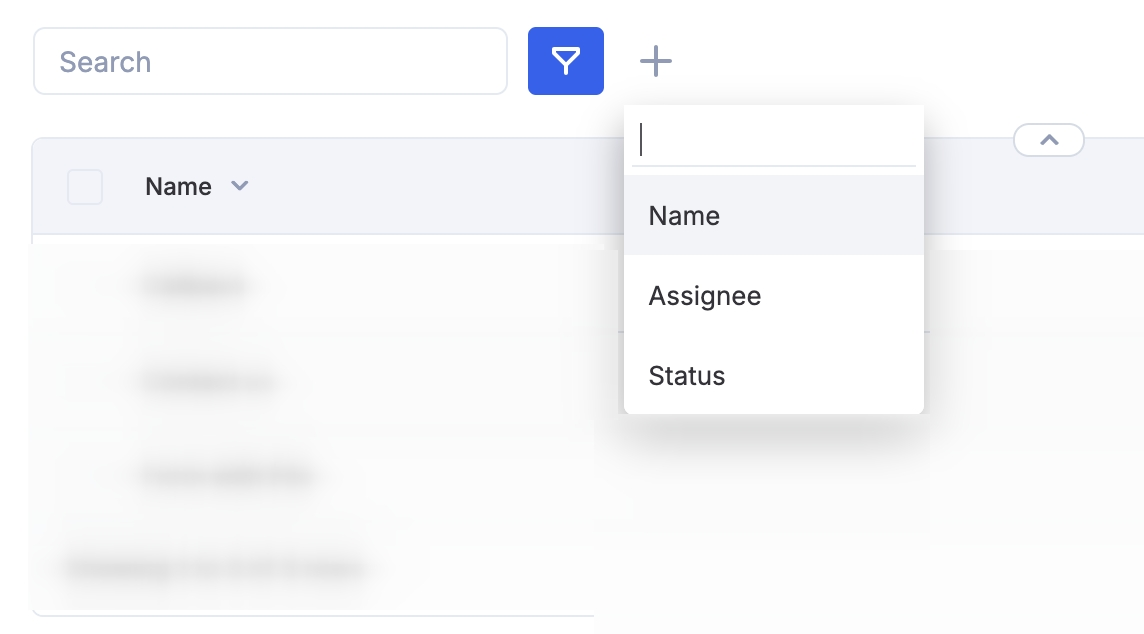
The list can be filtered by status, assignee and name.
Creating opportunities and contacts from a form
Here is an example of how records are created in CRM from a web form. In this form, name and email are mapped to an opportunity, and phone number to a contact.
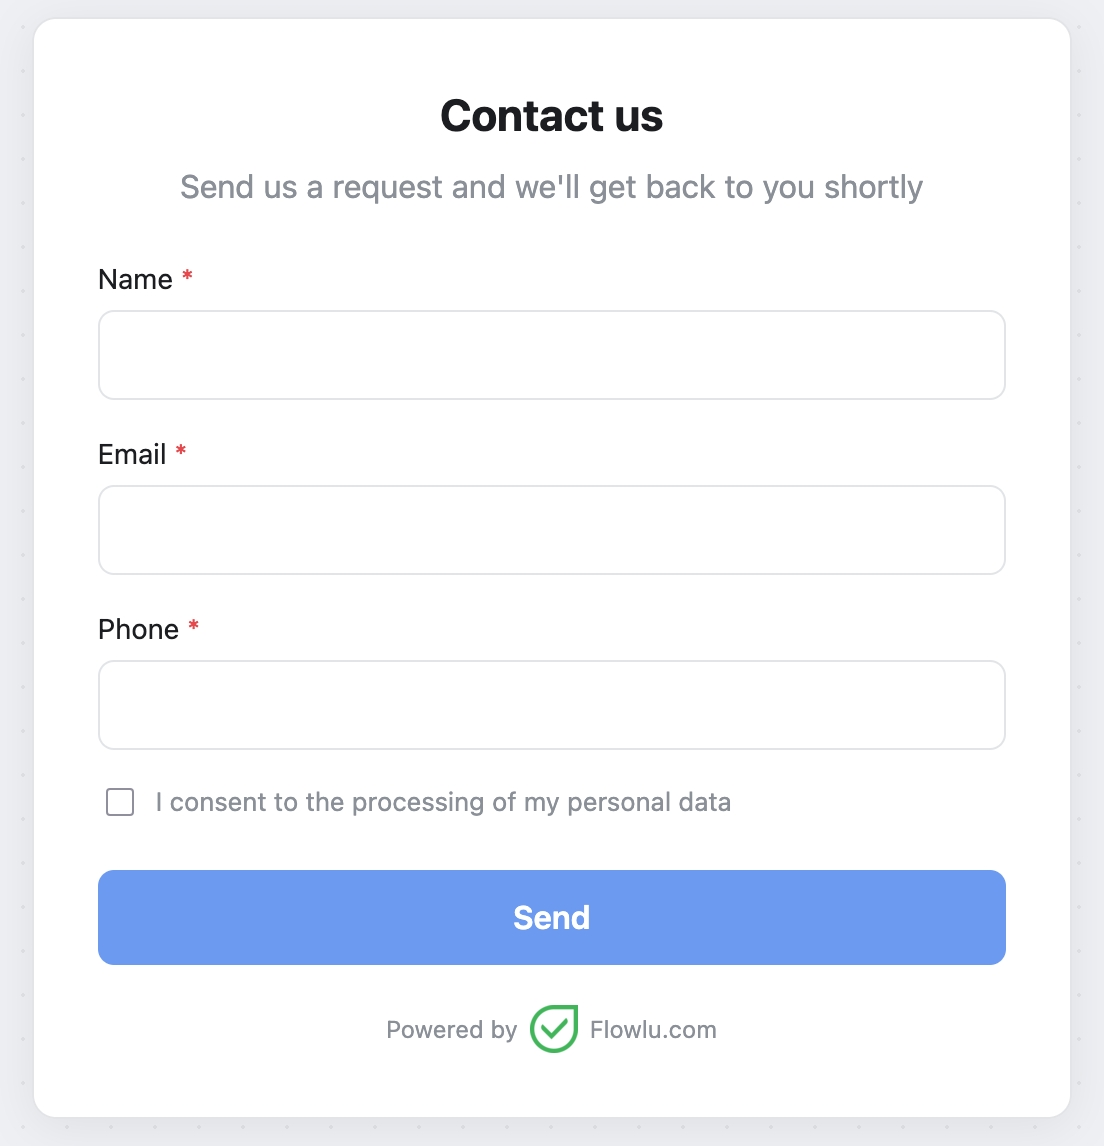
Once a request is submitted, a new opportunity and a new contact appear in CRM.
Opportunity
The opportunity appears in the sales pipeline selected in the form settings. The name from the form becomes the opportunity name, and the email goes to the additional email address field.
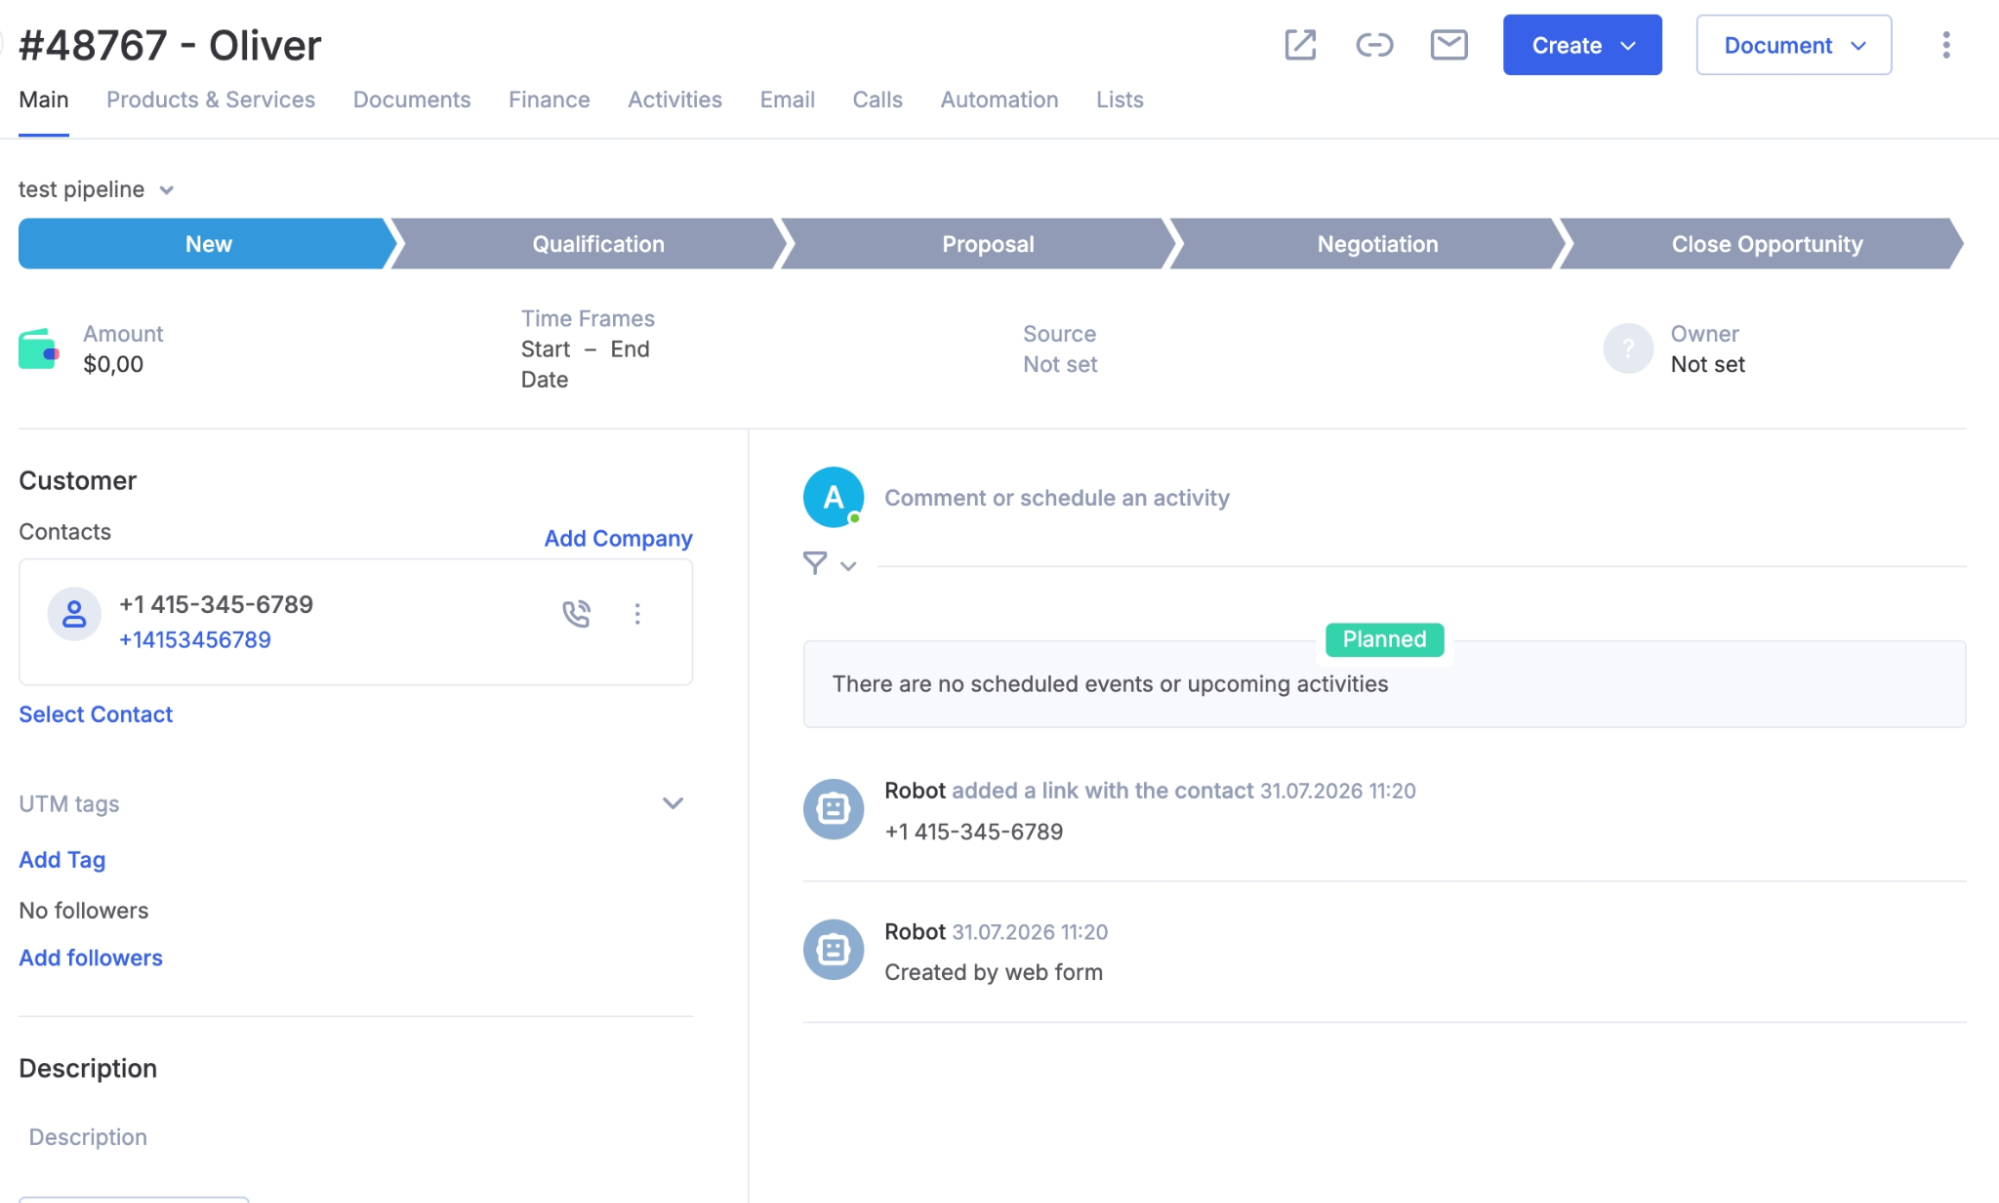
Opportunity's activity feed shows that it was created from a web form , and a link to the contact created appears as well. The phone number is not shown in the opportunity — it is mapped to the contact, not to the opportunity.
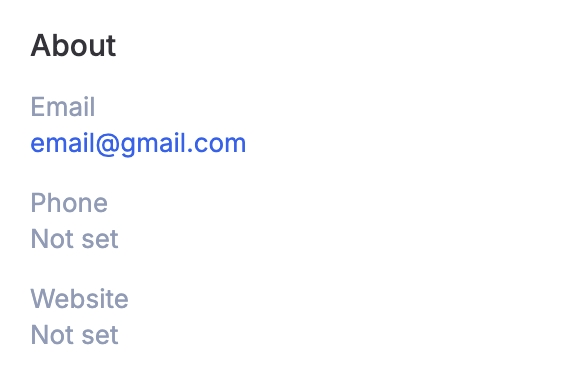
Account
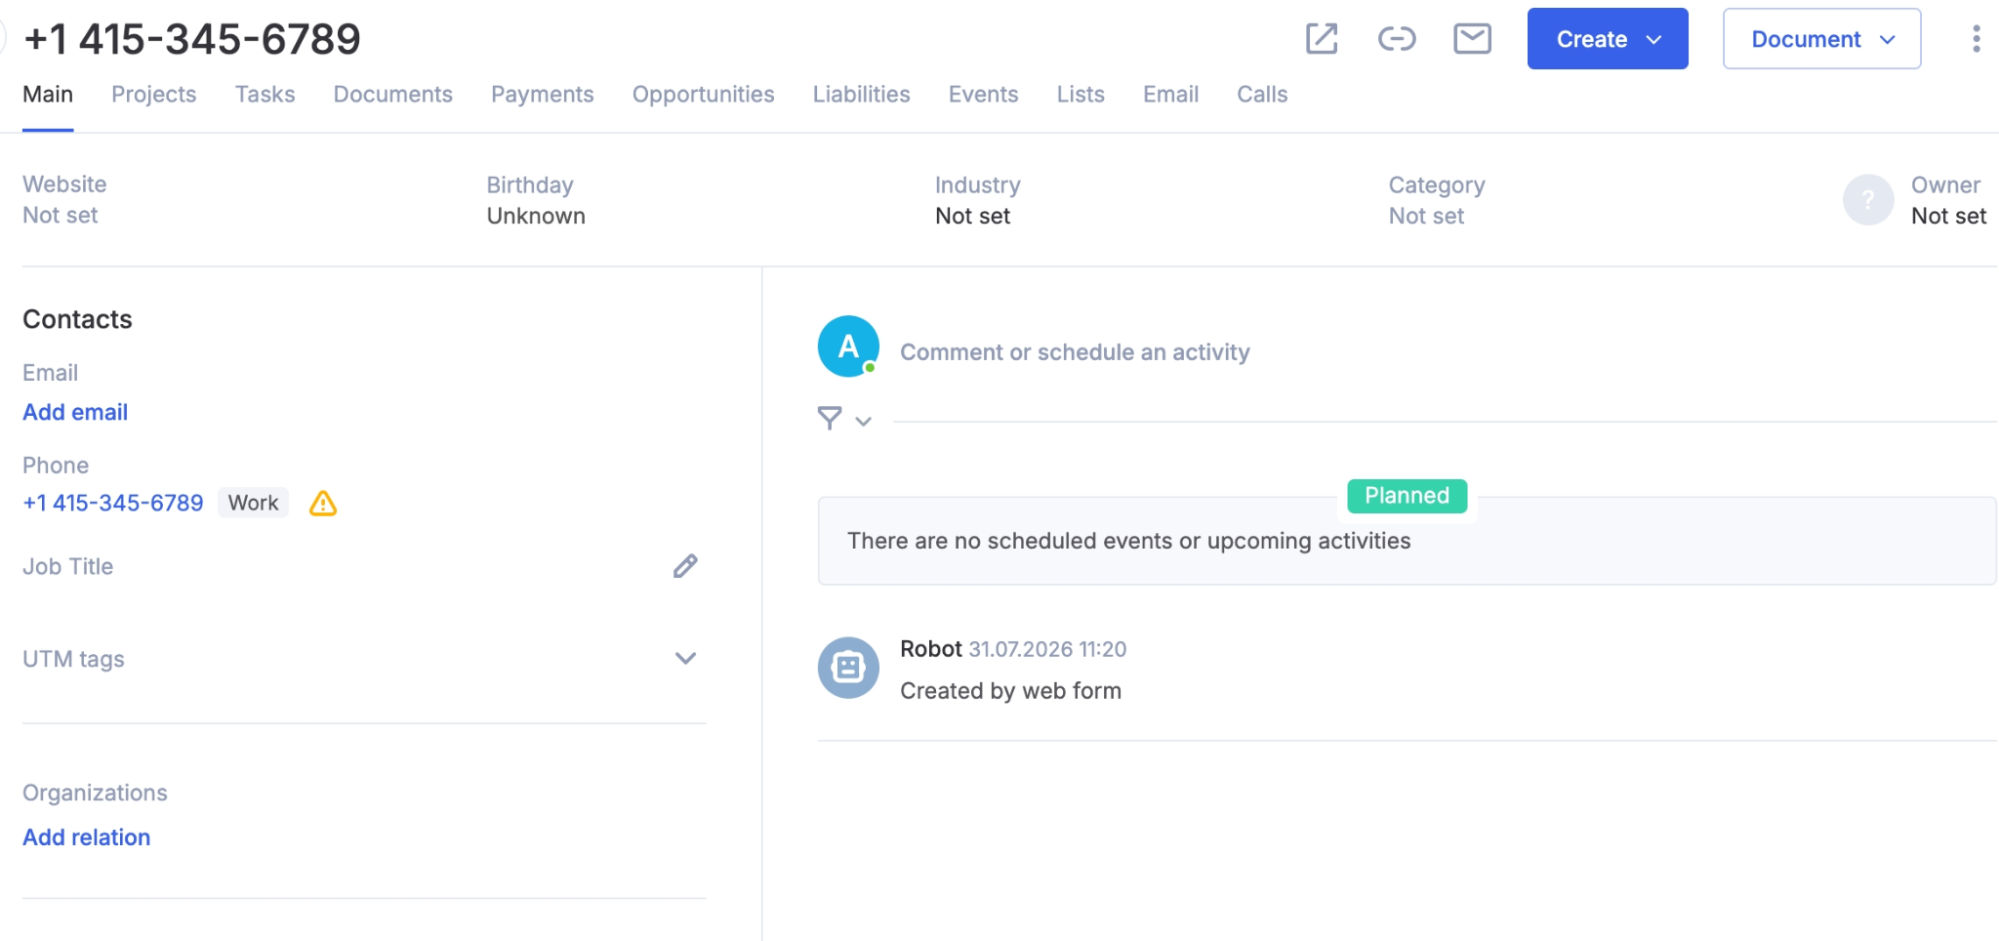
The contact record shows only the information mapped to its fields — in this example, the phone number. The contact activity feed also notes that it was created from a web form.
Deleting, copying and deactivating a form
You can delete or copy a form in two ways:
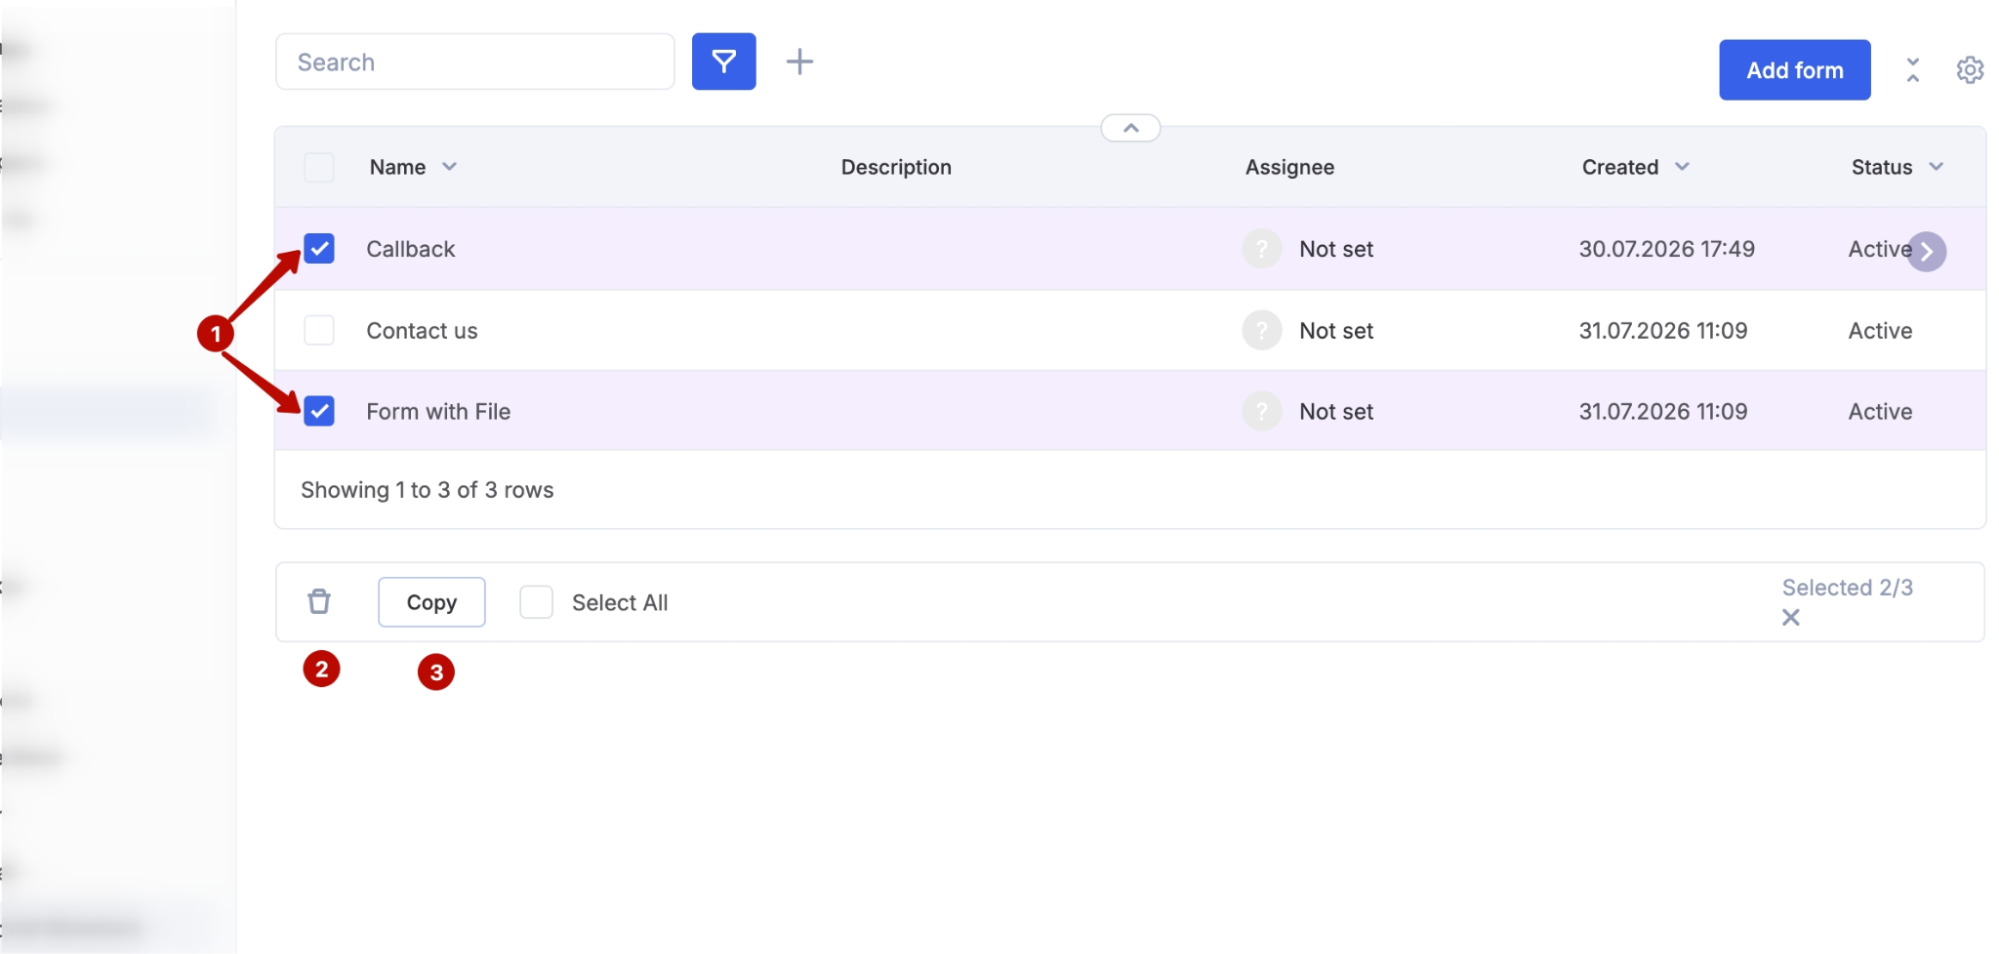
In the form list — select one or more forms with the checkboxes (1) and choose the action you need. This way you can delete (2) or copy (3) several forms at once.
Inside the form — open the form, click the three dots in the top right corner and choose Delete or Copy.
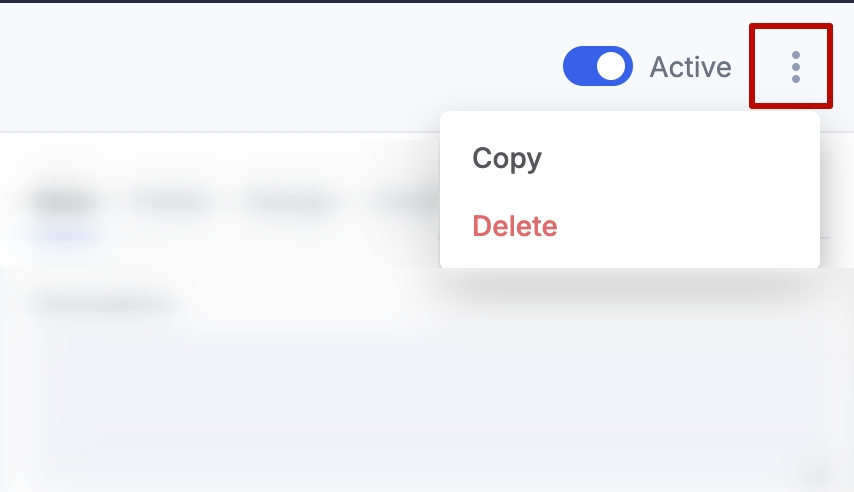
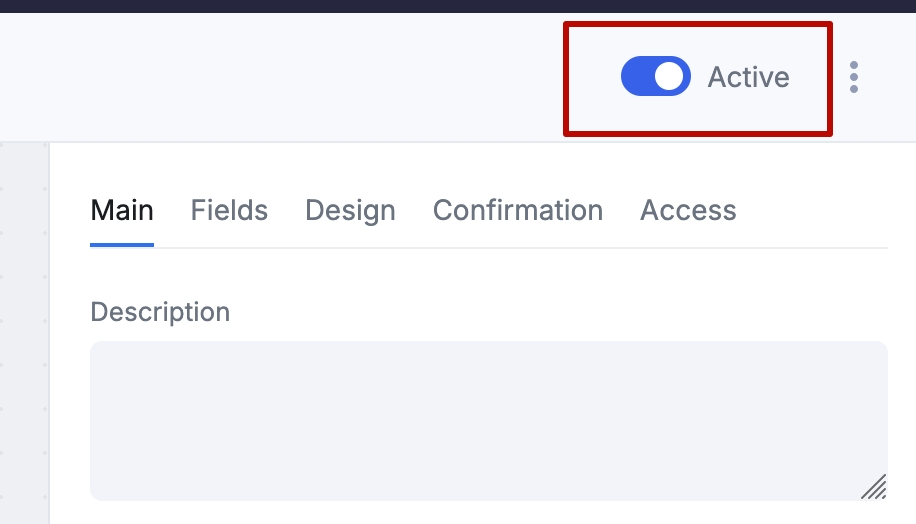
A form can only be deactivated on the form edit screen, with the Active toggle in the top right corner.