

Custom Fields
Custom fields are designed for recording any additional data in the following items:
- projects;
- Agile projects;
- tasks;
- opportunities;
- companies and contacts;
- project issues;
- mind map fields;
- mind map items;
- issues (agile projects);
- knowledge base fields;
- knowledge base articles;
- specific knowledge base.
For example, in the opportunity, you can display fields for specifying terms for the customer, discounts, information about the delivery, e.g. address, time, contact phone number, etc. In the task—a field for specifying the cost. In the project—a field for specifying suppliers, contractors or external executors from CRM.
To set up and display the custom fields, you do not need any technical skills.
1. Go to the Portal Settings → Custom fields → Main Settings → General and select the app or item, for which you need to add the custom field.
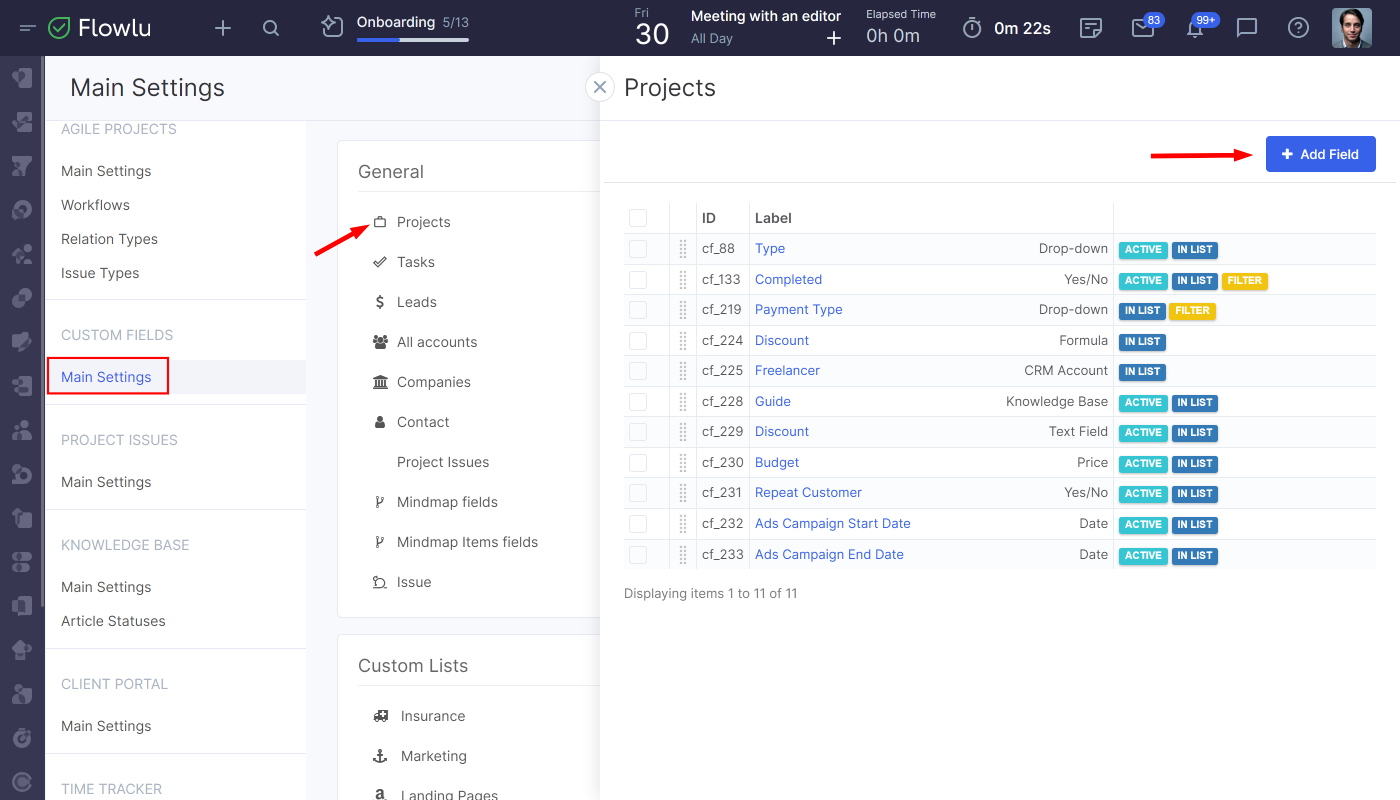
2. Click the Add Field button:

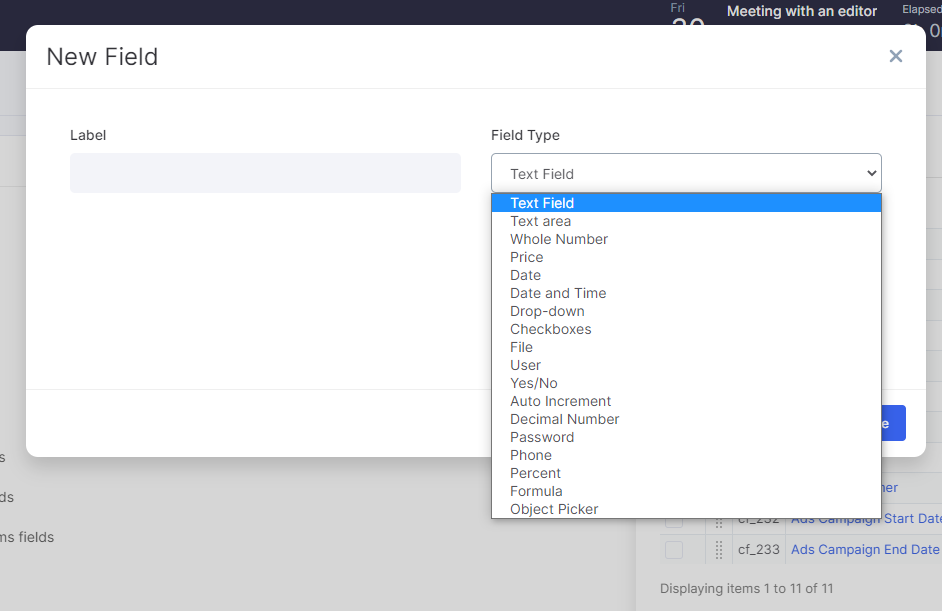
3. Name your field and choose its type.
4. Save the new field. Then go to its settings, by clicking on its name.
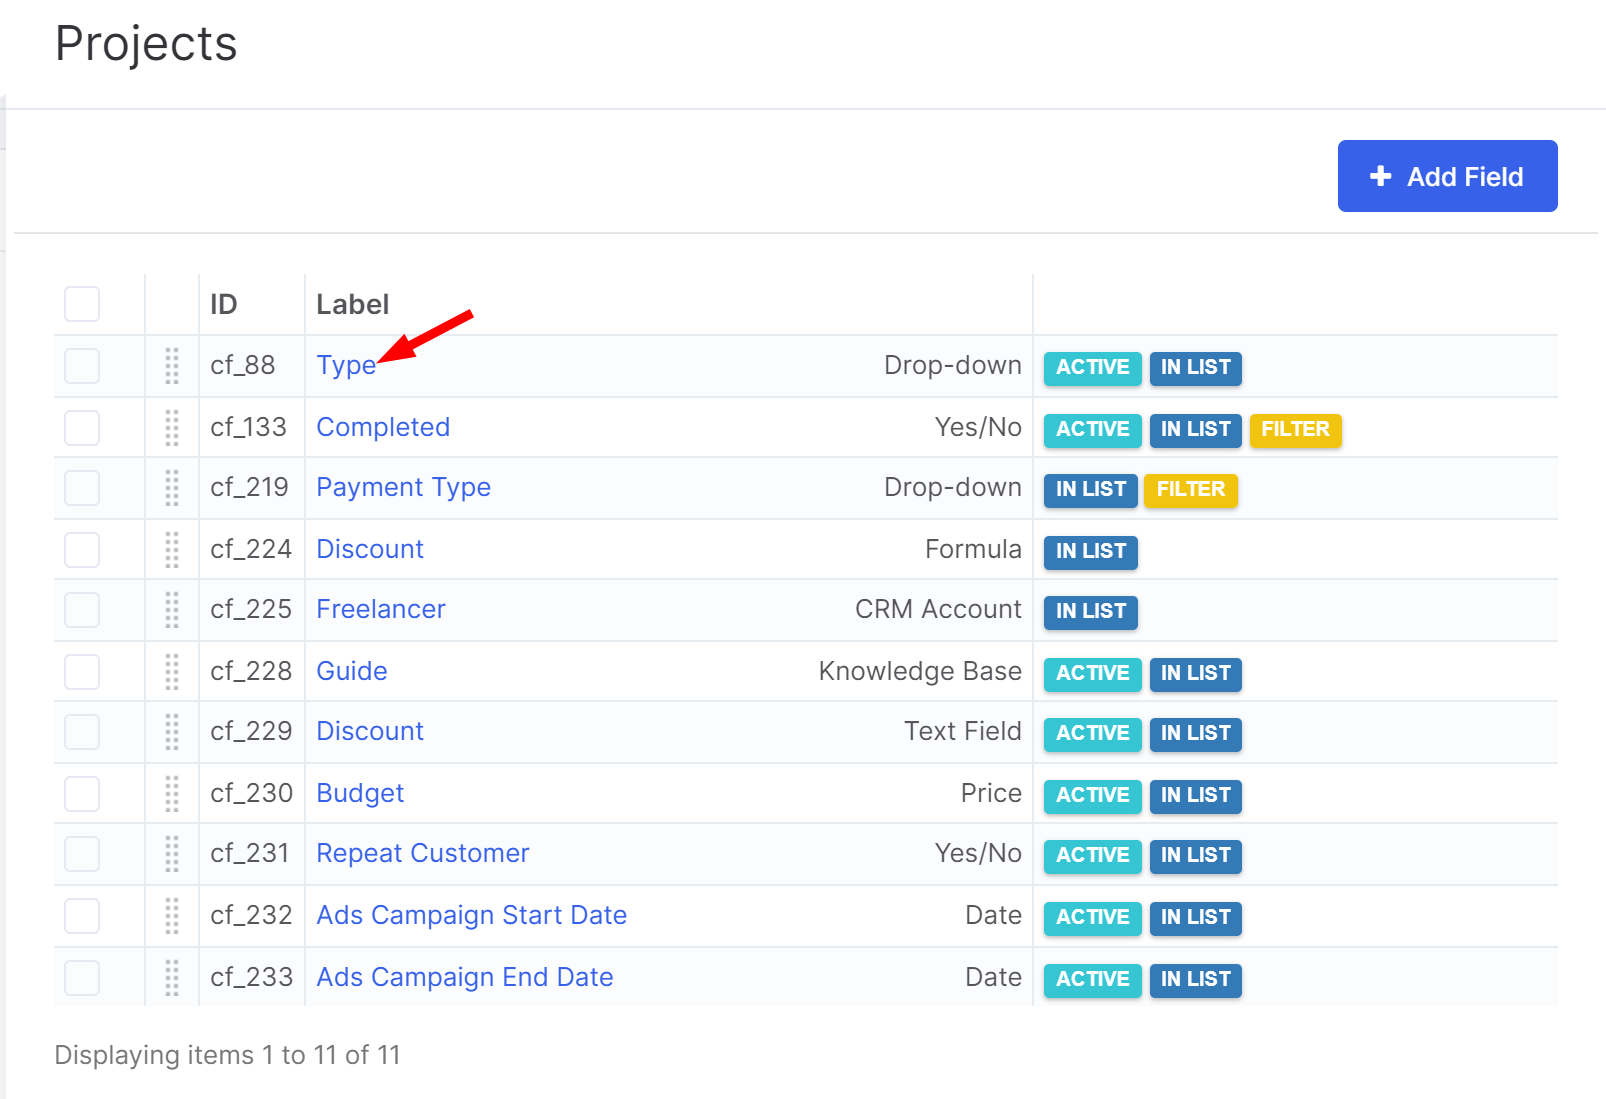
Going to the field settings
Custom fields can be displayed in the filter. Therefore, you are able to create any selections and instantly find the necessary data.
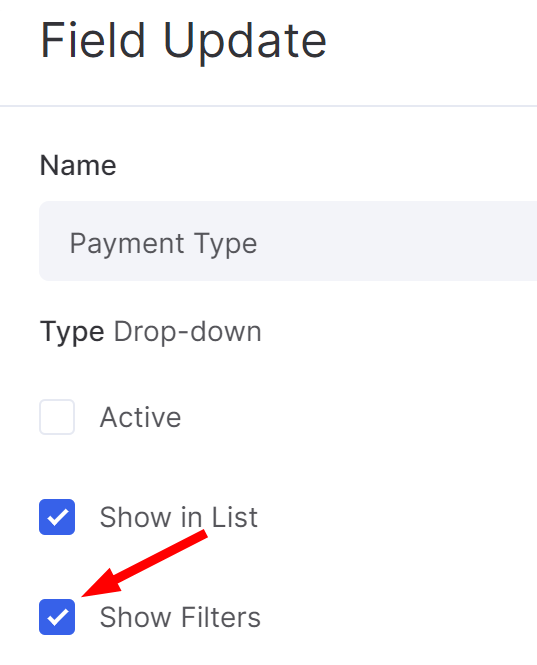
In fact, for all types of custom fields, you can display a filter in the list and search data using it. Click on the field name and go to its settings:

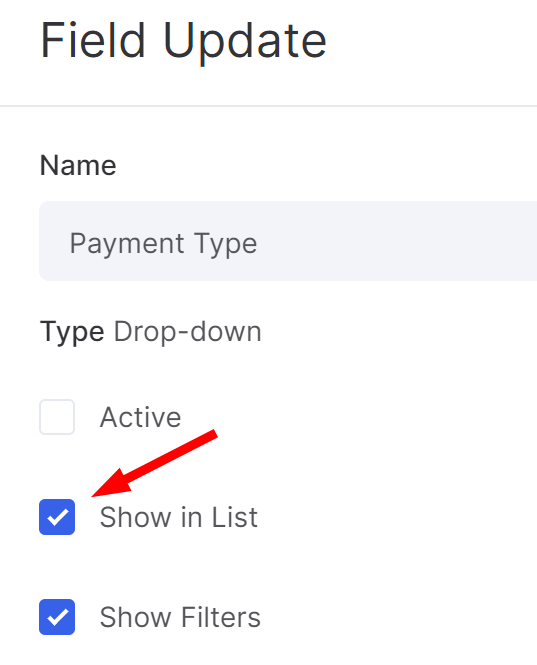
In the opened side panel, activate the corresponding option:
After this, you will see the selected filter field in the list.
If any of the information should be displayed only on the detailed page of the object (project, task, opportunity, CRM account), — deactivate the Show in list option in the field settings.
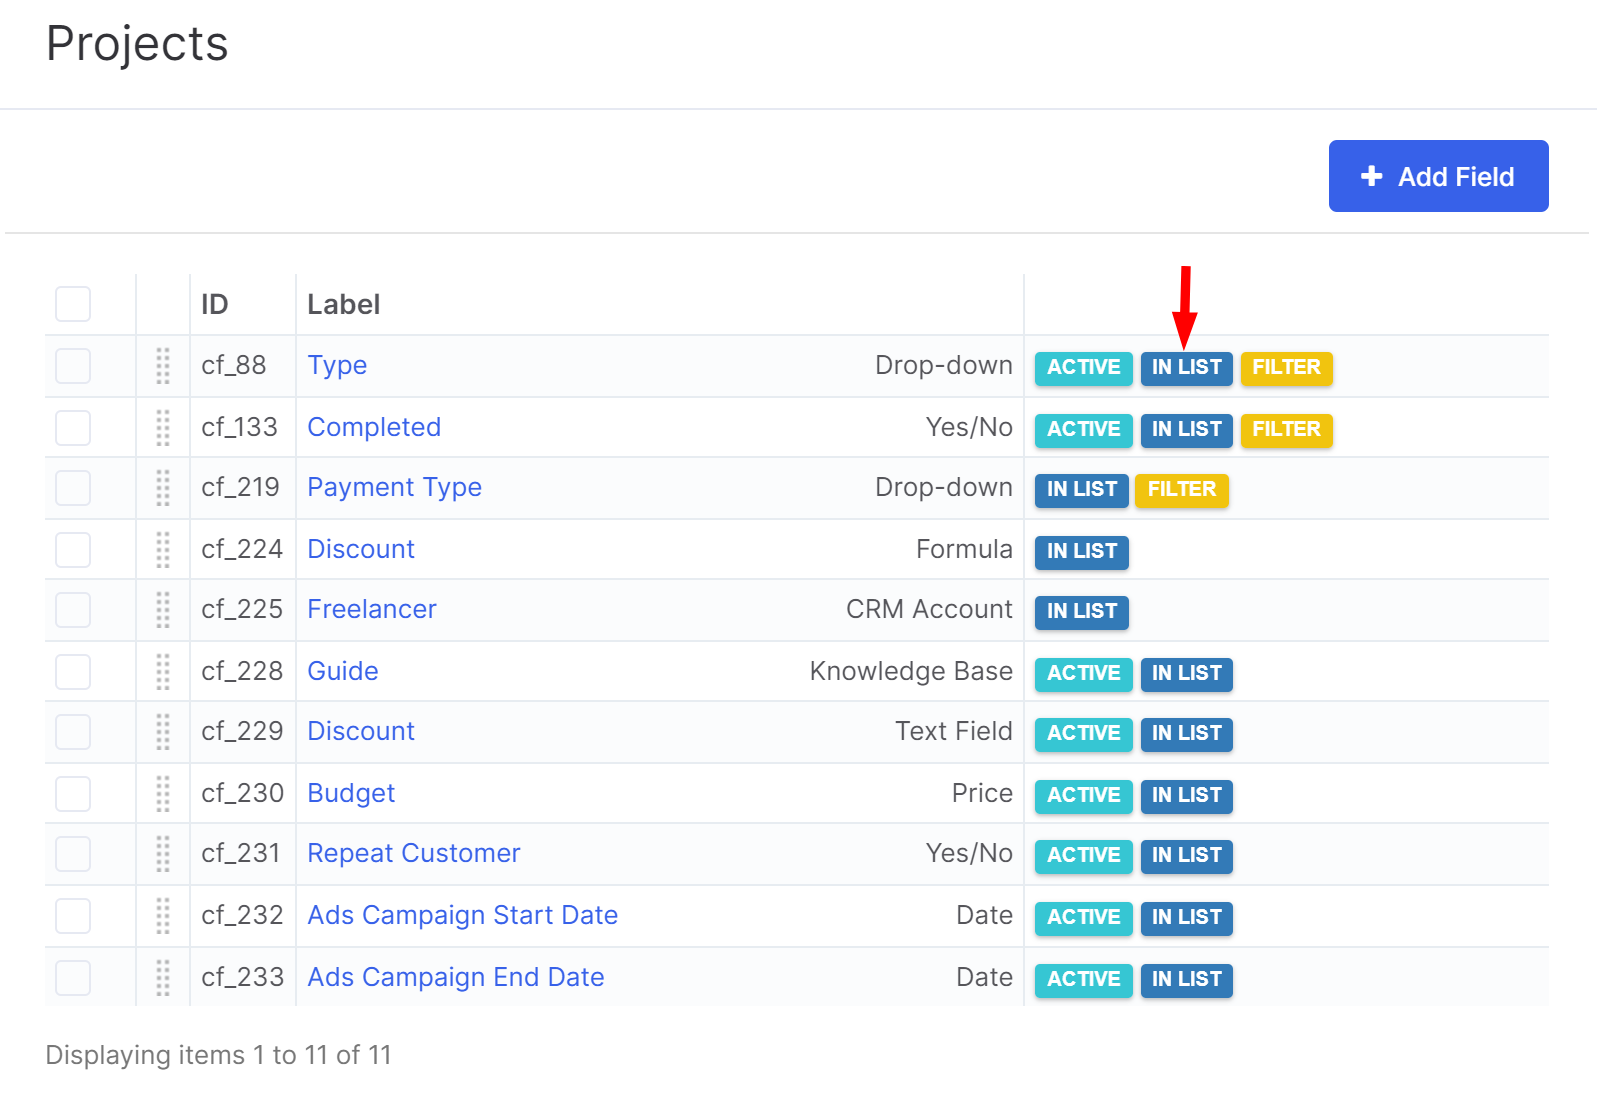
Information about whether a field is displayed in the list or not can be found in the table of custom fields.
If you select the Field Tooltip option, you will be able to add an explanation next to the field.
To delete a custom field, check the box next to it and click the Delete button.

