

Populating the Backlog
The backlog is the starting point where the project planning begins. It is a list of requirements, stories, suggestions, comments to the product and other initiatives that regularly come from your customers, employees, investors, the product owner, etc.
All issues are taken into account, including those that can never be performed. For example, when developing an online store, the elements of gamification can be implemented later, or maybe not, depending on the behavior of website visitors and the cost of conversion.
Creating an Issue
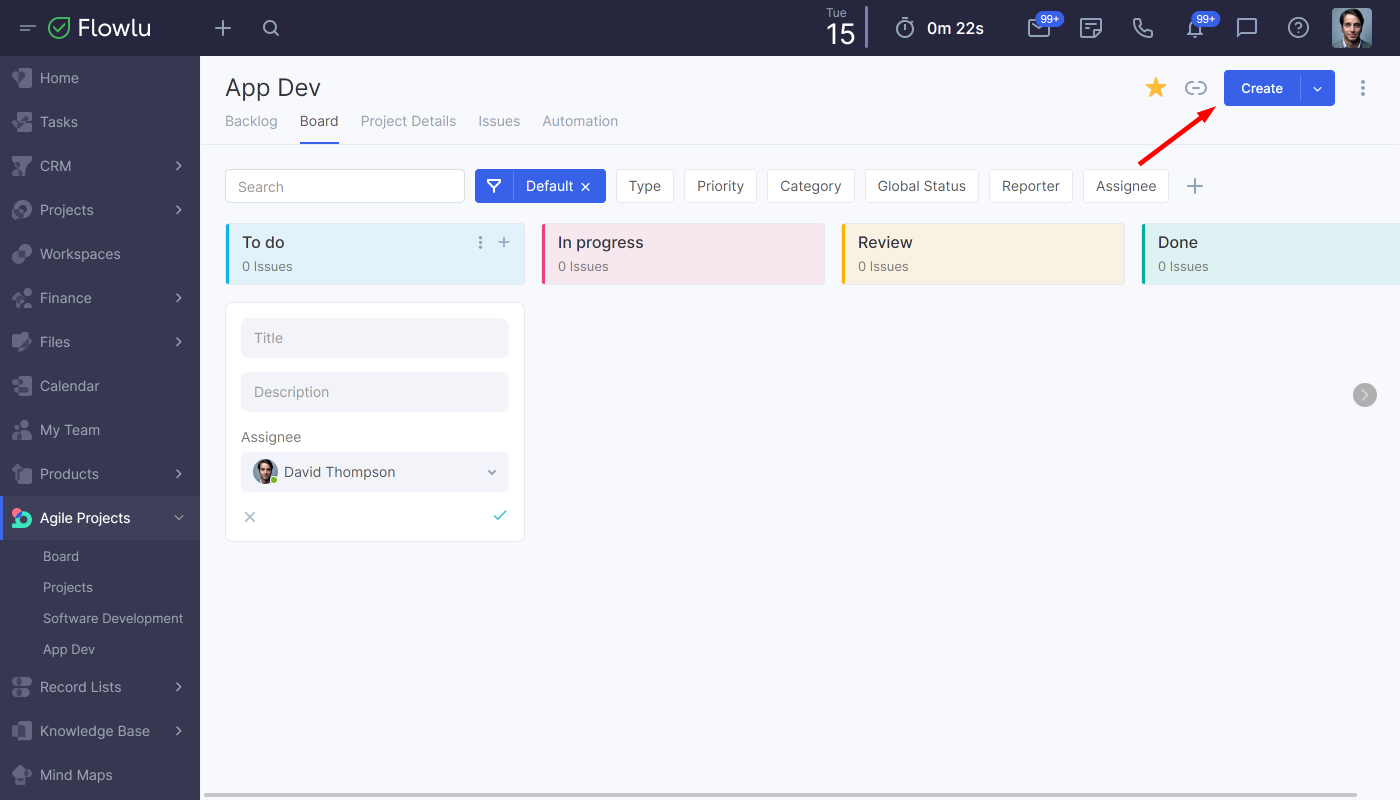
Navigate to the project you created and click the Create button.
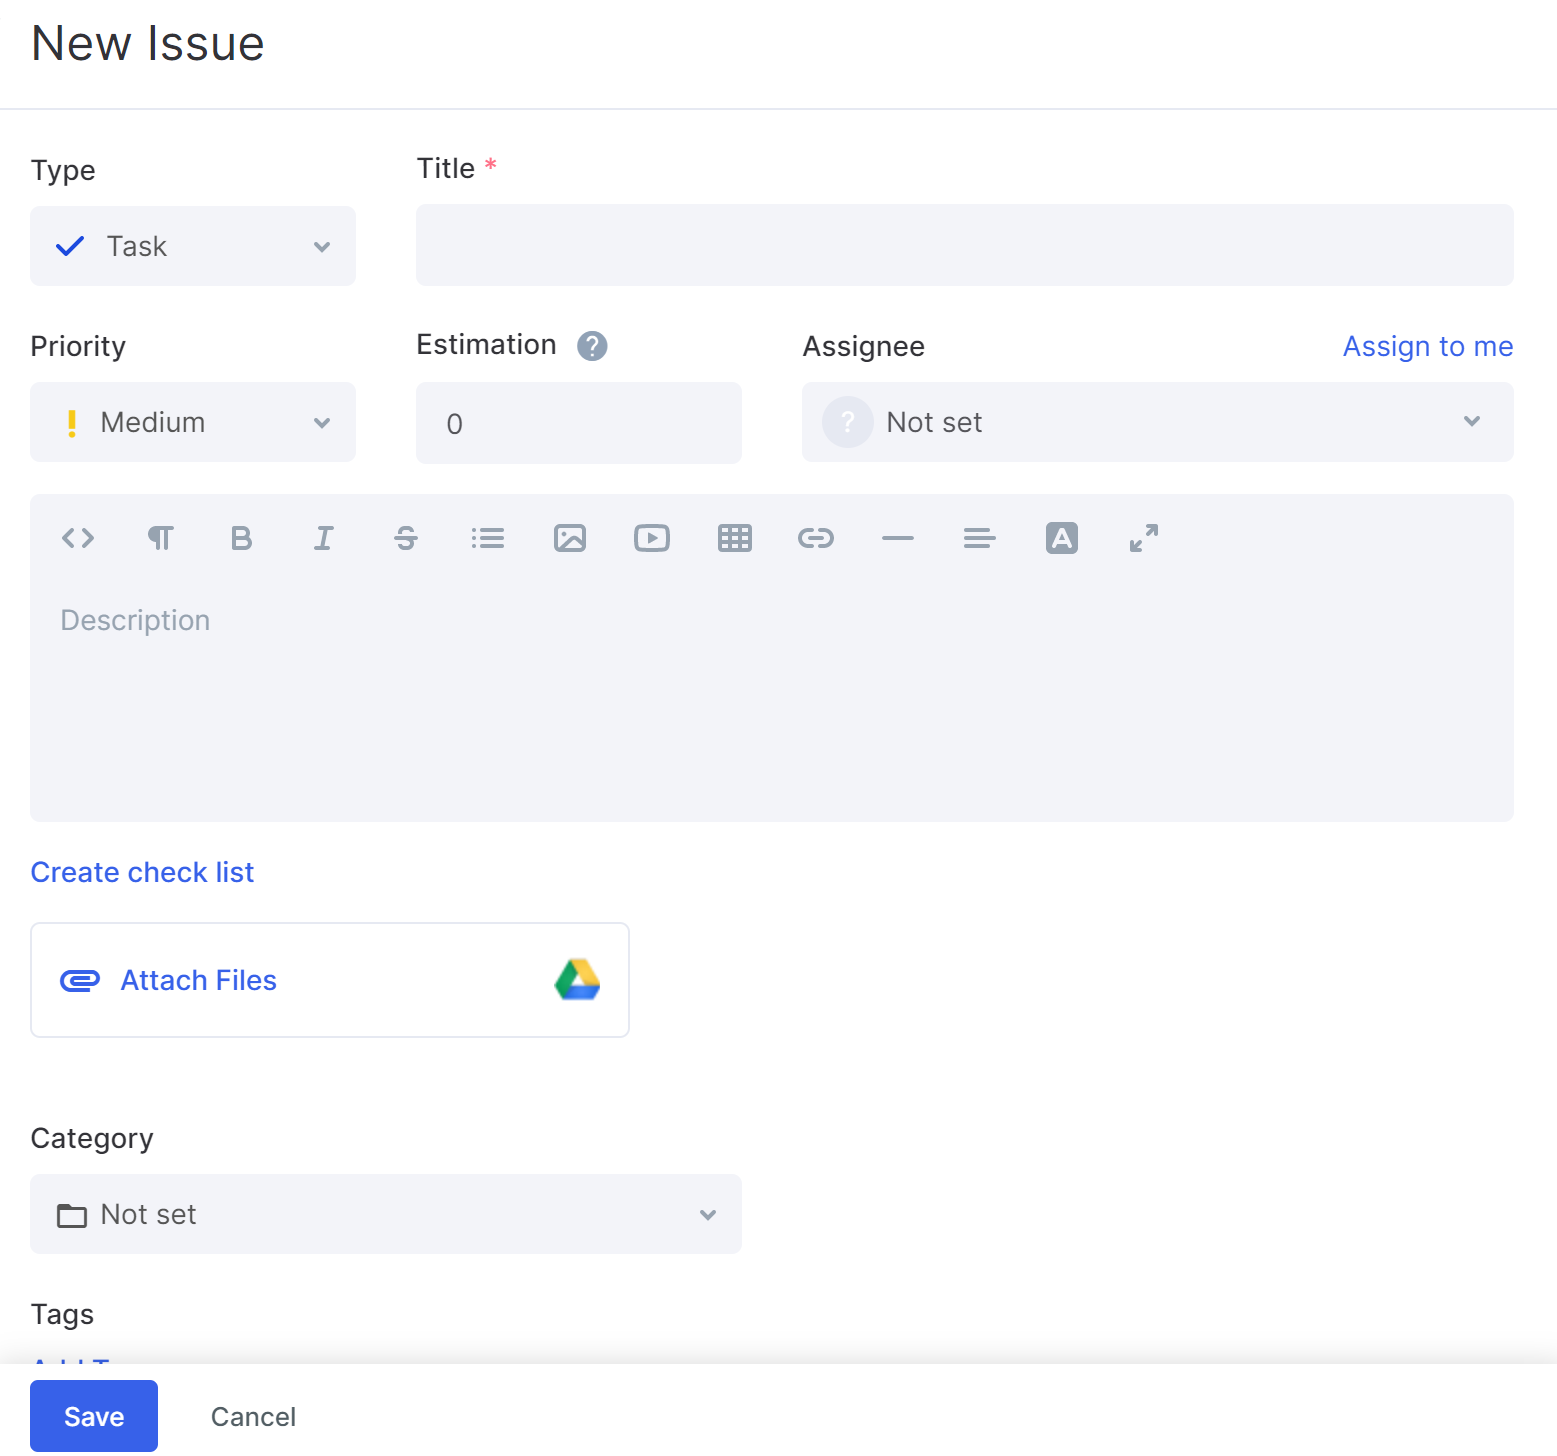
1. Briefly summarize the essence of the issue. The issue title should be simple, focused on the needs of the customer, understandable for the entire project team.
2. Specify the type. In most cases, this will be the stories. For more information about issue types, see the Basic Concepts and Settings chapter.
3. If necessary, change the priority, add a description, attach the files. When filling a backlog, you don’t have to immediately describe the details of the issue implementation, assign a responsible person to it, prepare a checklist for determining the readiness criteria, create the subtasks. All this you can specify when planning the sprint.
4. Click the Create button.
For each issue, it is important to specify the category, assign tags, if necessary—establish relations with previously recorded issues. Thanks to this, the backlog will not turn into a chaotic list of requirements, and you can manage the work of the team effectively. You can find out more about structuring the backlog elements later on.
If it is enough to specify only the name for the issue, write it in the backlog line and press Enter. By default, the requirement type—Story will be created.

All newly added backlog requirements are placed at the very end.
The project issues have a unique identifier of 2 parts:
- project key (SPC on the screenshot);
- number.
By the number, you can quickly find an issue in the backlog and learn about its status.

What Happens After Adding an Issue to the Backlog?
After saving the issue, the author is automatically recorded.
Later, this person receives notifications about all changes in the issue—new comments, moving to the sprint, assigning the responsible, moving the issue between the stages.
The project manager receives notifications about all changes in any issue and about adding a new issue to the backlog by any employee.
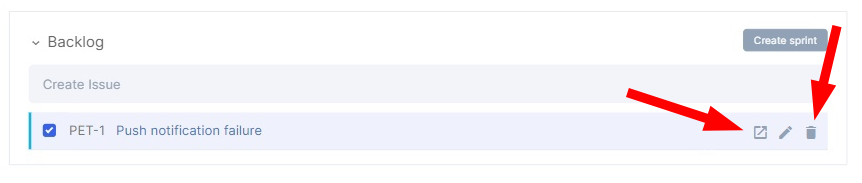
How to Edit Issues
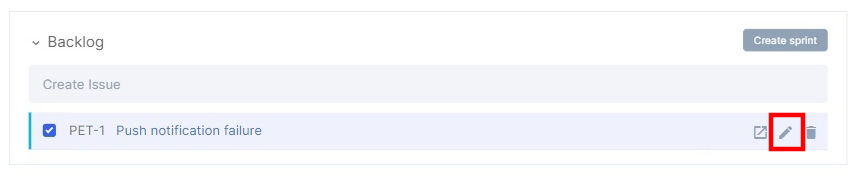
To edit, click on the pencil in the issues list.
Or click on the issue title and make changes to the needed fields.
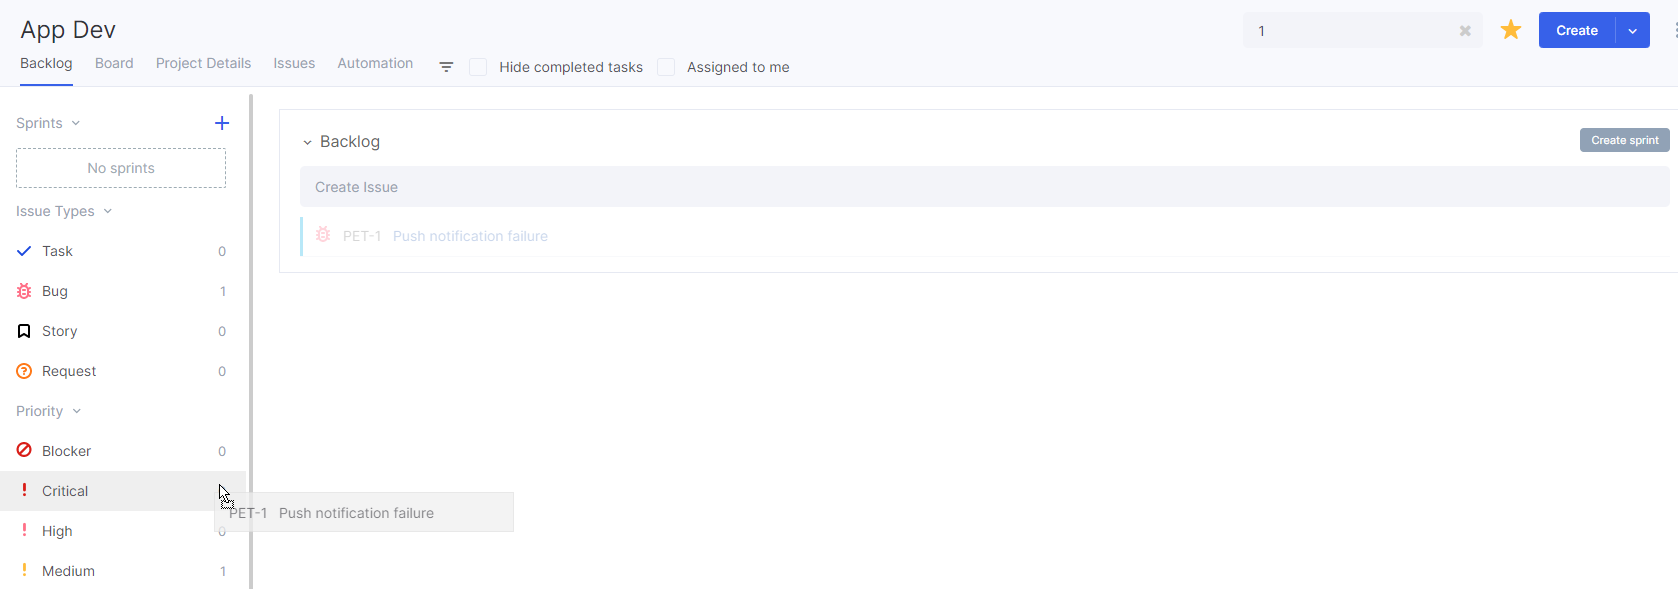
To change the priority, the type of requirement, the category assignment, you can also drag the issue into the corresponding section using the Drag&Drop method.
The button with the diagonal arrow allows you to go to the issue page. The button next to it deletes the issue.
You can also delete the issue from the detailed page via a button with 3 vertical dots.
