

Action: Activity Feed Post
The main difference between publishing a comment or a post to the activity feed is that you can edit or delete the comment, while the activity feed post cannot be modified.
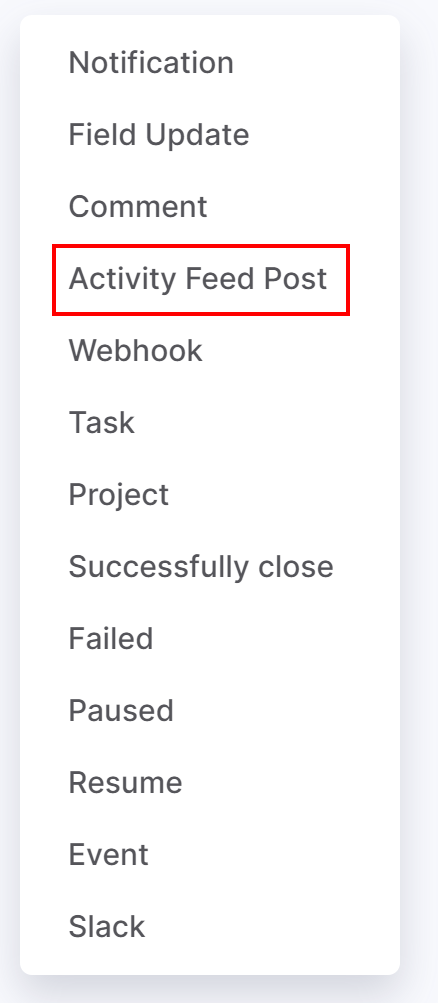
1. To create an activity feed post automatically, click the "Create" button and select "Activity Feed Post."
2. Specify a name for your automation. This should briefly outline your automated action. For example, "New post to the activity feed". It will be displayed on the automation board.
3. In the Run field, choose a time when specific action (sending notification) will occur:
- Immediately.
- X minutes/days/hours after the Current time, End Date.
- X minutes/days/hours before the End Date.
4. Add the condition that must be met for your rule to continue running. For instance, the post should be published only if the project end date is tomorrow. To create a condition, select a project field and custom values for the condition.
5. After previous automation rule. You may set up the sequence of automation rules. This option empowers you to create a sequence of actions when your rule is not to be run before the previous rule is applied.
5. Add a text of the post that will be displayed in the activity feed. In Flowlu, you can automatically replace data with information provided in the project, by which this comment will be created. To do it, use variables that can be found by clicking on "three dots" button on the right. All main fields of the project as well as custom fields can be used in the variables.
6. Add the post's author. For example, use the "Project: Manager" variable to automatically substitute the manager of each specific project. Or, you can leave it as Not set.
7. Select Save to apply your changes.
