Managing Opportunities
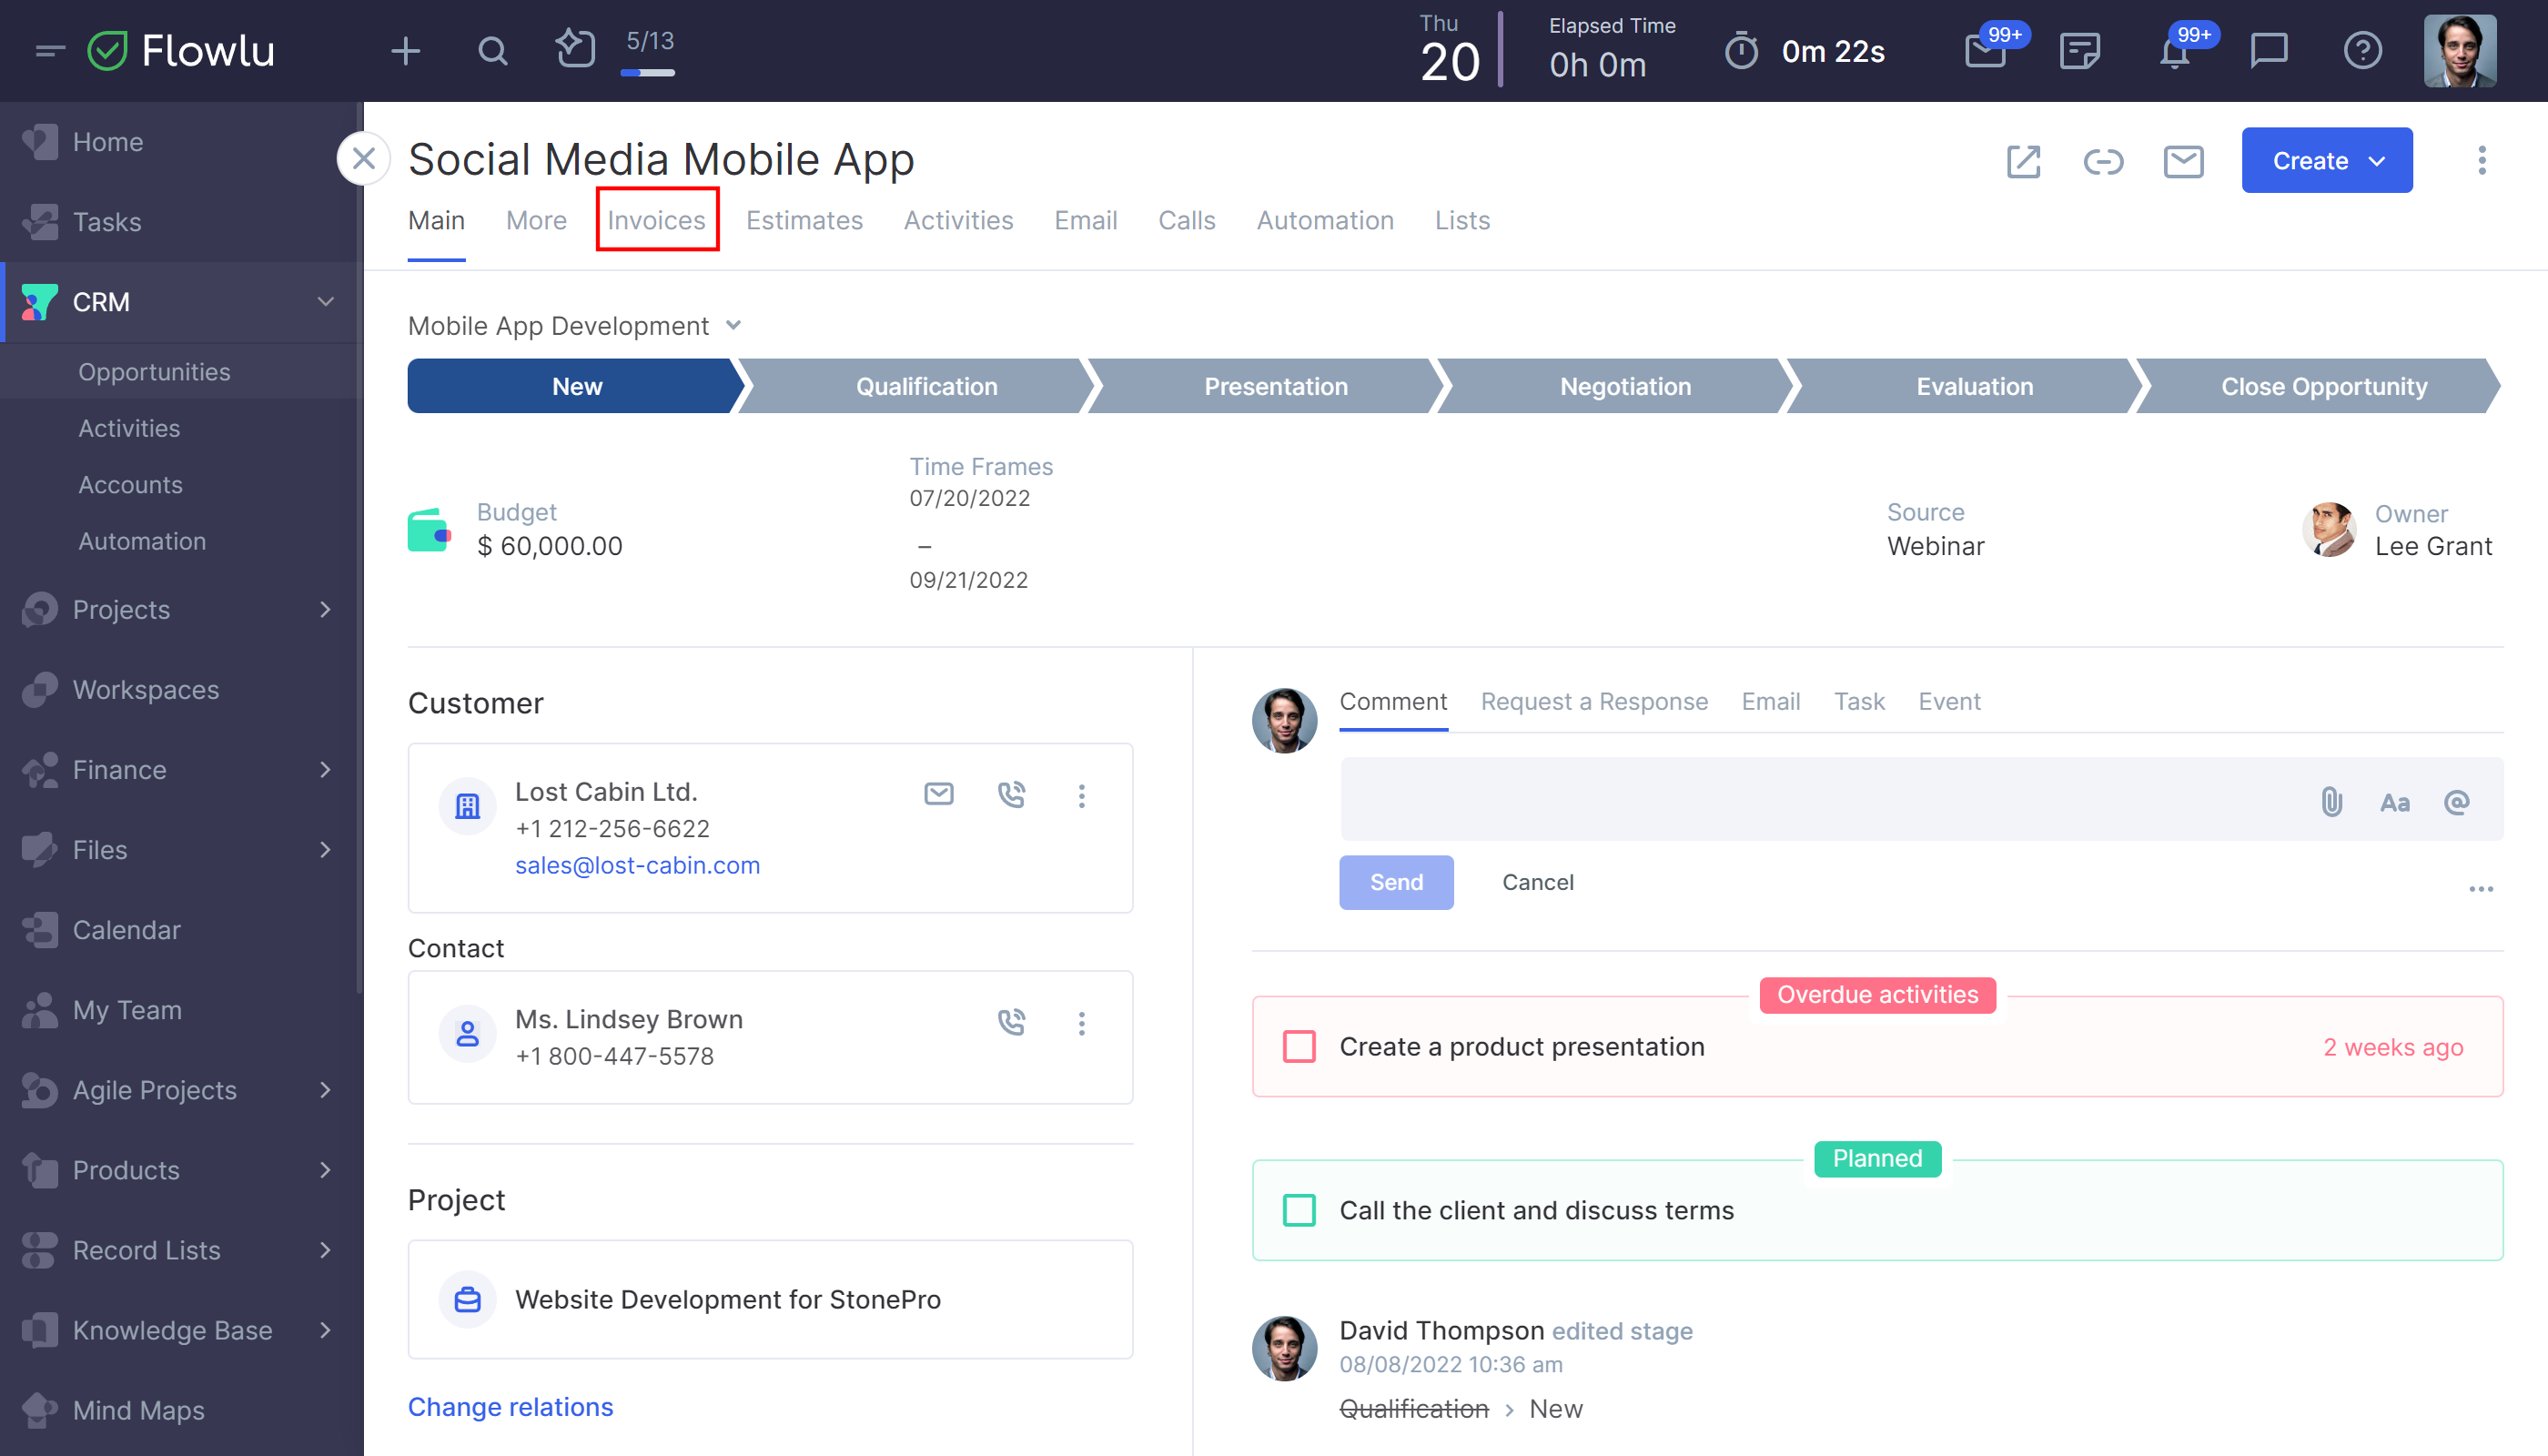
The opportunity record stores the entire history of communication with the client. You can easily track all client information and interaction — issued invoices and estimates, scheduled tasks and events, sent emails and stage updates, etc.
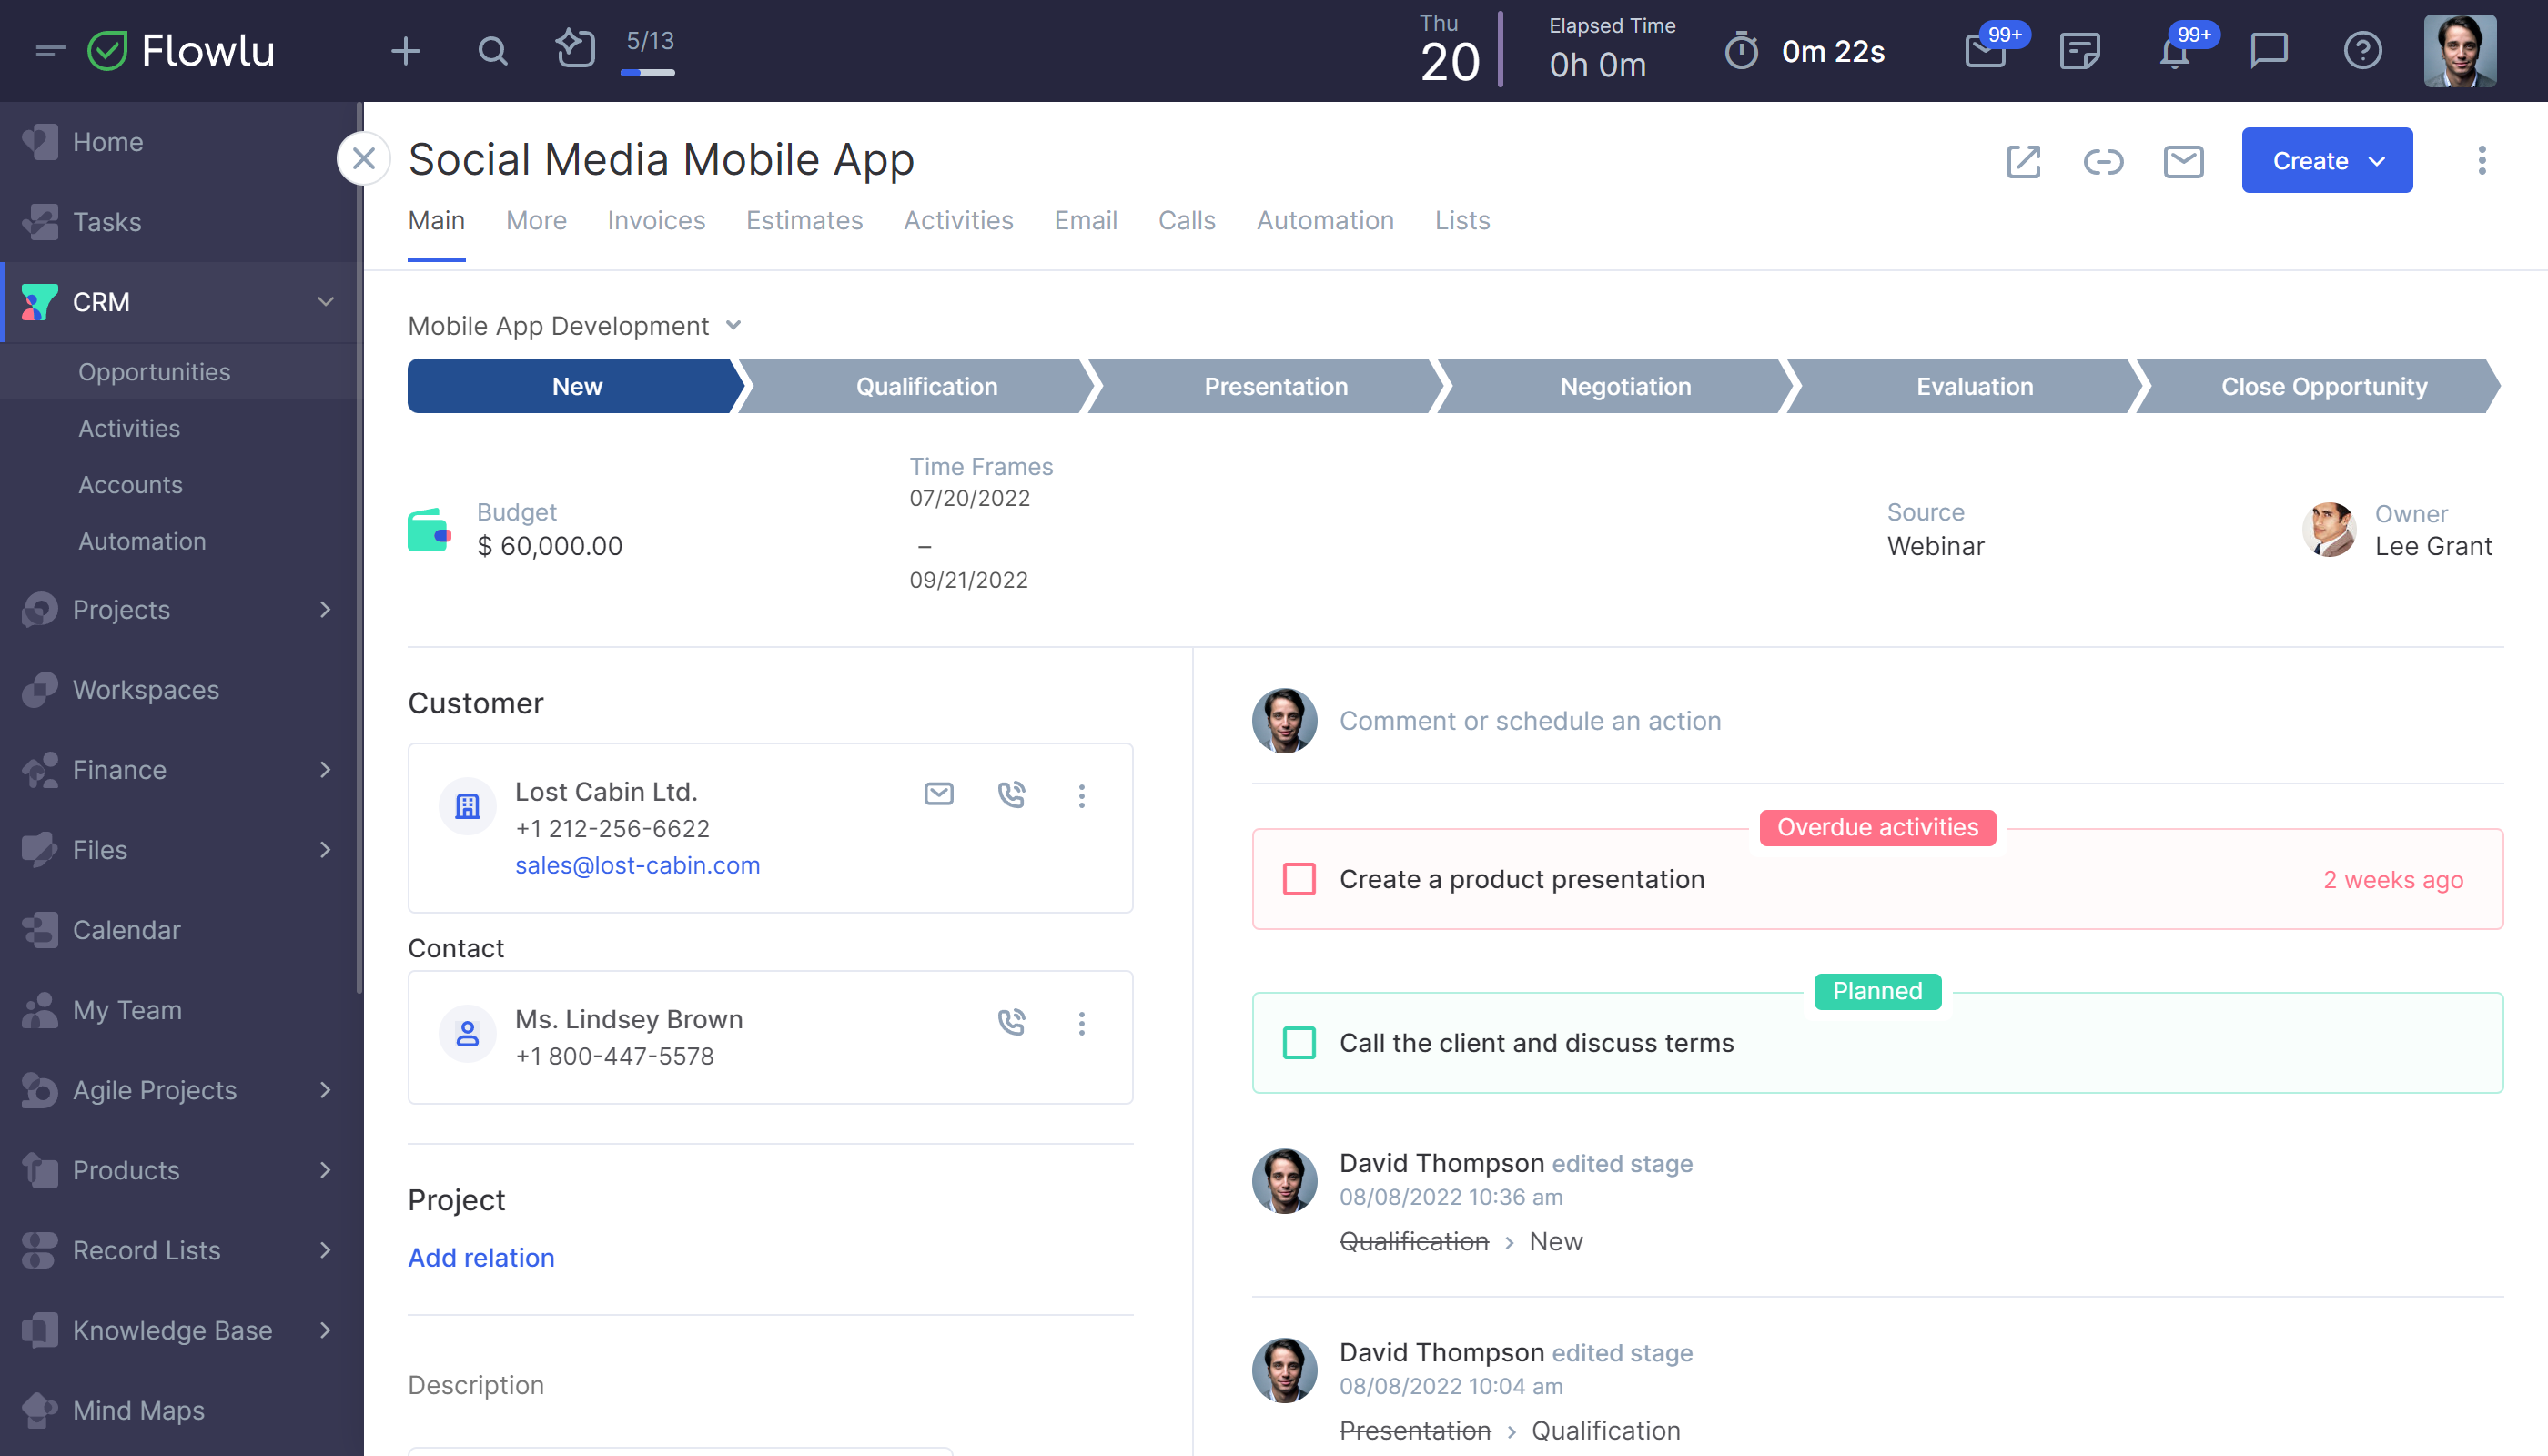
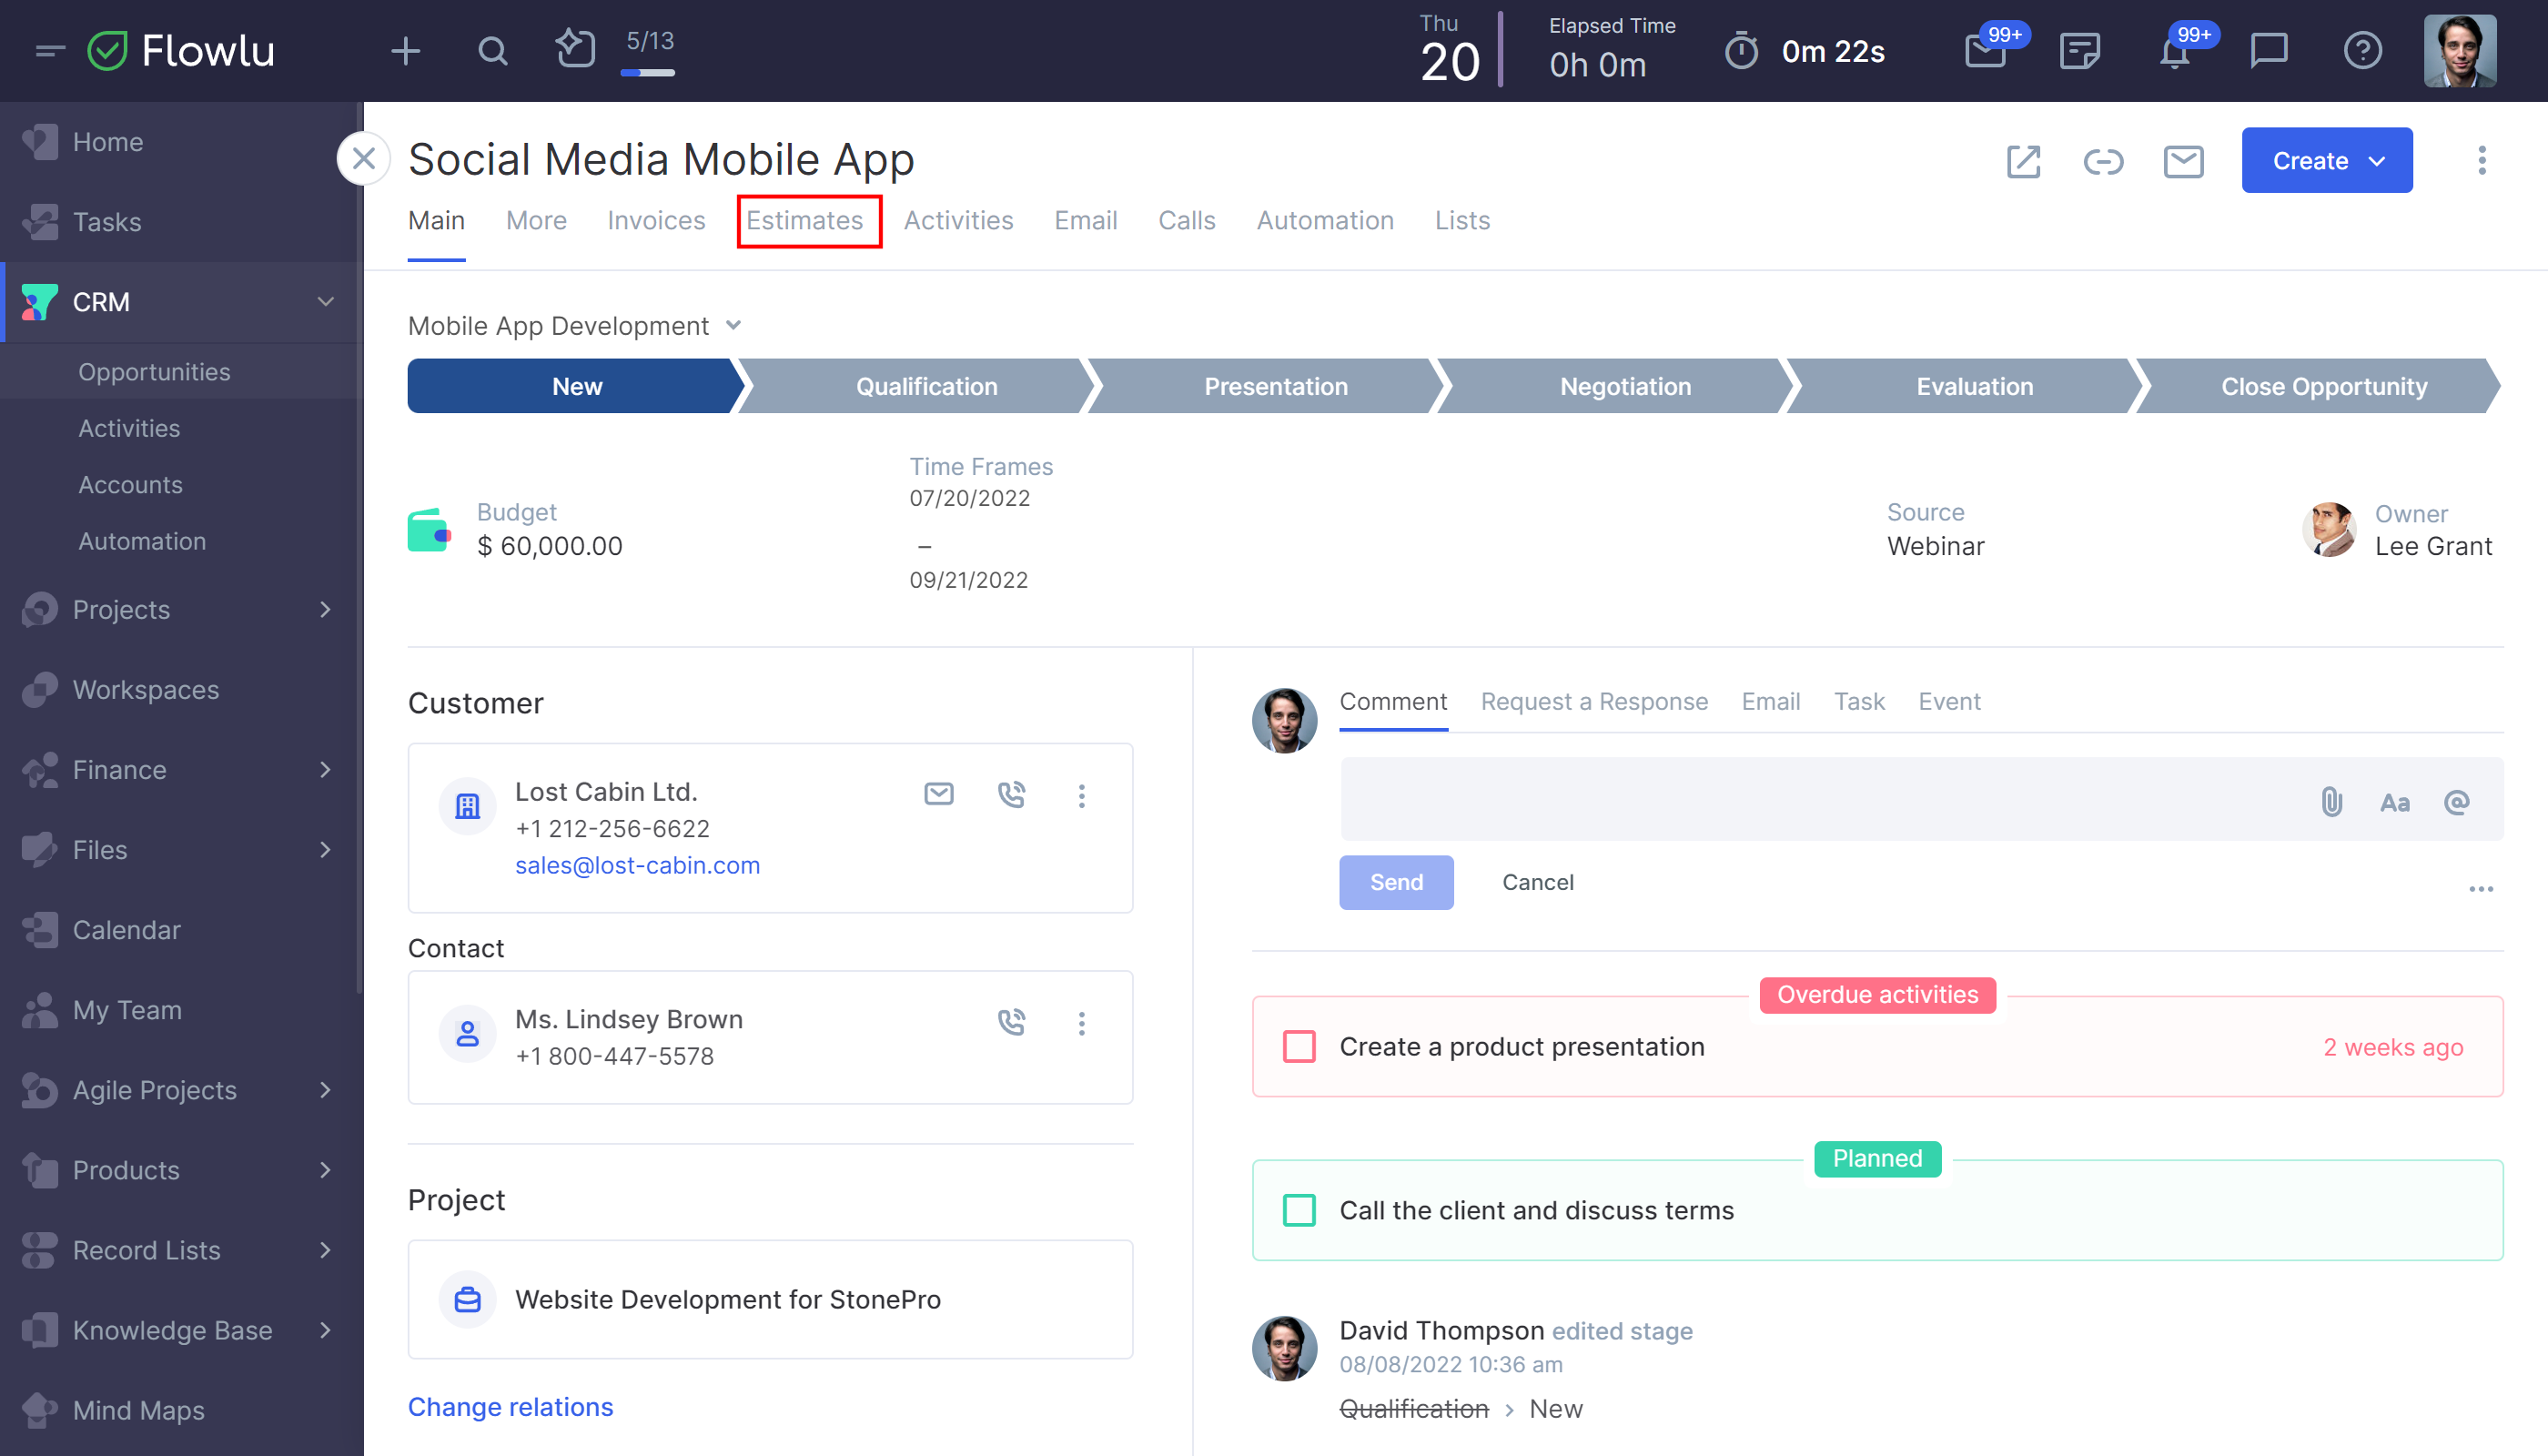
You can change the name of the opportunity by clicking on it.

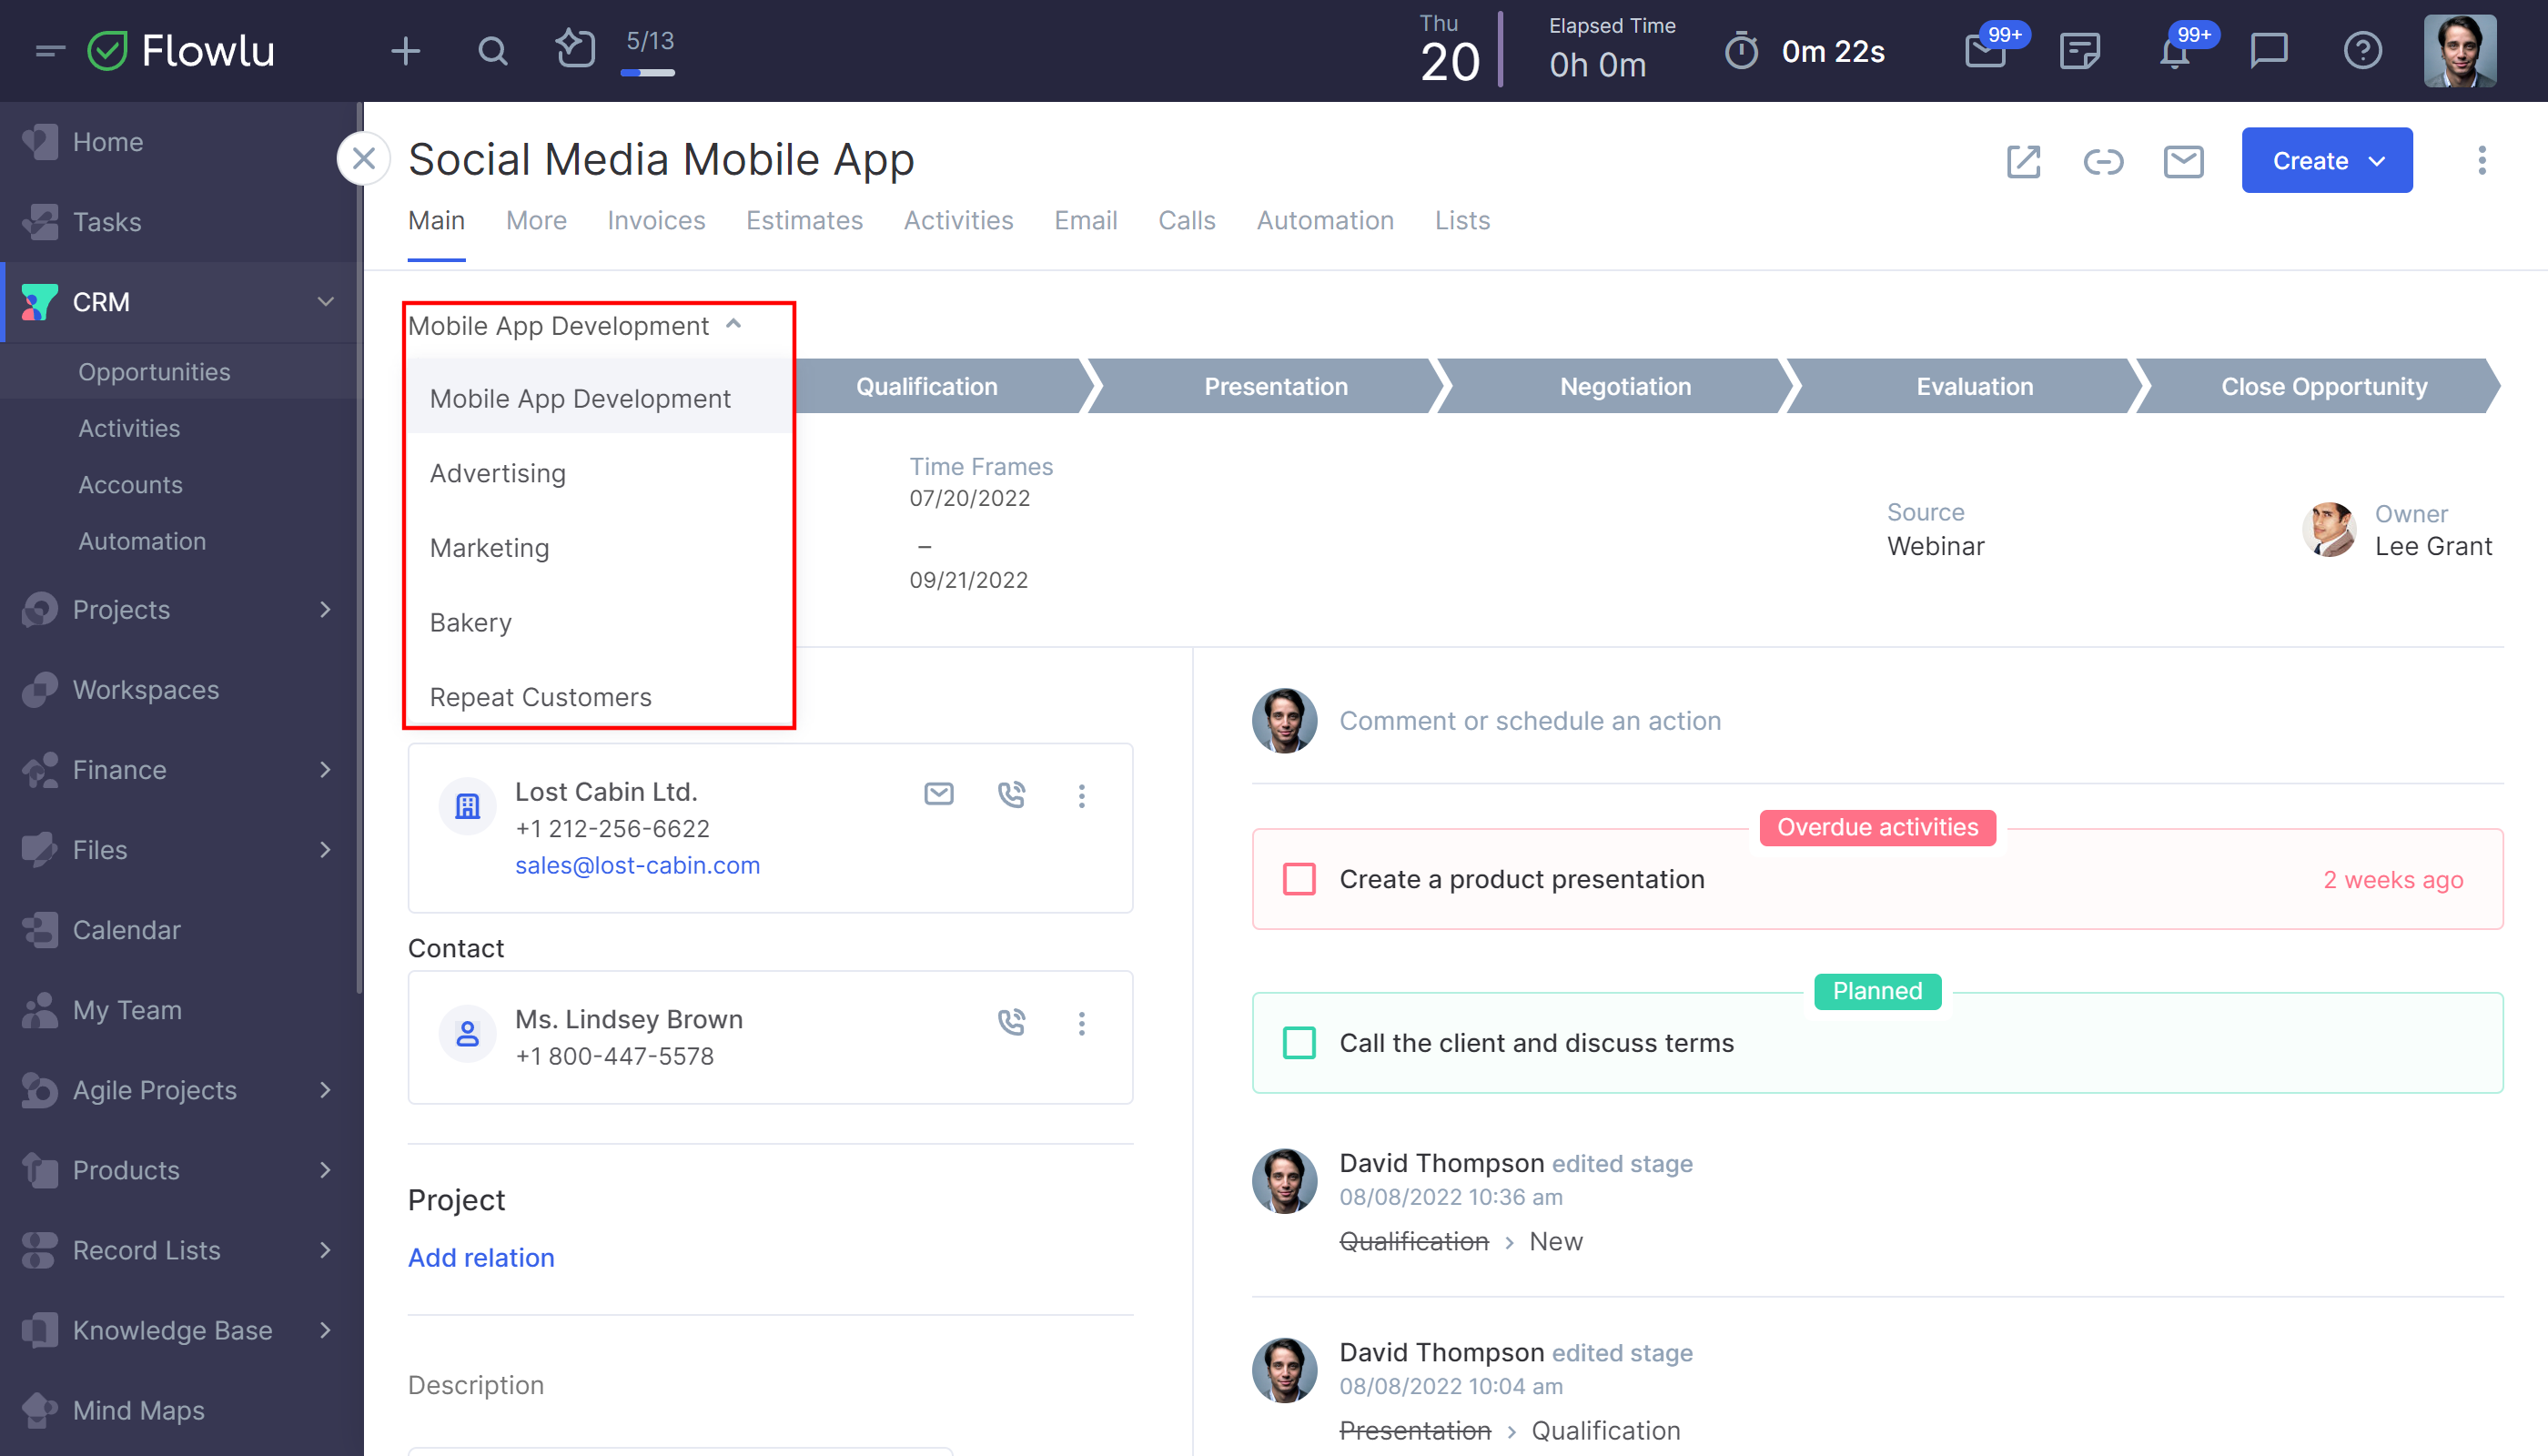
At the very top of the opportunity record , you can change the sales pipeline of the opportunity in the drop-down list.
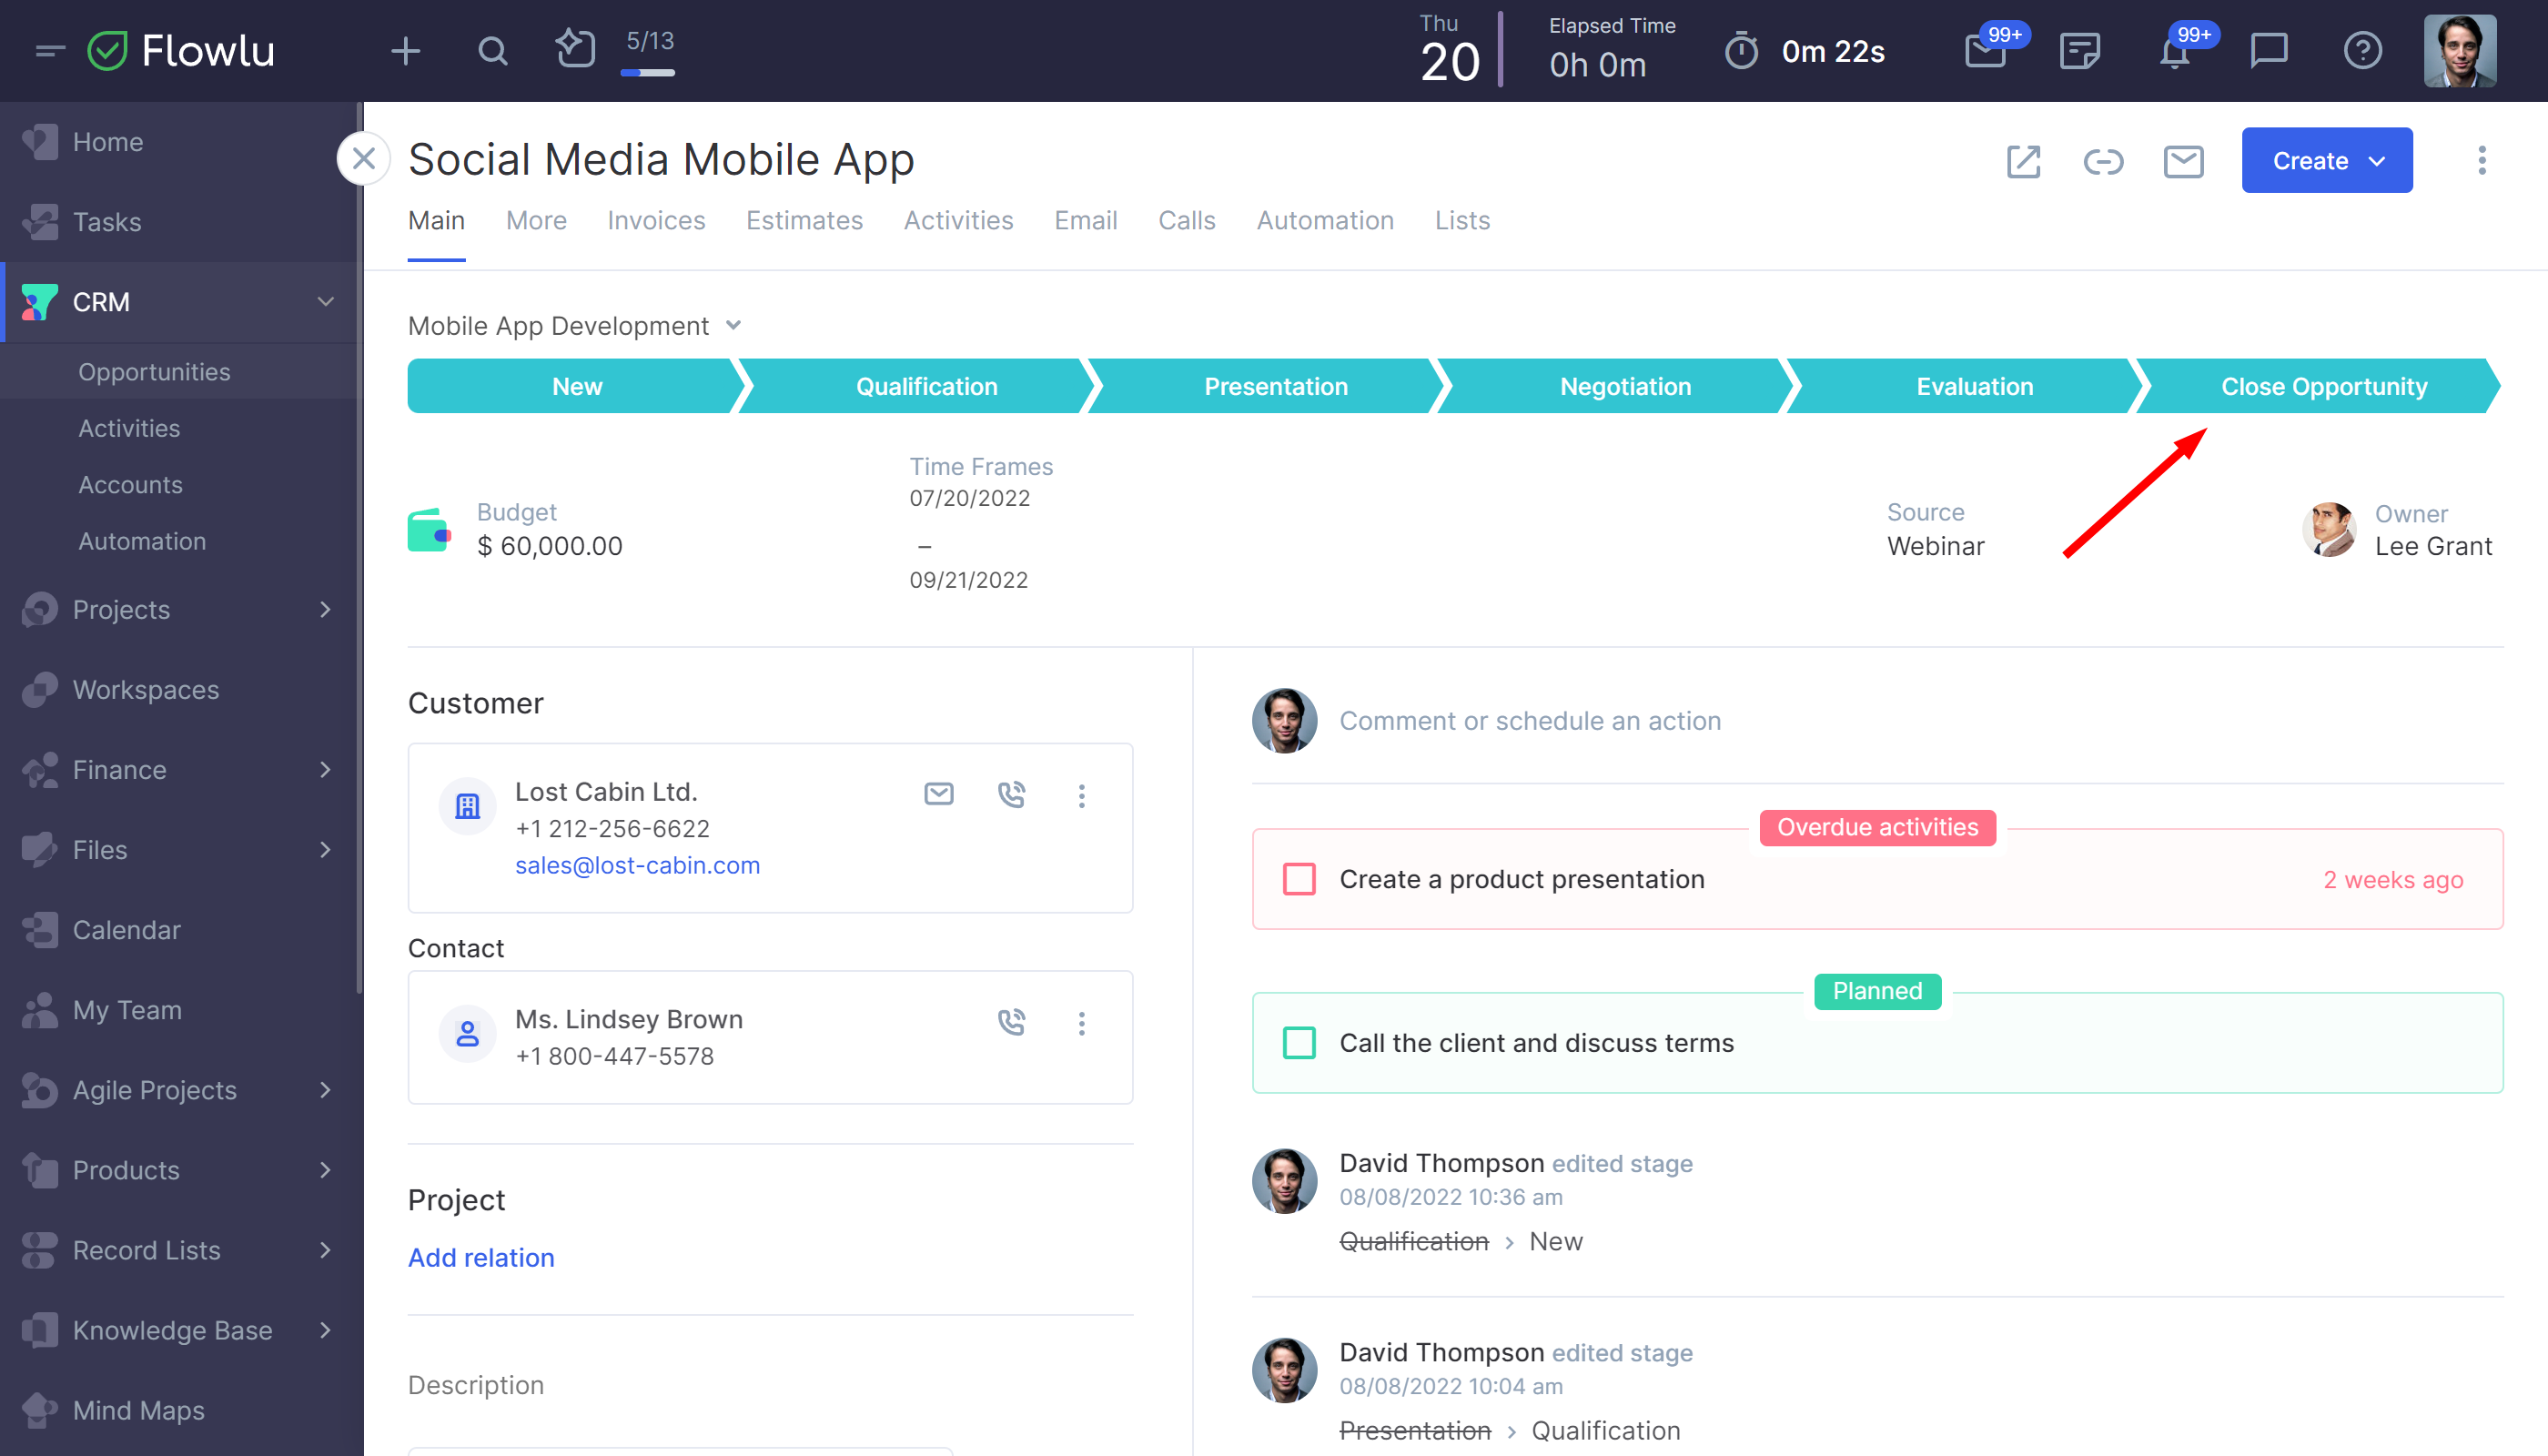
You can quickly move an opportunity to the next stage by clicking on the appropriate stage.
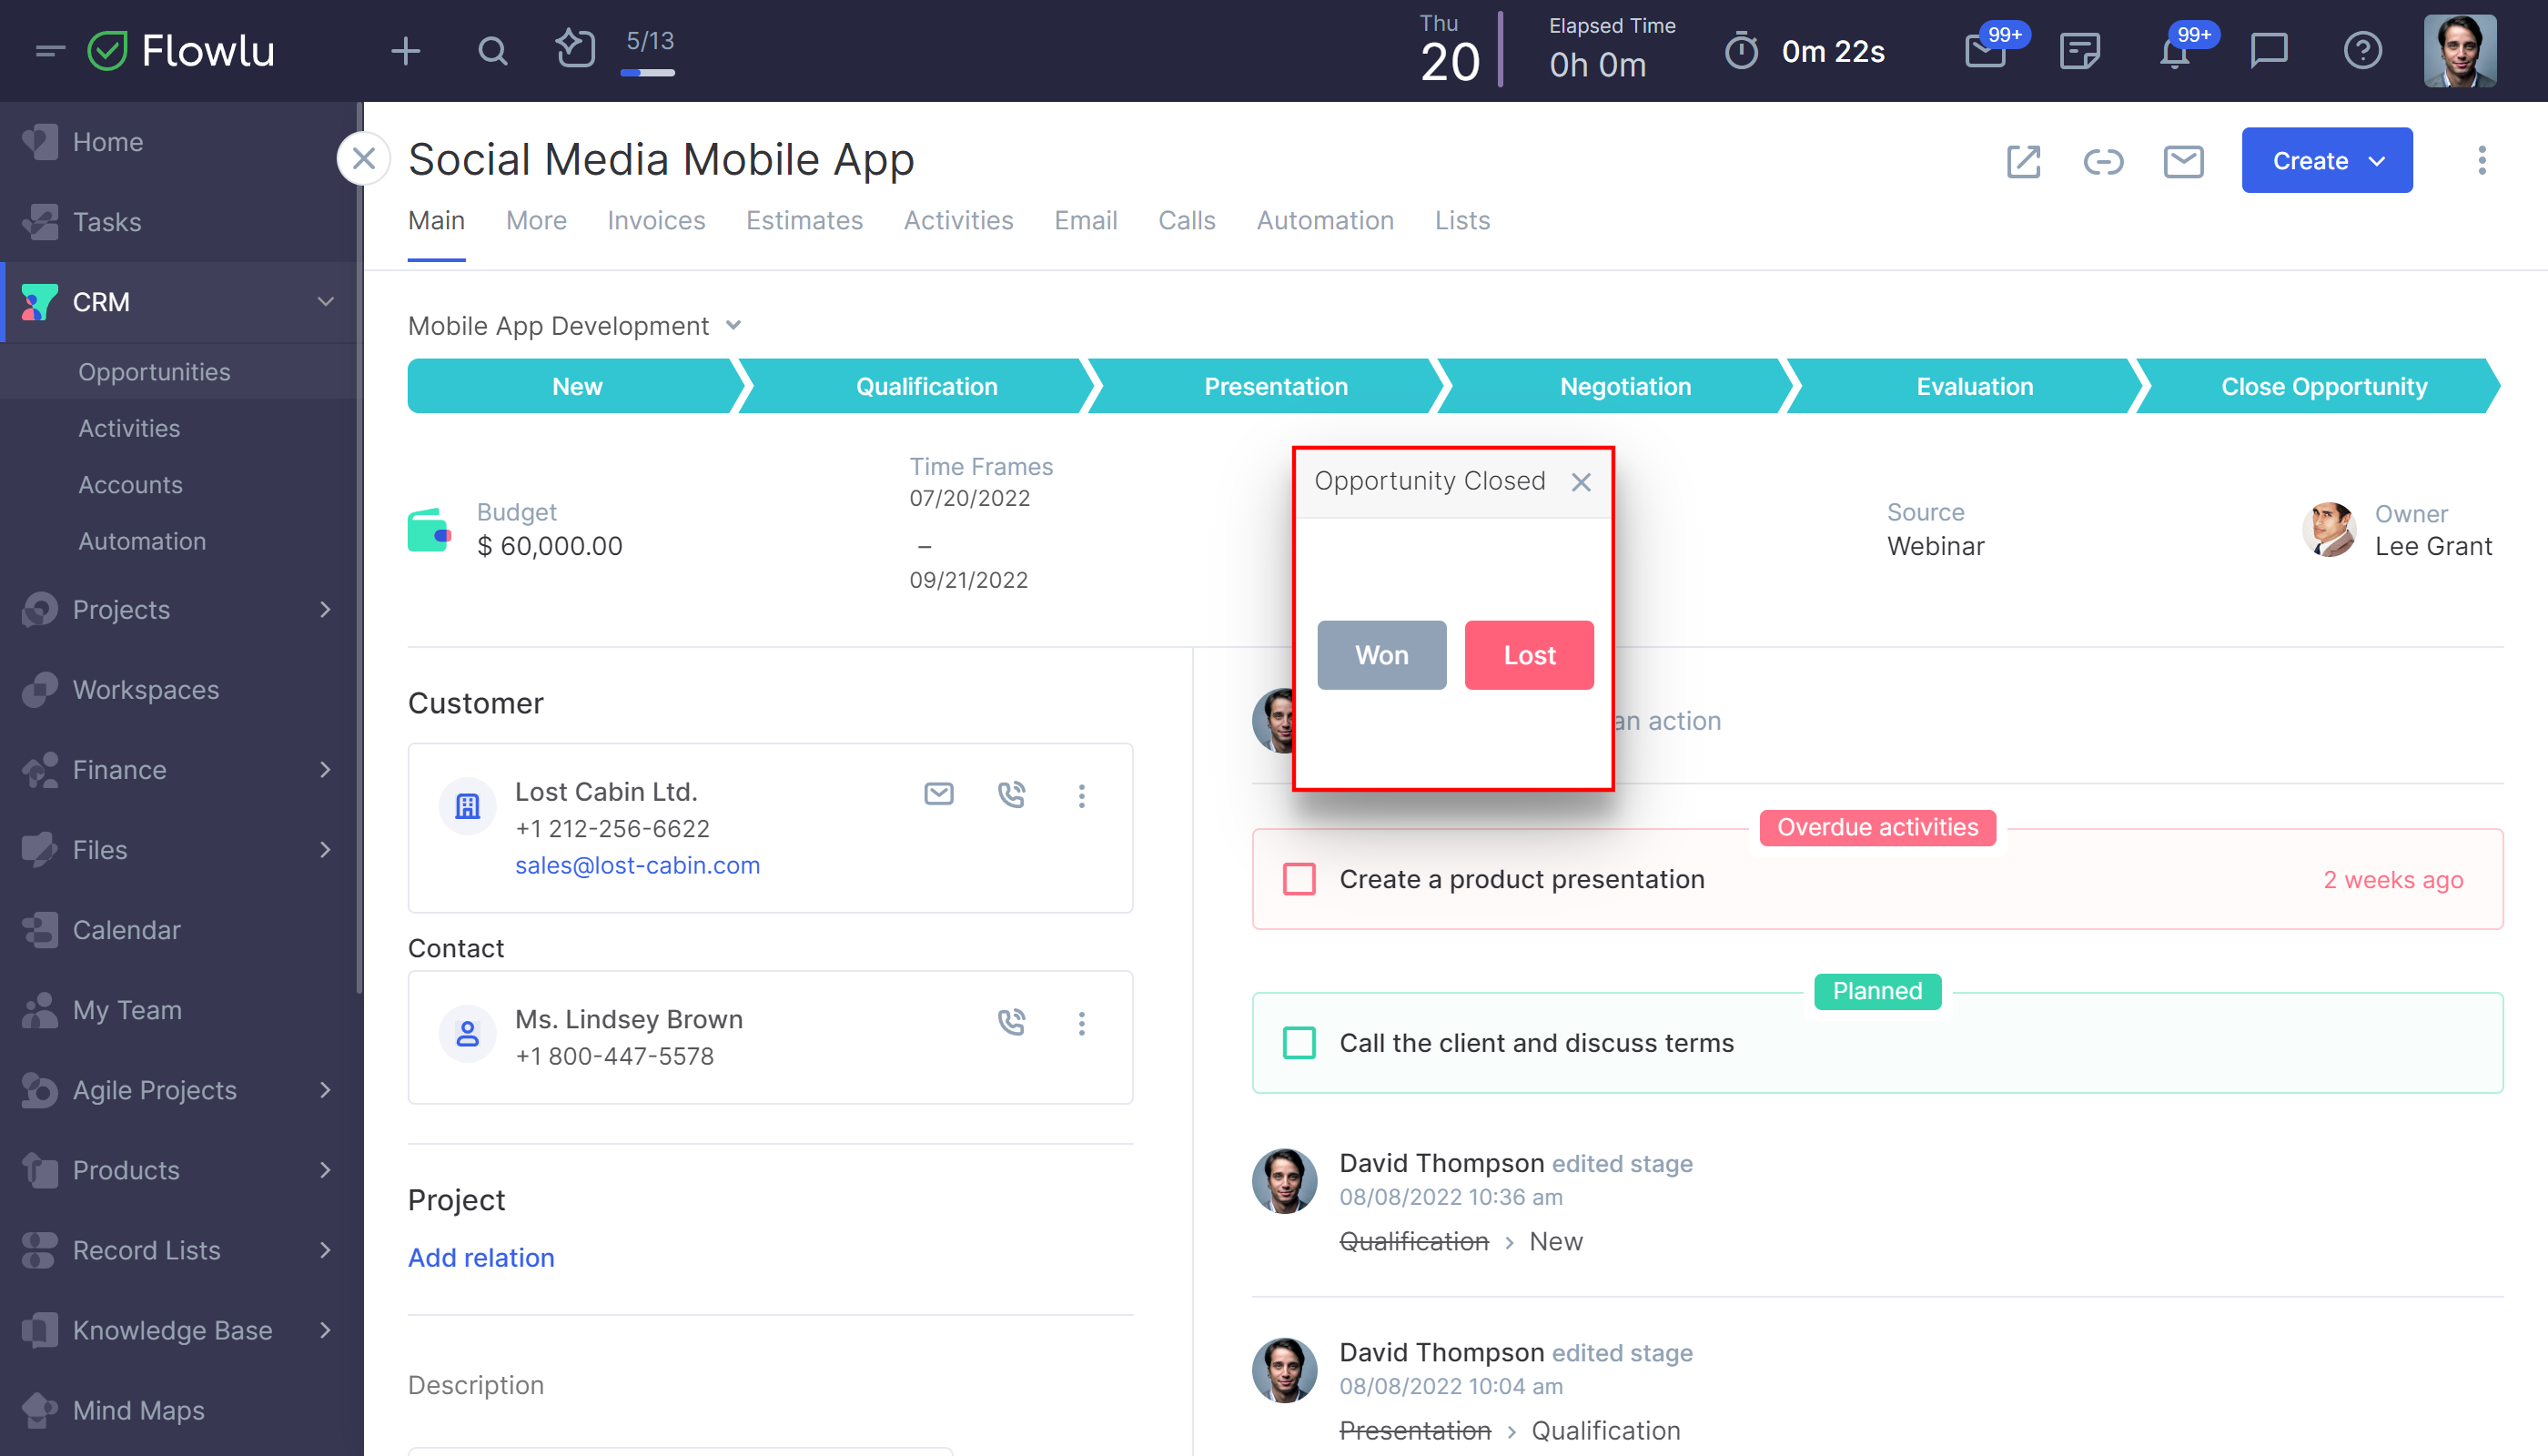
To close a opportunity, you should click on the "Close Opportunity" stage.
Flowlu will offer to mark an opportunity as won closed or lost. If you choose the first option, you should specify the date of closing the opportunity. You can also leave a comment. At choosing the second option, it is necessary to specify date and loss reason. If you wish, you can leave a detailed comment.
By icons in the top panel you can open the opportunity in a new window, copy the external link or send an email to the client.

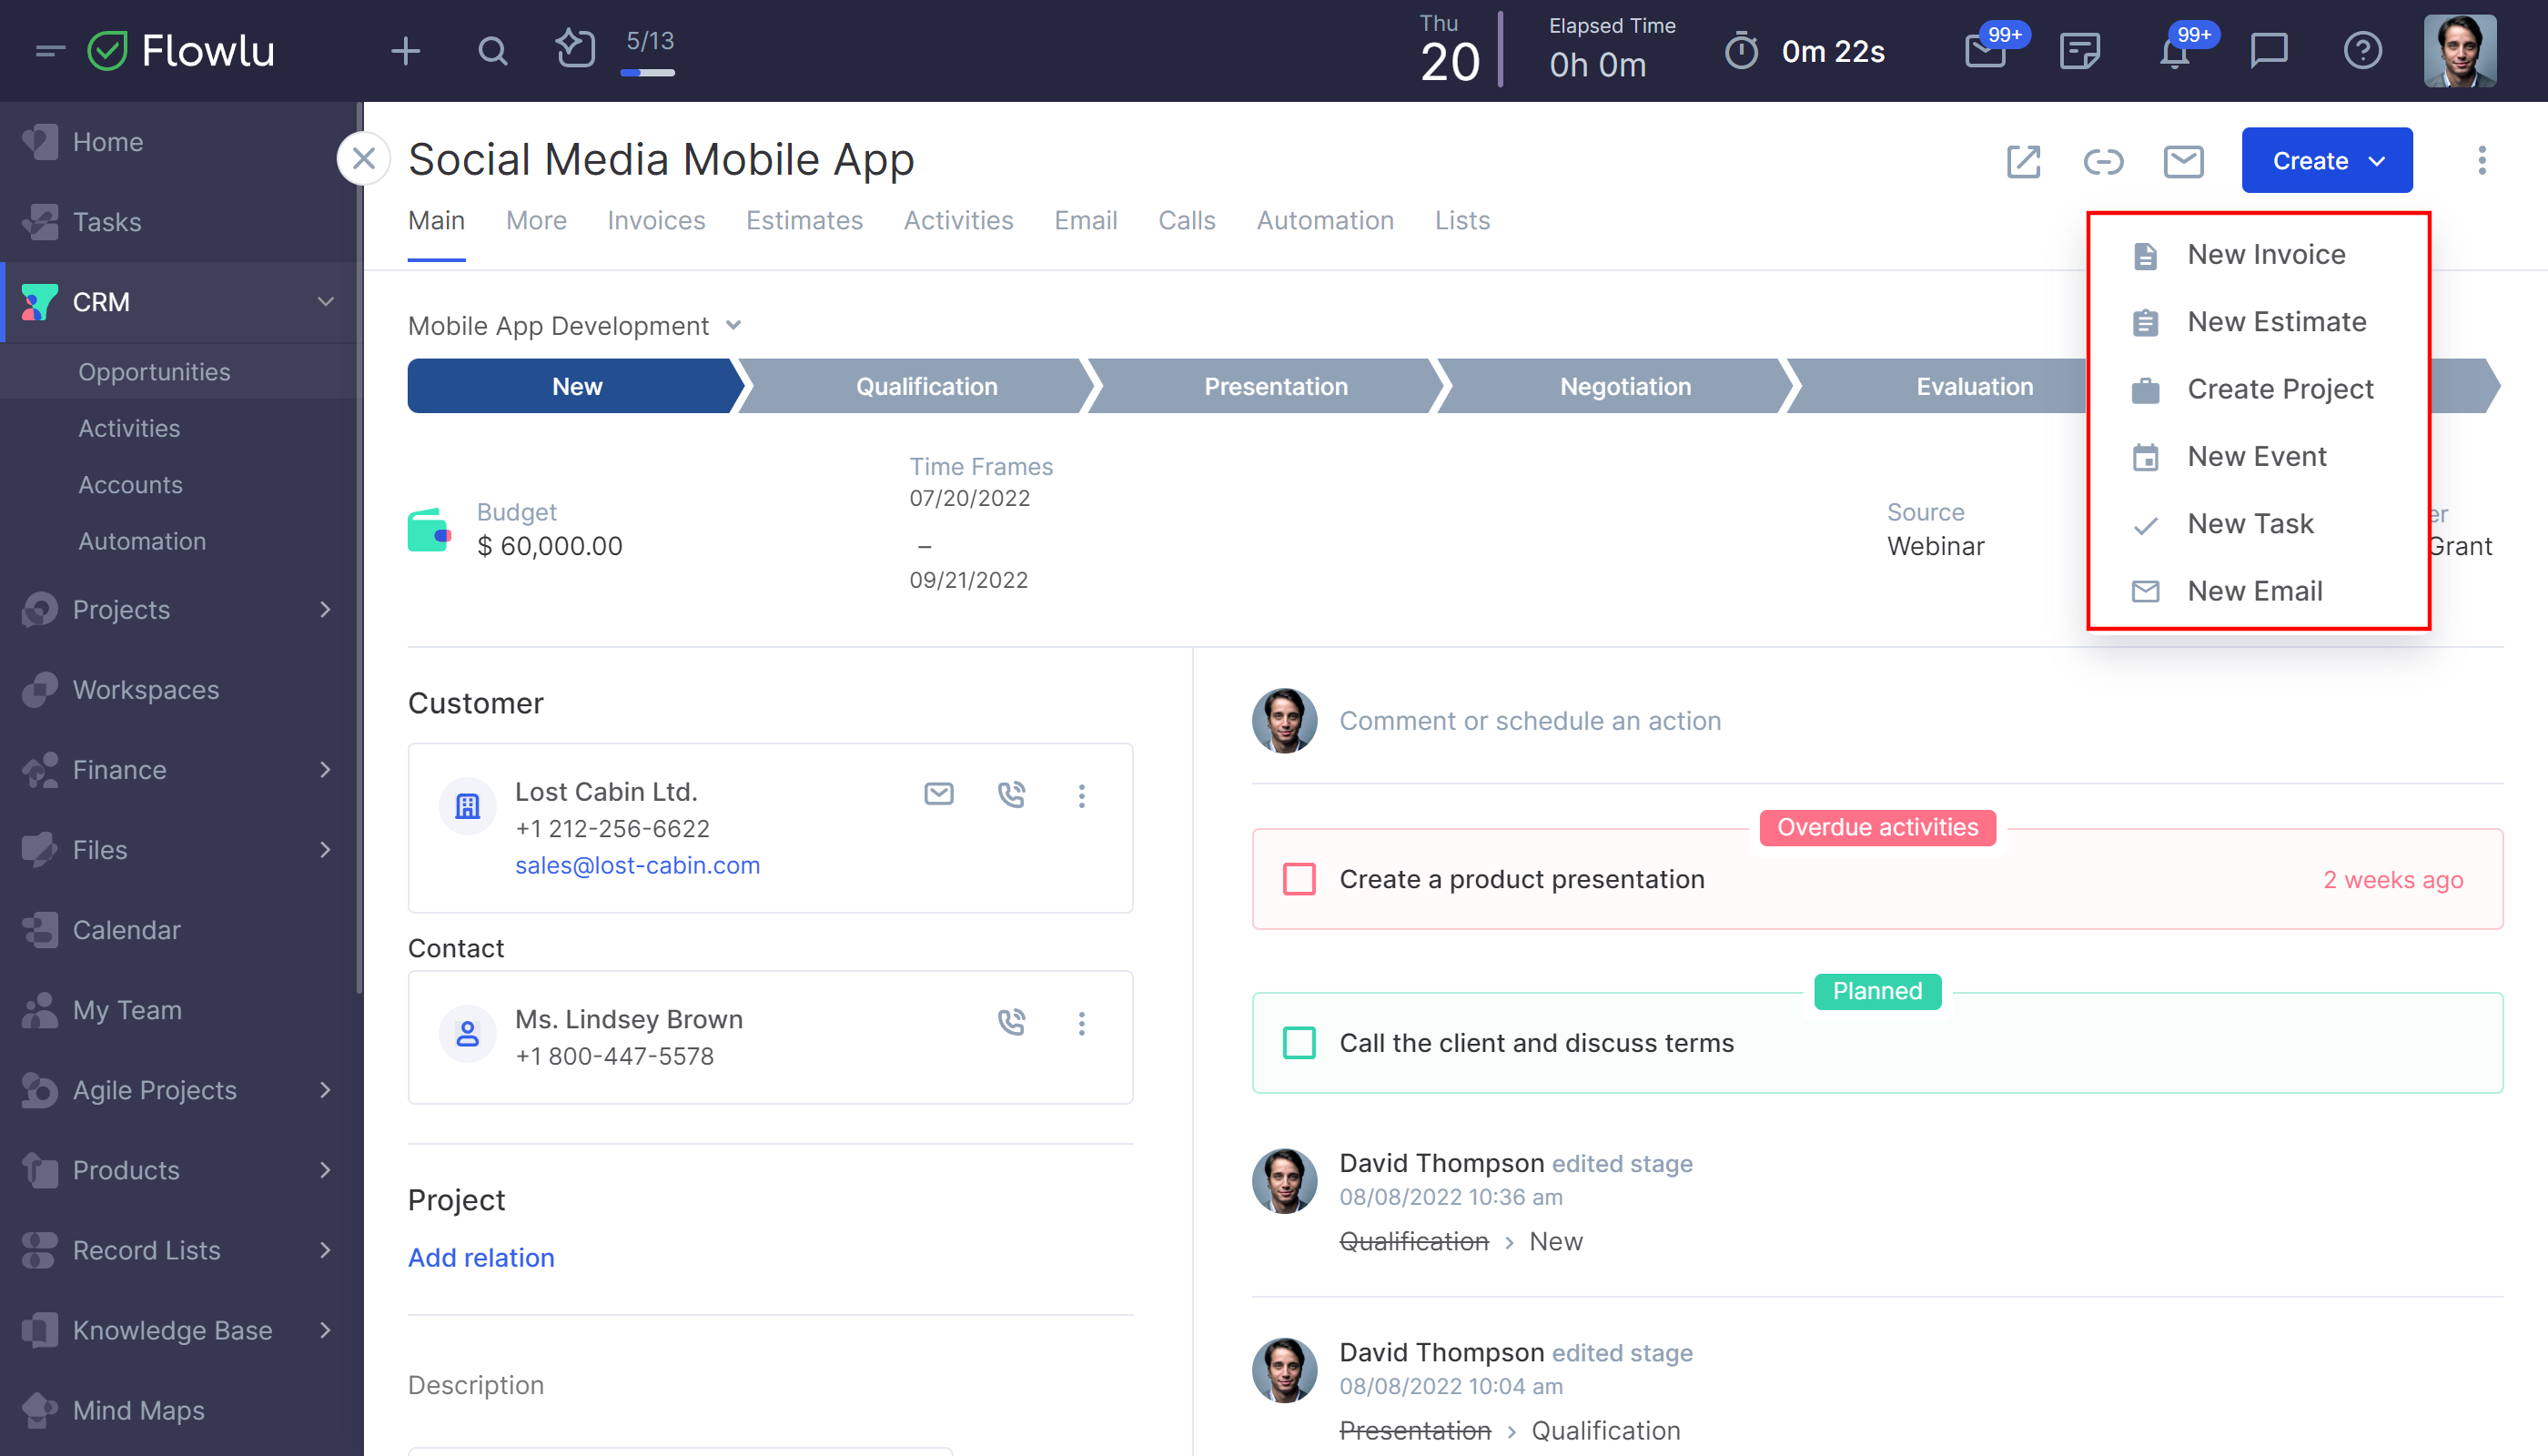
By clicking on "Create" button you can issue an invoice or estimate, create the project, event (appointment, call, email), task, or send an email.
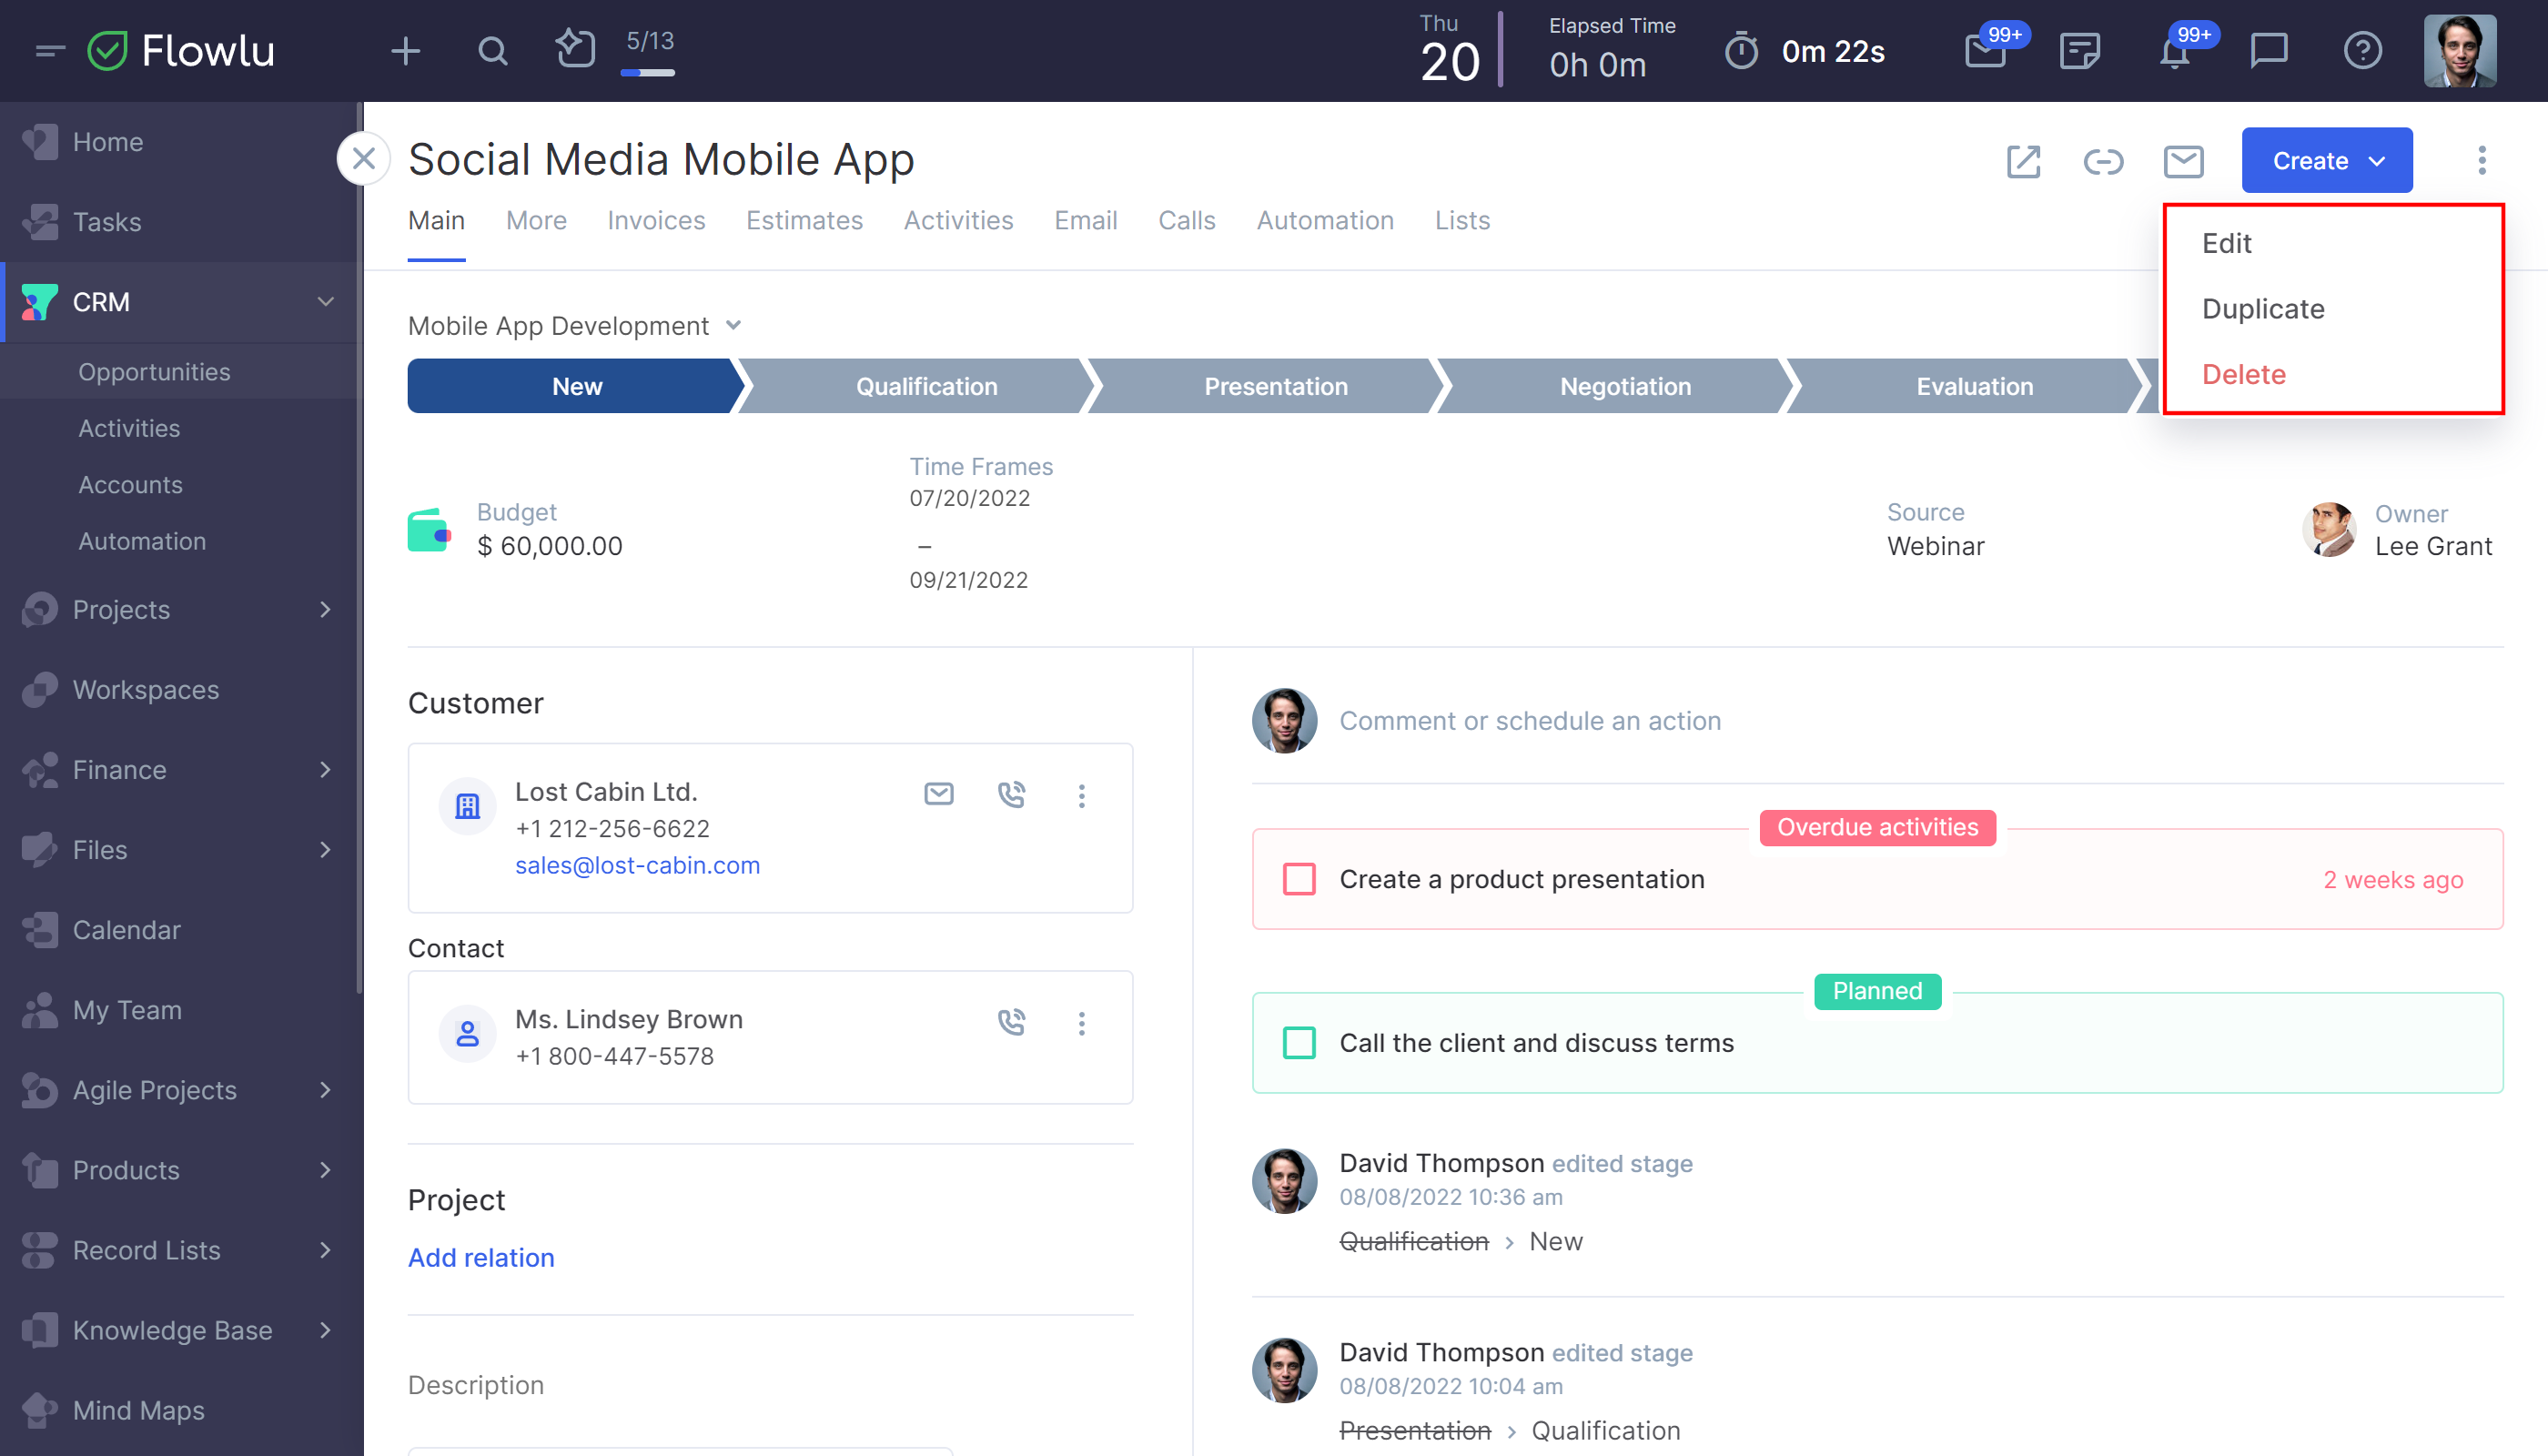
If you click on the button with the three dots, you can edit, copy or delete the opportunity.
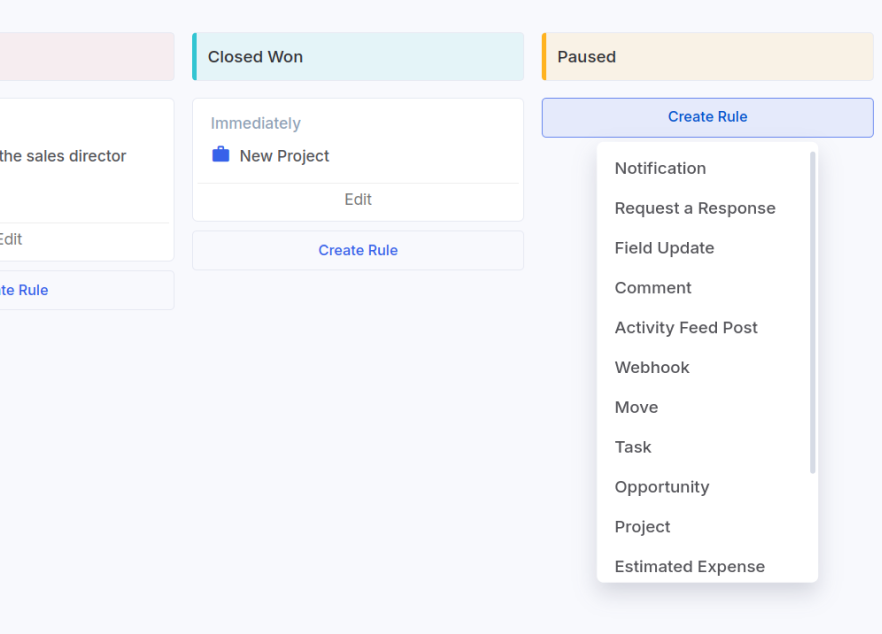
Additionally, if you need to pause an opportunity, click on the button with the three dots. From there, you can choose to mark the opportunity as "Paused." Once marked as paused, the opportunity will be moved to the archive, similar to how other statuses work. In the archive, you can apply filters, review the reason for pausing, and access other relevant details.
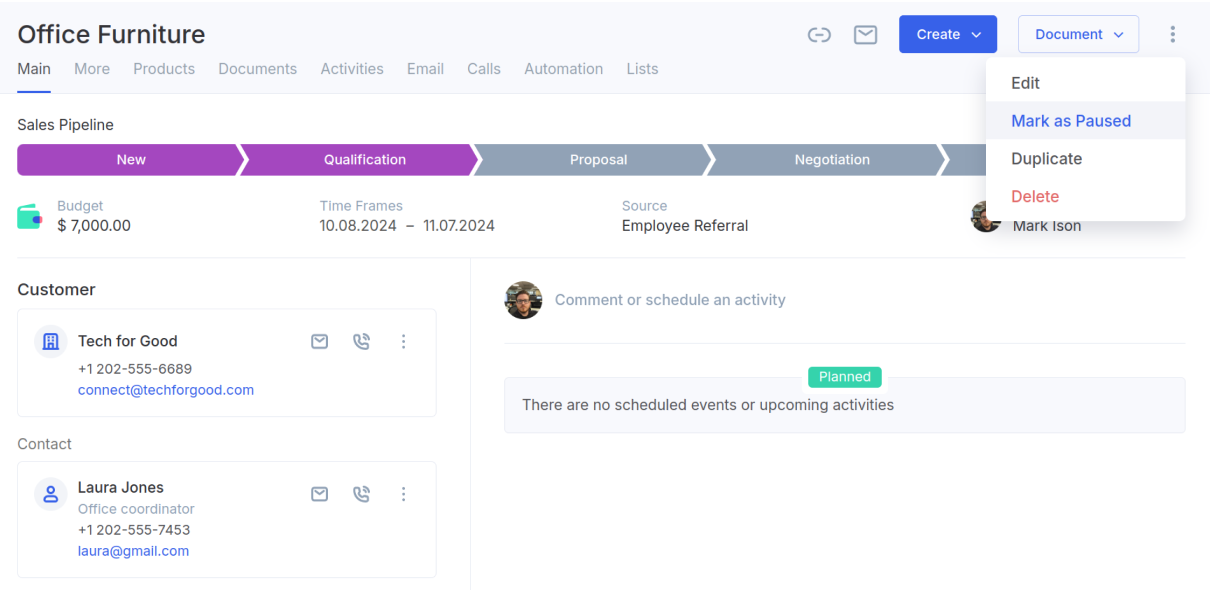
We’ve also included automation options for the "Paused" status, allowing you to set up automation rules to manage these opportunities effectively.
For your convenience, the record contains separate tabs:
Main
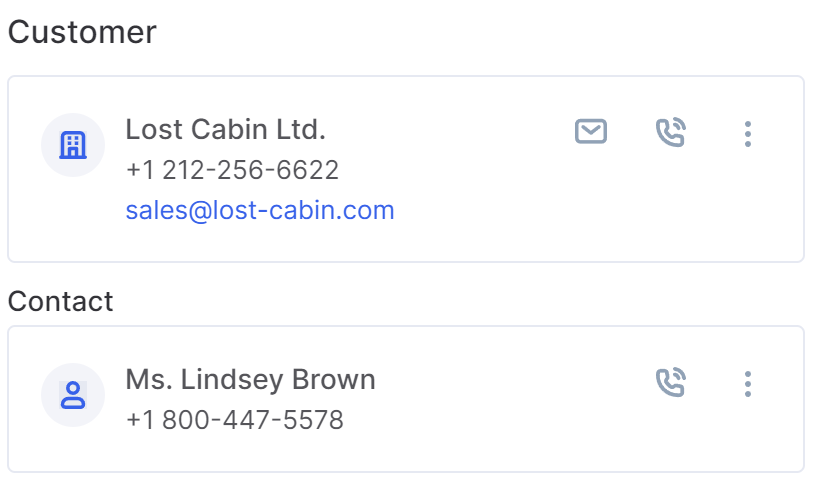
The "Main" tab displays all the basic information on the opportunity—the amount, terms, source, customer, manager, files, tags, as well as any additional information that will be useful to you in during your opportunity process. Custom fields will also be displayed here.
Only one company can be added to an opportunity, but you can also add a contact to an organization. To change the information, hover over the necessary field and click on the 'pencil' icon.
You can add a description to the opportunity. Click on a field to add information. To save the description, click on the checkmark.
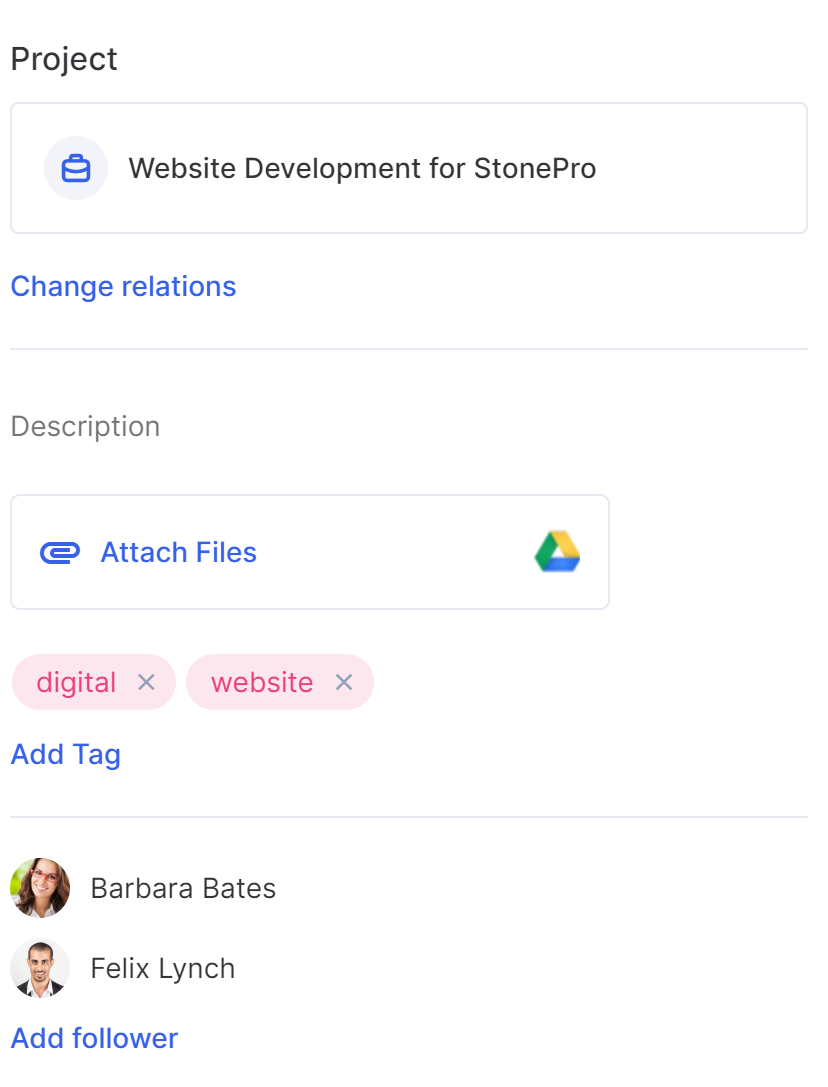
There is only one responsible manager for the opportunity. You can change it by clicking on the 'pencil' icon.
Here you can also select followers for the opportunity. Followers can view and comment on the opportunity. They will also receive notifications on all major opportunity's updates.
On the right side, you can see the activity feed with the planned events. Overdue events are displayed at the very top of the feed.

To open the event, click on the event name. The event can be marked as completed directly from the feed.
From the comment toolbar, you can not only leave a note and request a response, but also quickly create an email, task or event.
Invoices
In the "Invoices" section, there is a list of all invoices connected with this opportunity. You can also create and send the invoice to the client by clicking on the 'Create' button.
Estimates
On the "Estimates" tab, you can view a list of all estimates for an opportunity. You can quickly create and send an estimate to a client by clicking on the "Create" button.
Activities
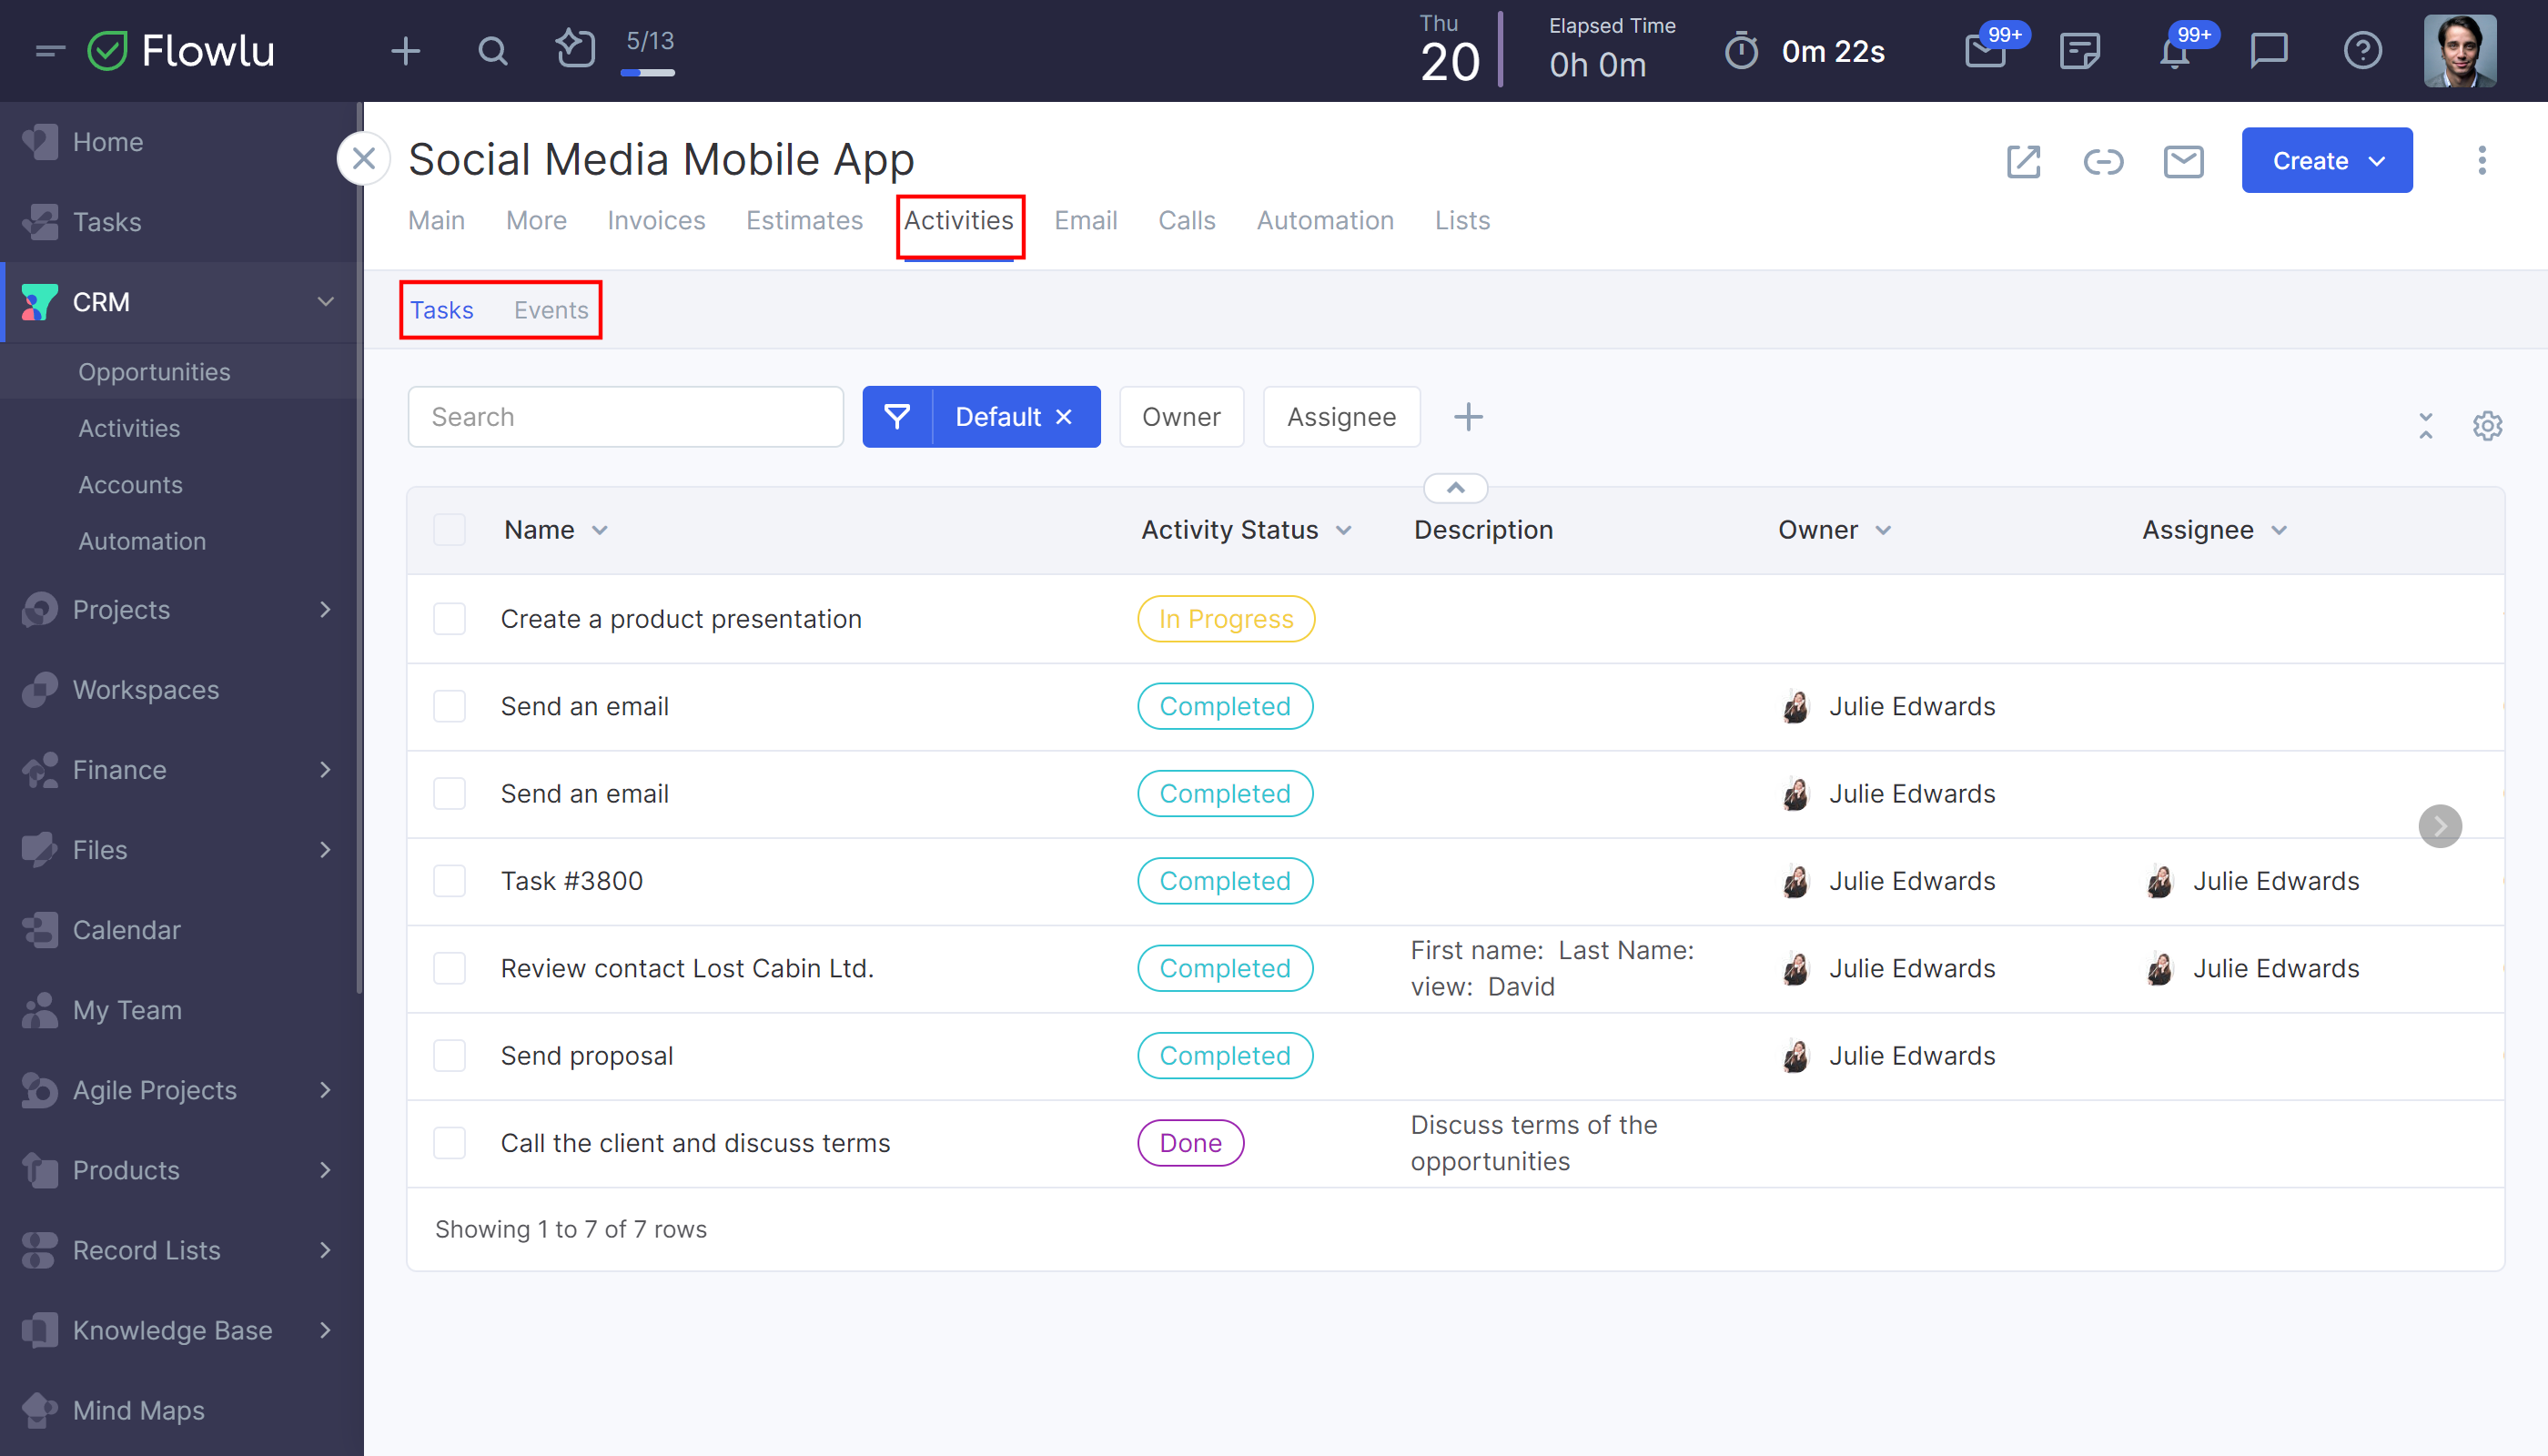
The "Activities" tab includes related events and tasks for the opportunity. To create a new event or task, click the "Create" button.
Email
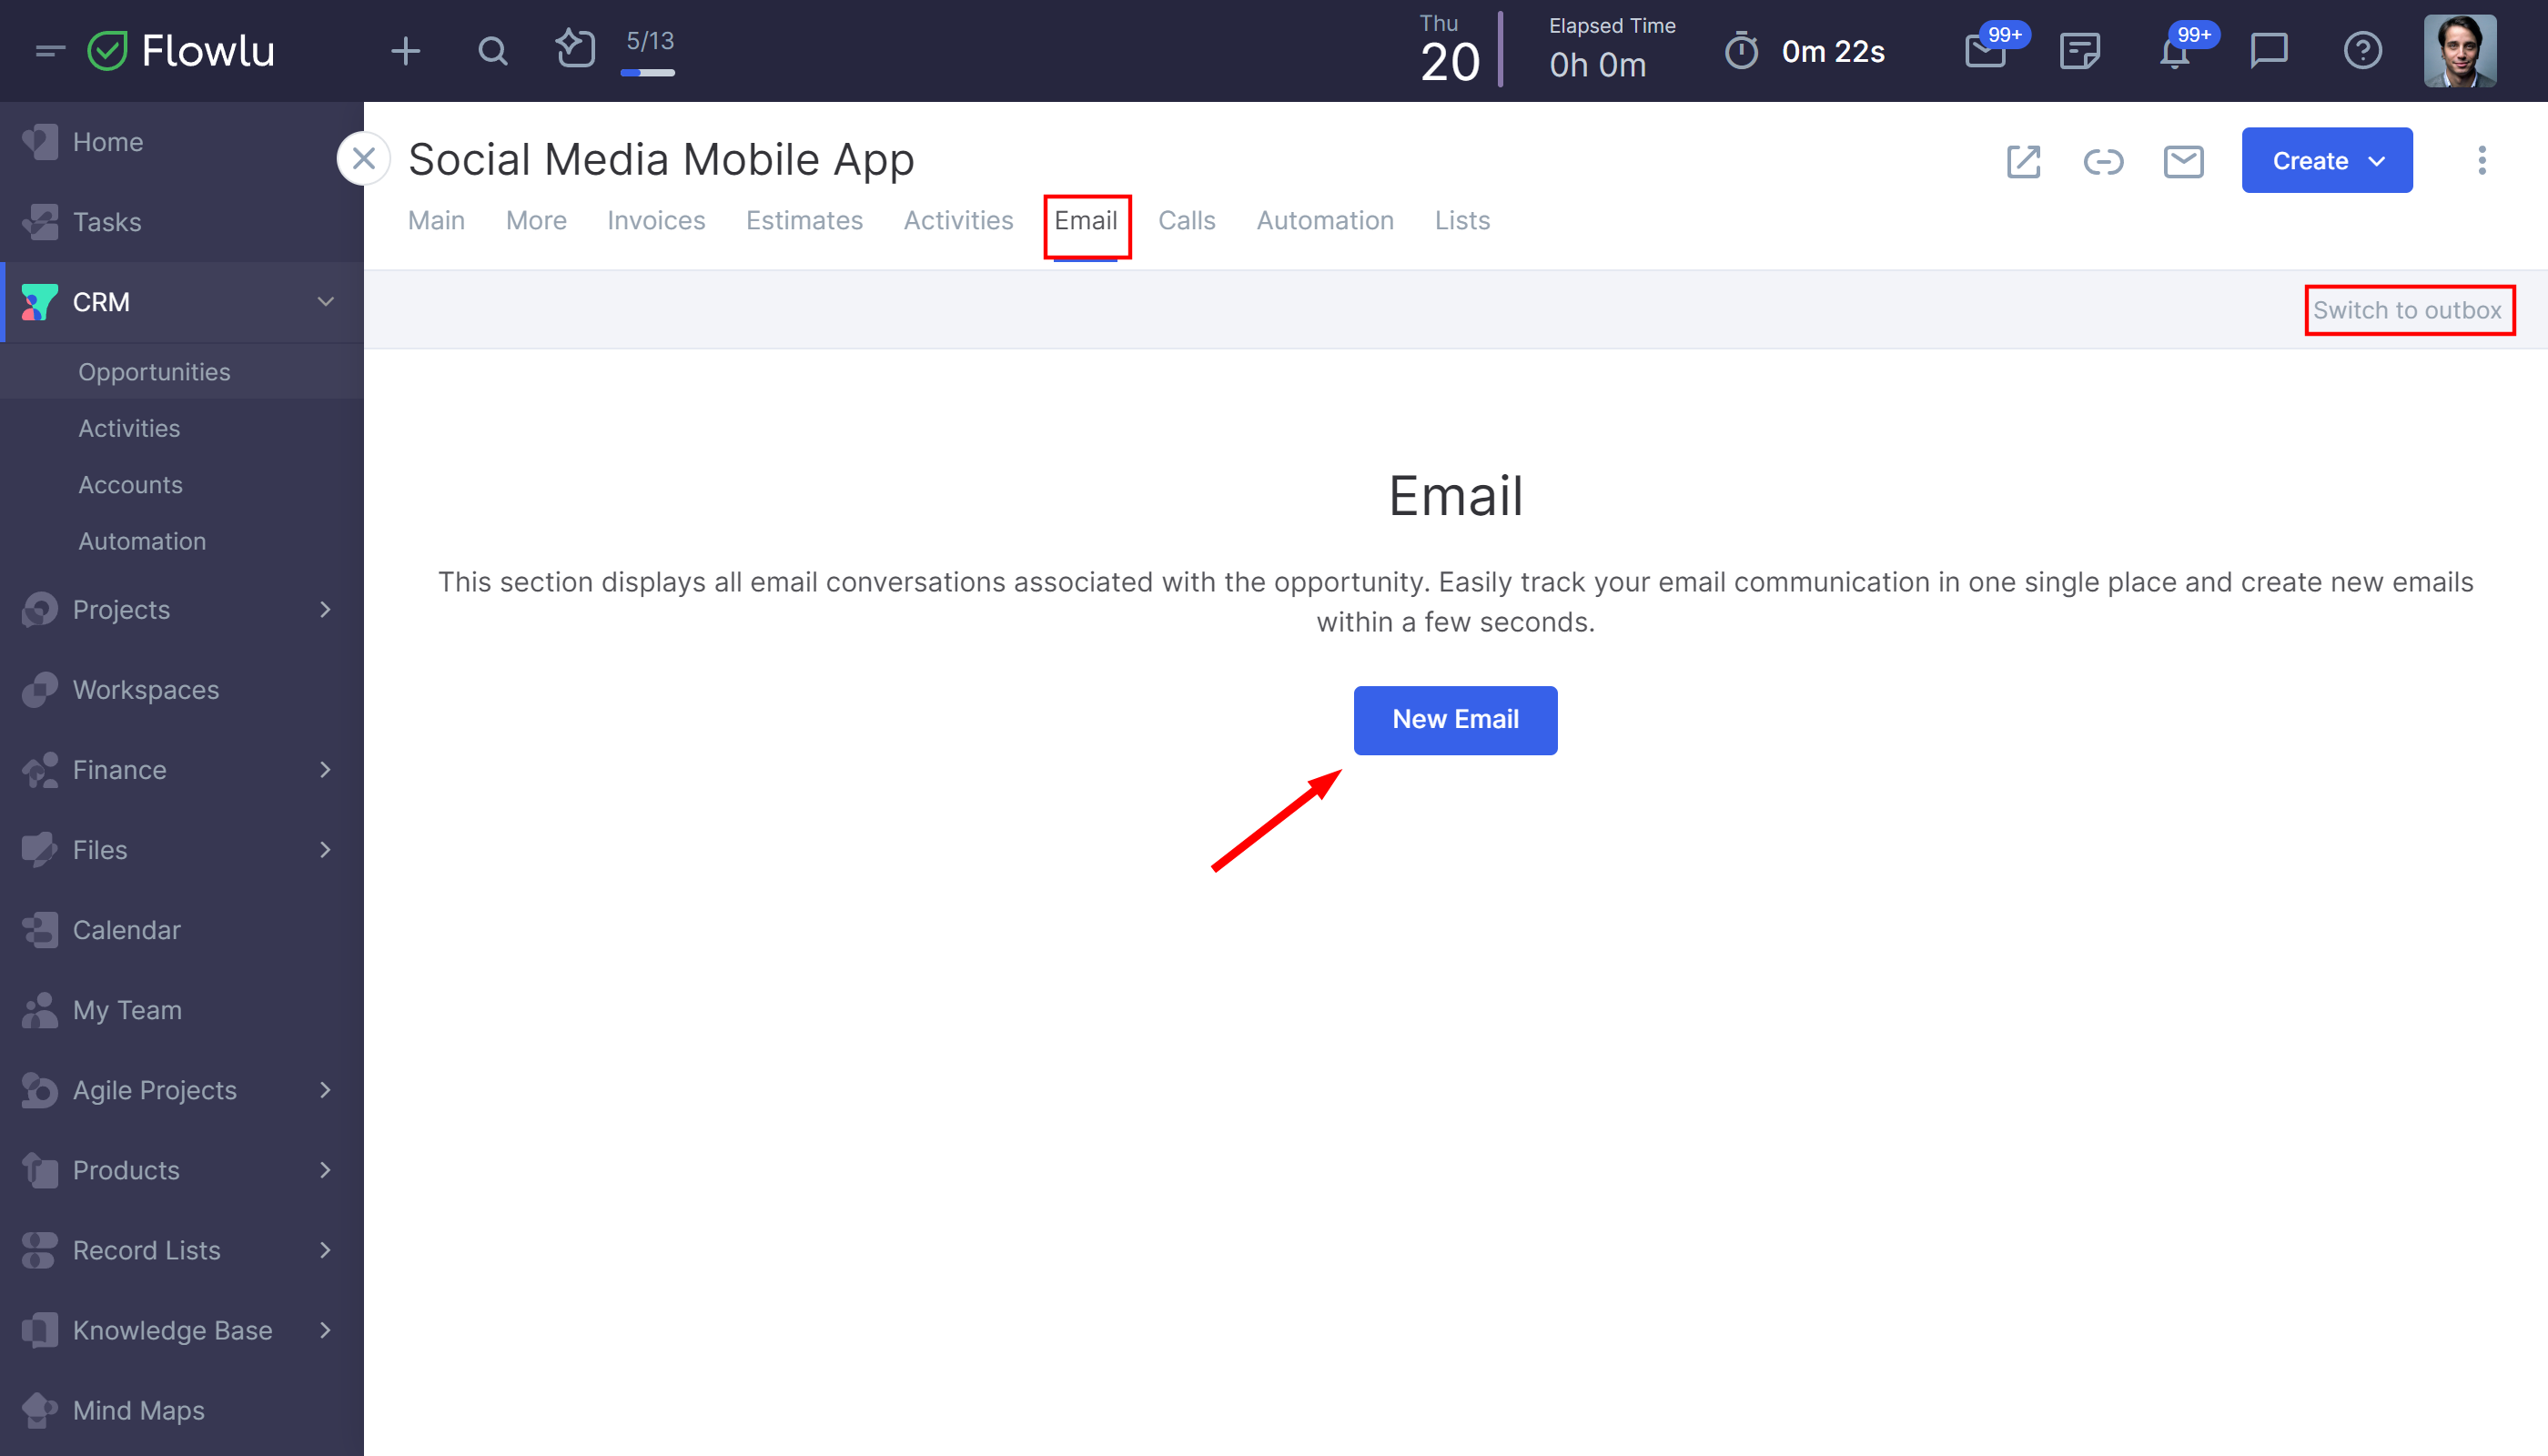
The "Email" section displays the whole history of email communication at the current opportunity. Here you can easily find necessary incoming and outgoing messages. To go to the incoming or outgoing messages, use the toggle in the upper right corner of the page. To quickly create a new email at a opportunity, click the New Email button.
